Avviso: Stai modificando una guida prerequisita. Tutte le modifiche avranno effetto su tutte le guide che includono questo passo.
Traduzione in corso passo 3
Passo 3


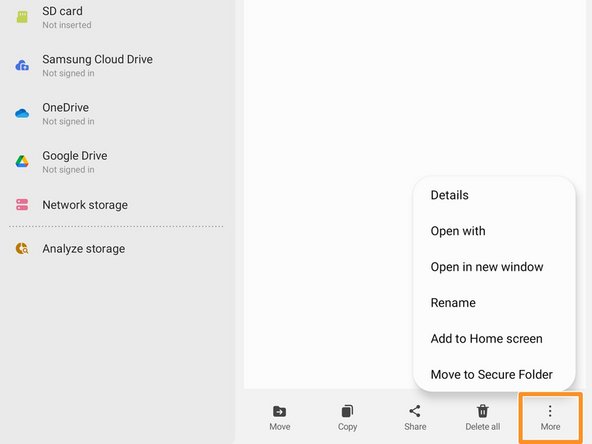


Rename the app
-
Navigate to the "Downloads" tab on the left side of the screen.
-
Long press the download file until an orange checkmark appears to the left of it.
-
Navigate to the bottom of the screen and select the "More" option.
I tuoi contributi sono usati su licenza in base alla licenza open source Creative Commons.