Salta al contenuto principale

SolaDyne LED Lantern Main Power Board Replacement

Inglese
Italiano

Traduzione in corso passo 4

Passo 4
SolaDyne LED Lantern Main Power Board Replacement: passo 0, immagine 1 di 3 SolaDyne LED Lantern Main Power Board Replacement: passo 0, immagine 2 di 3 SolaDyne LED Lantern Main Power Board Replacement: passo 0, immagine 3 di 3
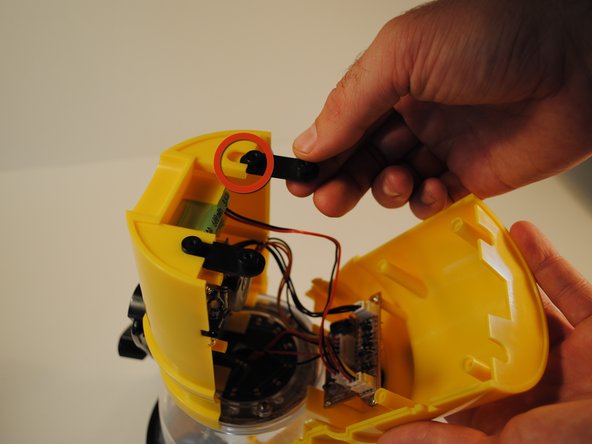
  • To disassemble the main body, grip the lantern so that the front half of the body with the power button on it is in your right hand and the back half with the hand crank is in your left.

  • Pinch the front half of the body on both sides with your thumb and index finger just below the first extruding rim of the front plate while simultaneously pulling the back half away. This may take some effort to do.

  • Be careful to not pull the halves of the body away from each other too hard because the internal wires connecting internal components may break.

  • Take note to remove and set aside black screw mounts located in between the halves at the bottom of the lantern.

  • When putting the front and back plates together during reassembly, make sure to slide the extruding screws from the base of the globe through the corresponding grooves cut into the top of the front and back plates of the main body.

Inserisci qui la traduzione

Inserisci qui la traduzione

Inserisci qui la traduzione

Inserisci qui la traduzione

Inserisci qui la traduzione

I tuoi contributi sono usati su licenza in base alla licenza open source Creative Commons.