Introduzione
The cleaning cloth is required in order for the iRobot Braava 375t to run smoothly on and clean hard surfaces such as wood or tile. If your Braava 375t is making a beeping sound then it may be due to your cleaning cloth’s placement, adjusting the cloth properly may solve this issue. Proper placement of the cloth is important due to the possibility of getting stuck in the device/tires or damaging the cleaning surfaces in any way.
-
-
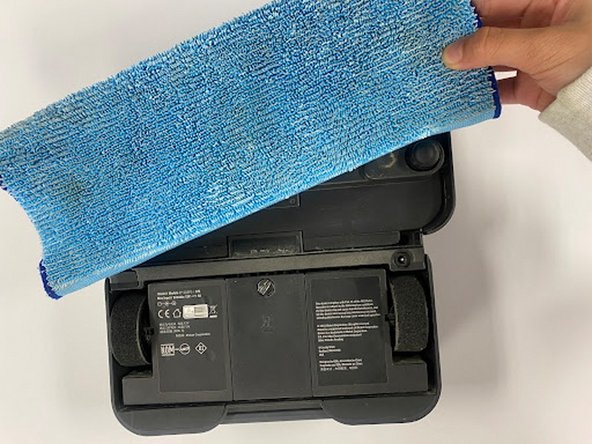
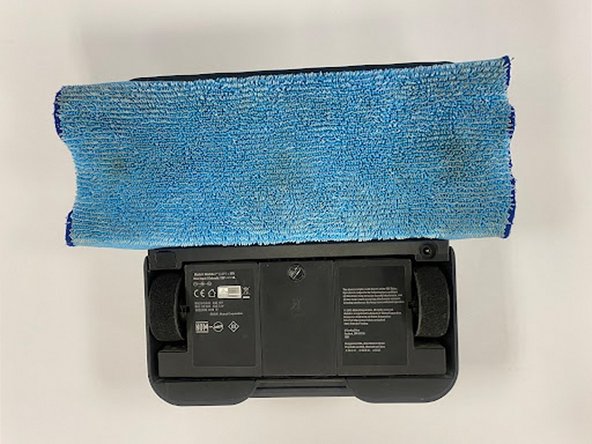
Flip your device upside down and locate the compartment for the cleaning cloth.
-
To remove the compartment, press down on the two buttons and lift upwards.
-
-


To reassemble your device, follow these instructions in reverse order.
To reassemble your device, follow these instructions in reverse order.
Annulla: non ho completato questa guida.
Un'altra persona ha completato questa guida.

Team

CSU Los Angeles, Team 5-5, Adachi Fall 2022 Membro di CSU Los Angeles, Team 5-5, Adachi Fall 2022
CSULA-ADACHI-F22S5G5
6 Membri
4 Guide realizzate