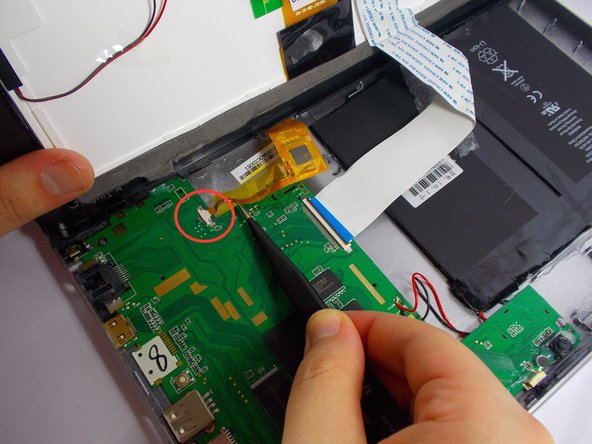
Salta al contenuto principale

iRULU AX106 Disassembly

Cosa ti serve

  1. iRULU AX106 Disassembly, iRULU AX106 Disassembly: passo 1, immagine 1 di 1
    • Using a Philips head #00 screwdriver locate and remove each of the four screws located along the tall side of the iRulu.

    • There may be plastic covers protecting the screws, if this is the case take a phillips head screwdriver, and gently apply pressure on the covers until they come off.

  2. iRULU AX106 Disassembly: passo 2, immagine 1 di 2 iRULU AX106 Disassembly: passo 2, immagine 2 di 2
    • Use the opening tool to pry the screen from the case applying pressure at each of the four corners of the screen.

    • While a good deal of force is required to separate the screen from the case, make sure to separate the screen from the case at each corner before attempting to completely remove the screen. There are delicate wires that may be damaged if the screen is removed is before the corners are separated.

  3. iRULU AX106 Disassembly: passo 3, immagine 1 di 3 iRULU AX106 Disassembly: passo 3, immagine 2 di 3 iRULU AX106 Disassembly: passo 3, immagine 3 di 3
    • Using a pair of tweezers, gently unplug connectors A and B from the logic board.

    • Completely separate the screen and case.

Conclusione

To reassemble your device, follow these instructions in reverse order.

Altre 3 persone hanno completato questa guida.

Andrew Mele

Membro da: 03/24/15

146 Reputazione

2 Guide realizzate

Team

0 Commenti

Aggiungi Commento

Visualizza Statistiche:

Ultime 24 Ore: 0

Ultimi 7 Giorni: 3

Ultimi 30 Giorni: 9

Tutti i Tempi: 2,643