Cosa ti serve
-
Questo passaggio è privo di traduzione. Aiuta a tradurlo
-
1. Using an ipod unclipping tool (which could be a knife or similar to it), unclip the outer casing by putting the tool up to the connection point. This should pop the case off. Note that force will need to be used.
-
-
Questo passaggio è privo di traduzione. Aiuta a tradurlo
-
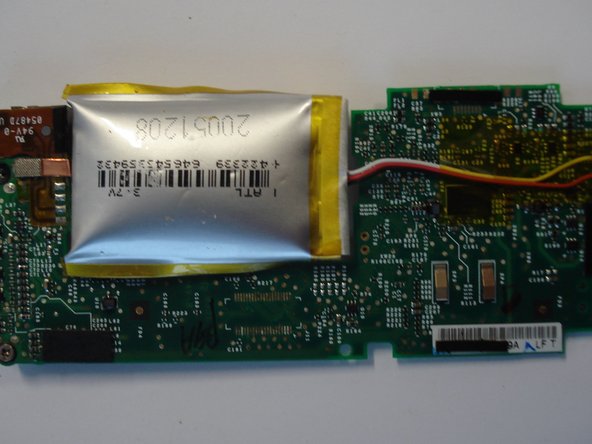
2. Remove the circuit board by unscrewing the 3 screws (there is 1 more screw but dont unscrew it, it holds the headphone jack) that hold it down. Note that specialised screwdrivers may need to be used.
-
-
-
Questo passaggio è privo di traduzione. Aiuta a tradurlo
-
3. Carefully remove the connected wires underneath the motherboard to disconnect the clickwheel and the screen.
-
-
Questo passaggio è privo di traduzione. Aiuta a tradurlo
-
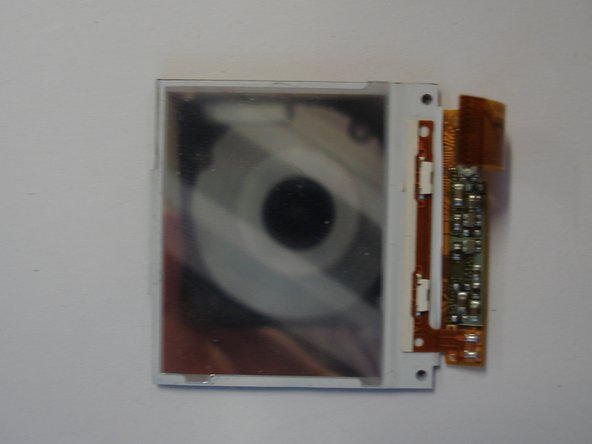
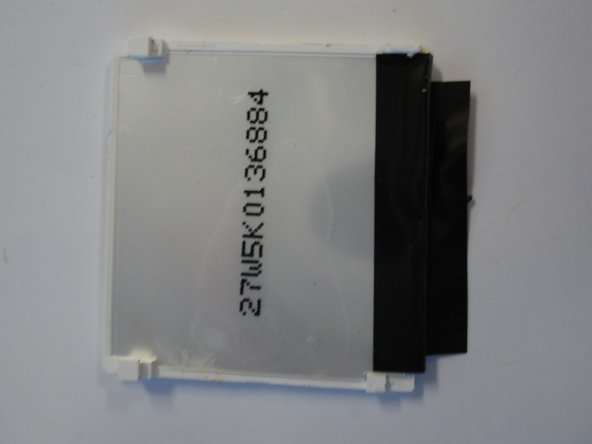
4. The screen has 3 different sections, each held down by glue so necessary force is needed. First remove the acrylic backing that supports the screen and then the main part of the screen. The last thing to remove is the paper-thin cover.
-
-
Questo passaggio è privo di traduzione. Aiuta a tradurlo
-
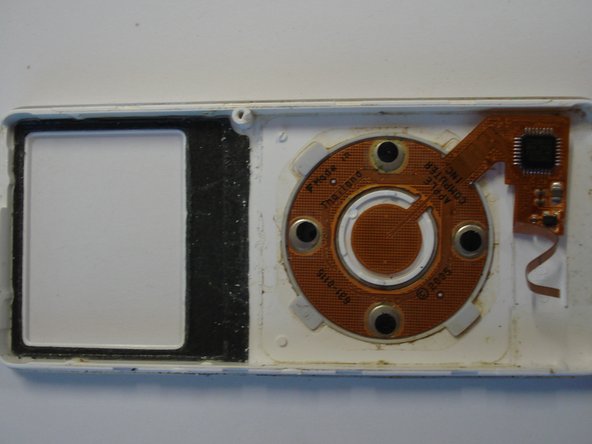
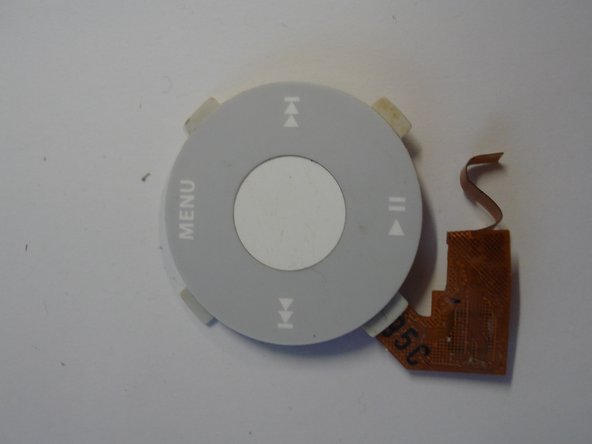
5. Removing the touchpad is easy and simple as there are layered parts on top of each other, just simply and carefully pull them off.
-
-
Questo passaggio è privo di traduzione. Aiuta a tradurlo
-
6. Finally you should have the ipod dismantelled and you should be able to put the ipod back together.
-


6 Commenti
is the batter swollen
Yes, happened to a Zune 80 I have
CTCL -
Thank you for this - took the fear factor out of changing battery on my much loved Nano!