Introduzione
Click here for the official iFixit screen replacement guide for the iPhone 7 Plus. The guide you are currently viewing is a member-contributed guide that has been retained for historical purposes.
Cosa ti serve
-
-
Remove the 2x pentelobe screws from the bottom of the phone.
-
Insert your iSesamo tool into the bottom left-hand corner of iPhone 7 Plus and gently pry upwards to release the corner. Heat may be needed to help release the LCD Assembly from the frame.
-
Gently work your iSesamo tool around the outer edges of the device. Be careful not to insert the iSesamo tool too deep into the body of the phone as you may damage internal components that you cannot see.
-
-
-
Gently lift the screen upward and down to release the retention clips from the top portion of the device and swing the assembly open to the right.
-
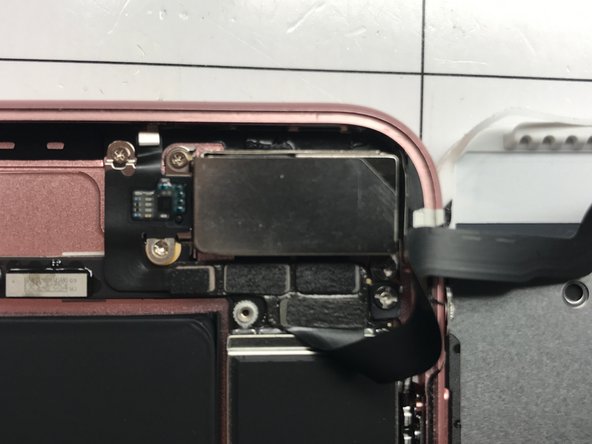
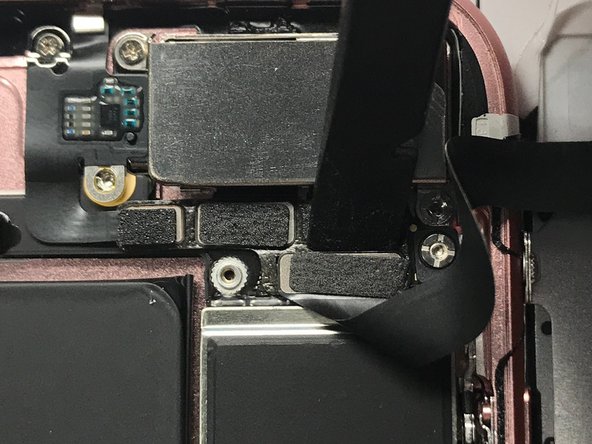
Notice that there are two sets of plates that must be removed. The upper plate covers the flex cable for the earpiece speaker FPC, and the camera FPC's. The lower plate covers the fingerprint FPC, LCD FPC and the battery connector.
-
-
-
Three screws hold the upper FPC plate in place. These are all #000 tri-tip screws.
-
Four screws hold the lower FPC plate in place. These are also #000 tri-tip screws.
-
-
-
-
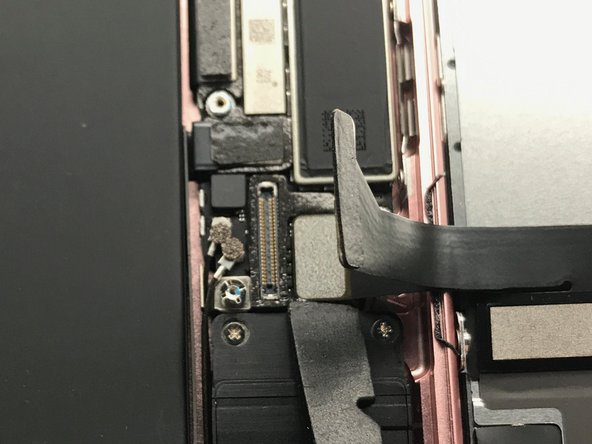
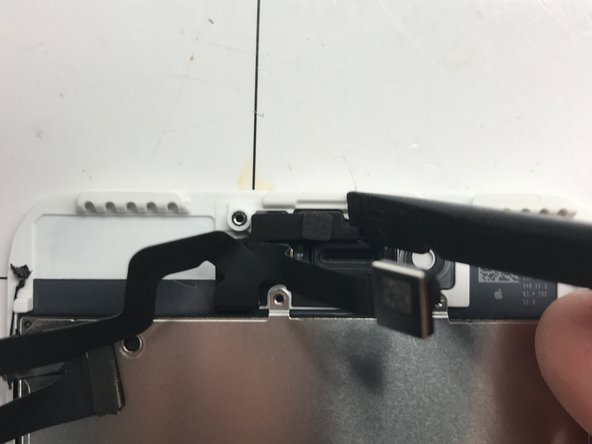
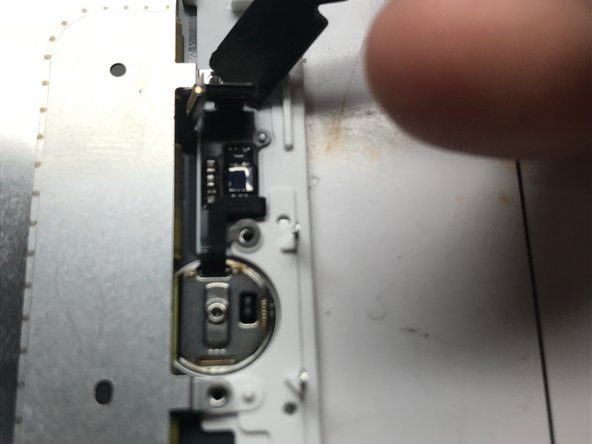
Using a Nylon Spudger gently pry up the earpiece speaker flex at the top.
-
Disconnect the FPC's at the bottom of the phone that go to the fingerprint sensor FPC and the LCD/Digitizer flex.
-
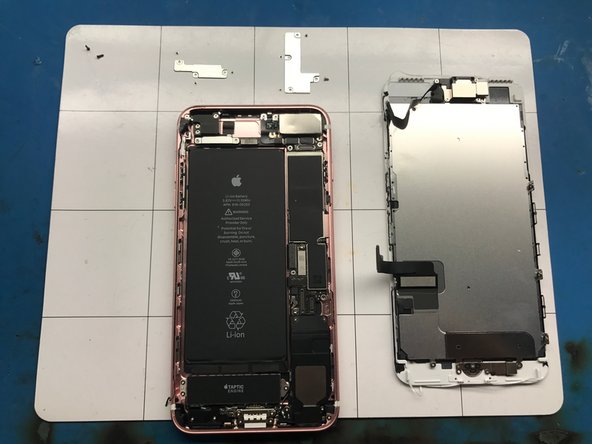
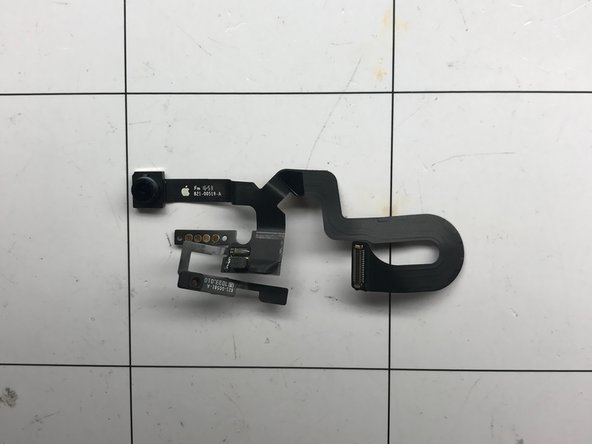
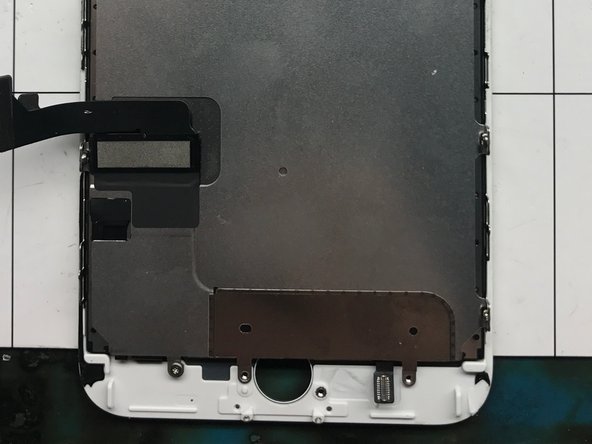
Remove the LCD Assembly from the housing and prepare to disassembly the LCD Assembly and small parts.
-
-
-
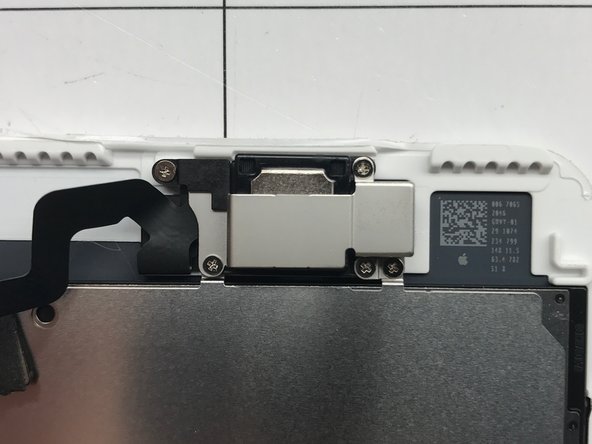
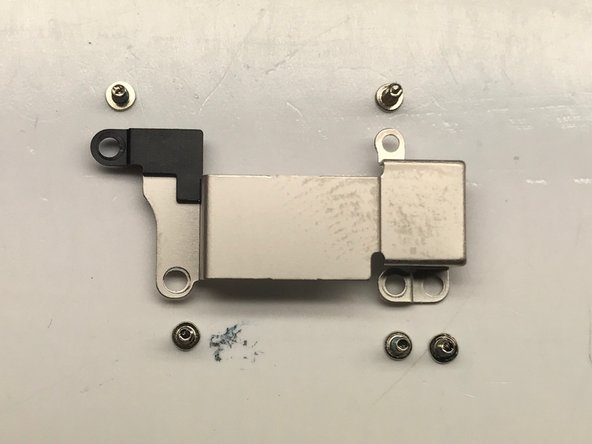
Remove the five screws holding the earpiece speaker retaining plate in place. These are #000 phillips head screws.
-
-
-
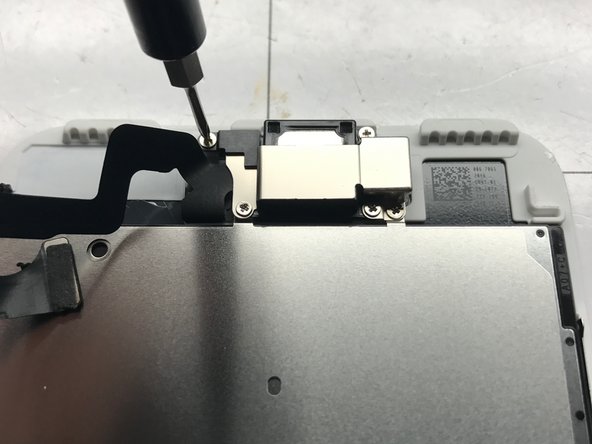
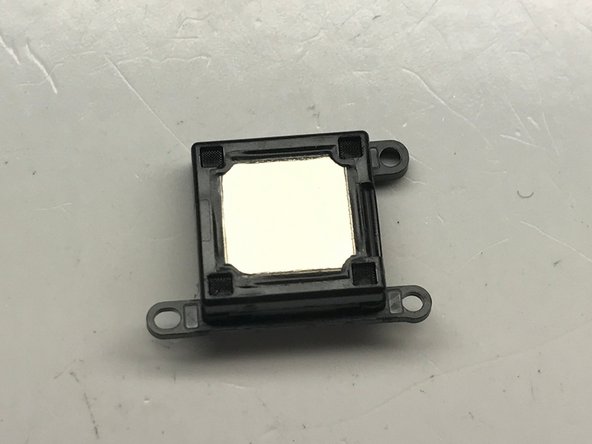
Now that the earpiece speaker retaining plate is removed the earpiece speaker should easily lift off the device.
-
Using the flat end of a nylon spudger gently pry the earpiece speaker FPC away from the assembly. This piece is held on by double sided adhesive but should easily come up with some gentle prying.
-
-
-
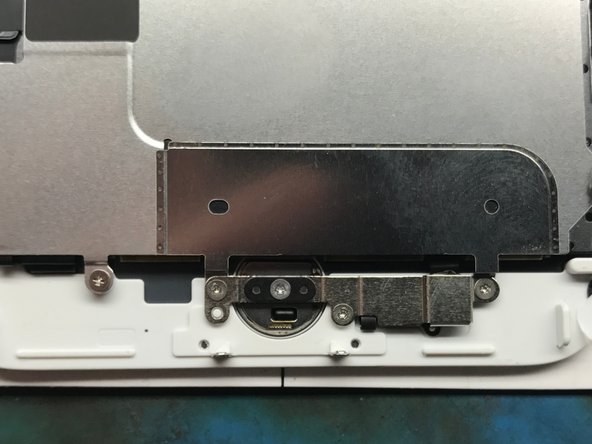
Using your #000 tri-tip screwdriver remove the four screws holding the home button backplate in place.
-
-
-
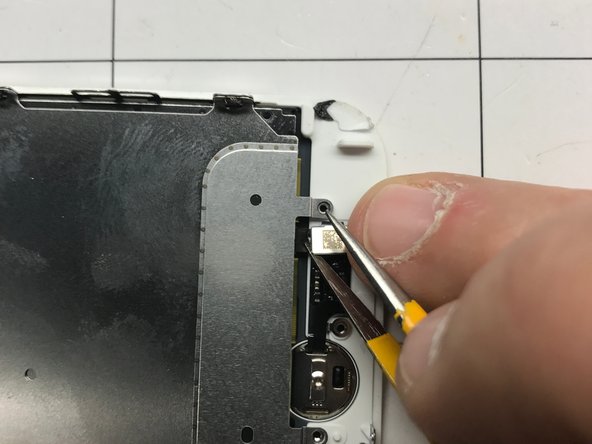
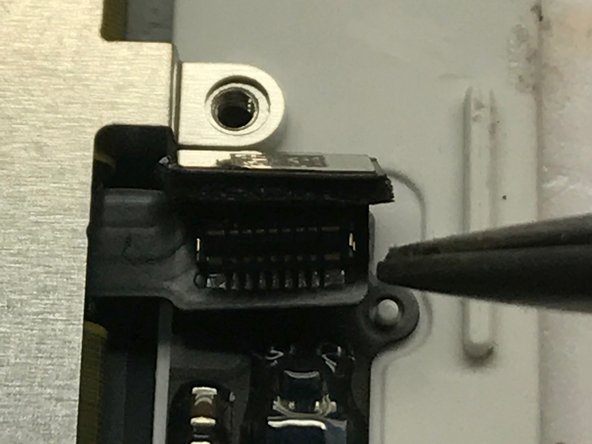
Using your needle tip tweezers gently pry the home button connector and detach it from the home button flex.
-
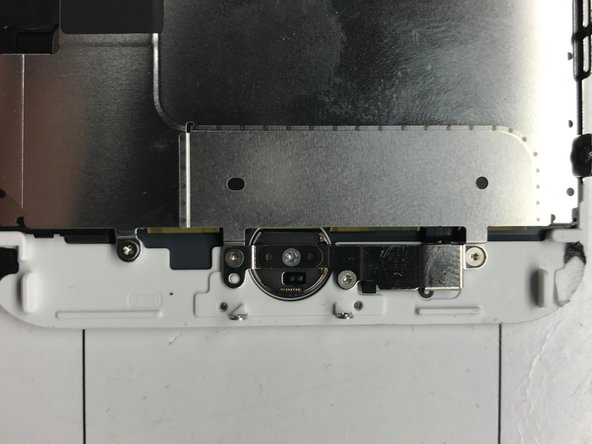
Using the flat end of your nylon spudger gently pry the home button away from the back side of the frame.
-
The home button should pass through the hole in the middle of the LCD assembly and fall to your work mat.
-
The home button will not work if it is replaced with an aftermarket part as it is still serialized to the logic board. If you damage this you will have to seek service through apple to restore fingerprint capability. (This will probably result in device replacement.)
-
-
-
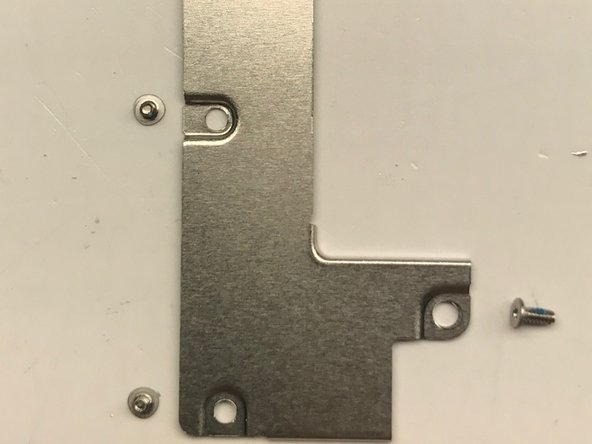
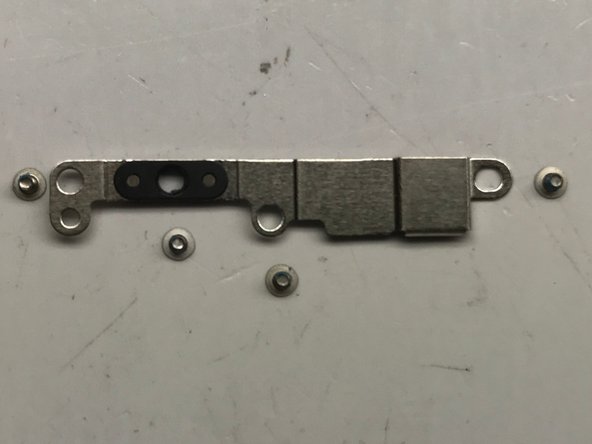
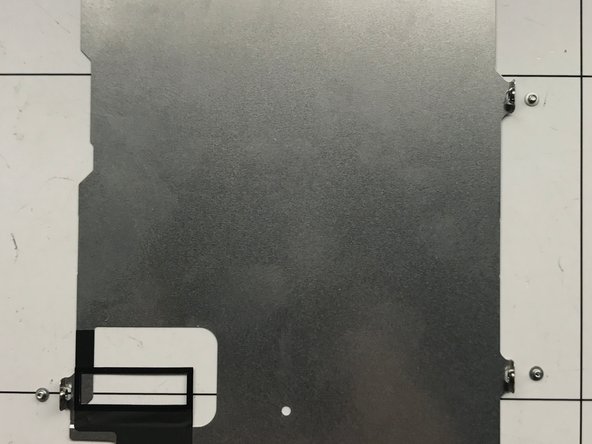
Remove the five #000 Tri-tip screws and the one #000 Phillips screw that hold the LCD backplate in place.
-
Feed the LCD and Fingerprint sensor cables through the LCD backplate.
-


To reassemble your device, follow these instructions in reverse order.
To reassemble your device, follow these instructions in reverse order.
Annulla: non ho completato questa guida.
Altre 21 persone hanno completato questa guida.

Team
