Questa versione può contenere modifiche errate. Passa all'ultima istantanea verificata.
Cosa ti serve
-
Questo passaggio è privo di traduzione. Aiuta a tradurlo
-
Remove the two 3.4 mm Pentalobe screws surrounding the Lightning connector.
-
-
Questo passaggio è privo di traduzione. Aiuta a tradurlo
-
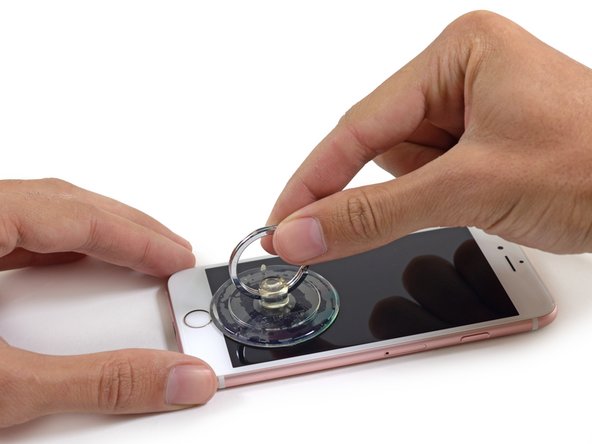
If you don't have an iSclack, use a single suction cup to lift the front panel:
-
Press a suction cup onto the screen, just above the home button.
-
-
Questo passaggio è privo di traduzione. Aiuta a tradurlo
-
Pull up on the suction cup to slightly separate the front panel assembly from the rear case.
-
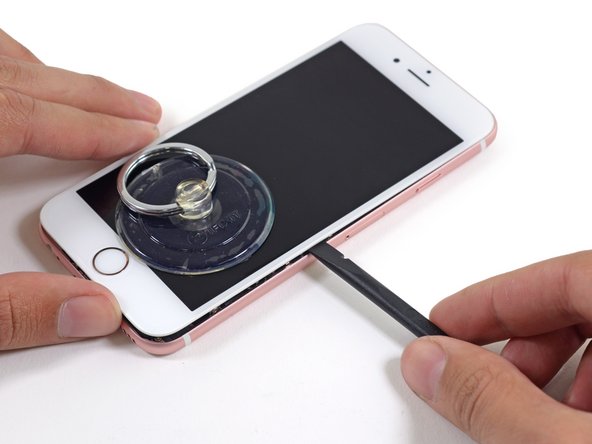
Once a small gap has been opened, insert the flat end of a spudger above the headphone jack.
-
-
Questo passaggio è privo di traduzione. Aiuta a tradurlo
-
Twist the spudger to open the gap more and break it free from the adhesive.
-
-
-
Questo passaggio è privo di traduzione. Aiuta a tradurlo
-
Use the edge of a spudger to slice through the adhesive on either side of the phone.
-
-
Questo passaggio è privo di traduzione. Aiuta a tradurlo
-
Use the edge of a spudger to slice through the adhesive on either side of the phone.
-
-
Questo passaggio è privo di traduzione. Aiuta a tradurlo
-
Use the suction cup to open the display, breaking the last of the adhesive.
-
-
Questo passaggio è privo di traduzione. Aiuta a tradurlo
-
Remove the following screws from the battery connector bracket:
-
One 3.0 mm Phillips #00 screw
-
One 2.3 mm Phillips #00 screw
-
-
Questo passaggio è privo di traduzione. Aiuta a tradurlo
-
Remove the metal battery connector bracket from the iPhone.
-
-
Questo passaggio è privo di traduzione. Aiuta a tradurlo
-
Use the flat end of a spudger to disconnect the battery connector from the logic board.
-
Push the connector to the side to ensure it doesn't accidentally make contact and power on the phone while you're working on it.
-
Annulla: non ho completato questa guida.
Un'altra persona ha completato questa guida.
3 Commenti
While replacing a charging port on the 6s I realized that the battery didn't seem to stay seated. It also won't charge past a certain percentage. Anyone run into this?
BE FOREWARNED: I used this guide and ended up breaking one of the cables to my display on step 8. Now my home button, camera and speaker don’t work and I have to spend 80 dollars for a new lcd panel.
The featured guide (not this one) shows how to completely detach the screen cables so this won’t happen. Do a quick search and take a look before possibly breaking your phone on step 8. Fully detaching the panel would have prevented this issue
DO NOT USE THIS GUIDE: It is not complete. I ended up having to goto the store and pay $250 dollars to get my I phone fixed after breaking it with these incomplete directions.
This is a more complete guide use this one: Sostituzione batteria dell'iPhone 6s


