Introduzione
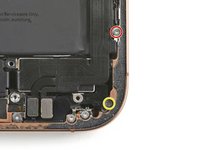
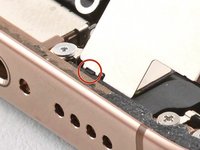
Installation steps for the Taptic Engine in the iPhone 16 Pro Max.
Cosa ti serve


Quasi finito!
Linea Traguardo
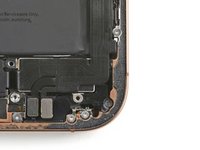
Installation steps for the Taptic Engine in the iPhone 16 Pro Max.
Ultime 24 Ore: 0
Ultimi 7 Giorni: 0
Ultimi 30 Giorni: 4
Tutti i Tempi: 10

