Introduzione
Follow this guide to replace the thermal paste in your iPad Pro.
This guide applies to iPad models with a copper tape logic board shield.
The processor in your iPad Pro might be small, but it can generate a lot of heat. Thermal paste helps transfer the heat away from the processor, so it can be dissipated elsewhere.
If you removed the logic board shield from your iPad Pro, you'll need to replace the thermal paste. Your iPad Pro will work without thermal paste. However, it will overheat and may slow down to keep itself cool. Reusing thermal paste is better than nothing, but should only be done if you don't have access to new thermal paste.
Apply new thermal paste to keep your iPad Pro working safely and at full capacity.
Cosa ti serve
-
-
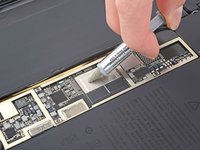
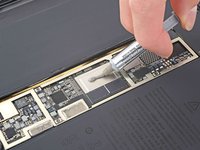
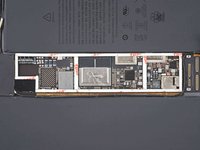
Use a spudger to scrape away the old thermal paste from the processor.
-
Use a cotton swab or lint-free cloth with high-strength (>90%) isopropyl alcohol to clean any remaining thermal paste.
 Chiedi a FixBot
-
-
-
Repeat the previous step for the logic board shield.
-
-
-
-
Apply a rice grain-sized amount of thermal paste to the middle of the processor.
-
-
Strumento utilizzato in questo passaggio:Tesa 61395 Tape$8.95
-
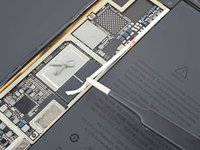
Apply Tesa tape along the edges of the logic board shield.
-
-
Strumento utilizzato in questo passaggio:Tweezers$4.99
-
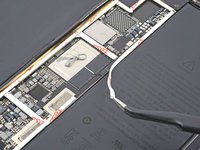
Use tweezers or your fingers to remove the protective paper lining from the Tesa tape.
-
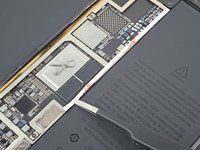
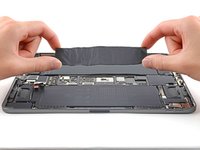
Align the shield over the logic board in the correct orientation.
-
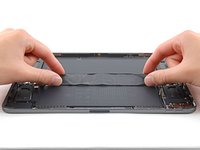
Lay the shield over the logic board.
-
-
-
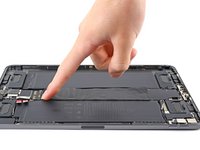
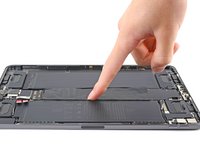
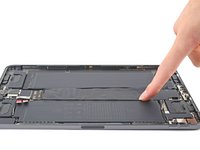
Slide your finger along the perimeter of the shield to secure it to the logic board.
-








For more iPad Pro guides, click here.
Annulla: non ho completato questa guida.
Un'altra persona ha completato questa guida.

Team

