Salta al contenuto principale

iPad 4 CDMA Home Button Control Board Replacement

Solo Prerequisita
Questa è una guida che contiene solo i prerequisiti! Questa guida fa parte di un'altra procedura e non è destinata ad essere utilizzata da sola.

Cosa ti serve

  1. iPad 4 CDMA Home Button Control Board Replacement, Home Button Control Board: passo 1, immagine 1 di 1
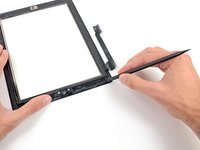
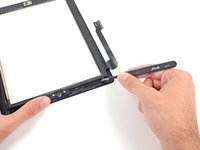
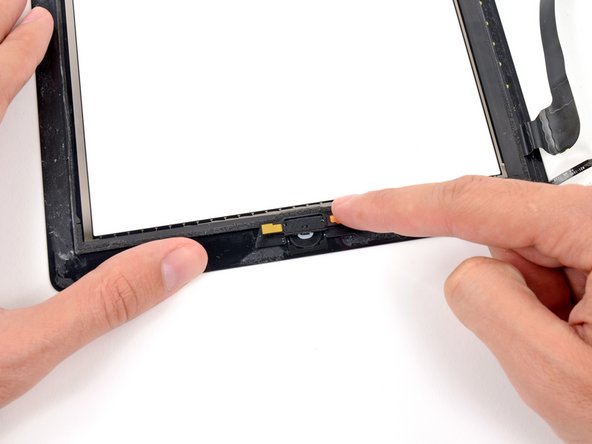
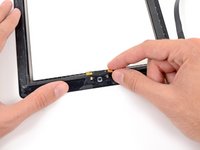
    • Remove the two 2.1 mm Phillips #00 Phillips screws securing the home button control board to the home button mounting bracket.

  2. iPad 4 CDMA Home Button Control Board Replacement: passo 2, immagine 1 di 2 iPad 4 CDMA Home Button Control Board Replacement: passo 2, immagine 2 di 2
    • Wedge the flat edge of a plastic opening tool in between the right end of the home button control board and the home button mounting bracket.

    • Depress the plastic opening tool downwards to pry the adhesive securing the home button control board from the home button mounting bracket.

    • Repeat the procedure to release the adhesive underneath the left end of the home button control board.

  3. iPad 4 CDMA Home Button Control Board Replacement: passo 3, immagine 1 di 1
    • Lift and remove the home button control board up off the home button mounting bracket.

  4. iPad 4 CDMA Home Button Control Board Replacement: passo 4, immagine 1 di 2 iPad 4 CDMA Home Button Control Board Replacement: passo 4, immagine 2 di 2
    Attrezzo utilizzato in questo passaggio:
    Tweezers
    $4.99
    • Use the flat edge of a spudger to scrape the old adhesive off the bottom right corner of the front panel assembly.

    • If necessary, gently peel the old adhesive with a pair of tweezers.

  5. iPad 4 CDMA Home Button Control Board Replacement: passo 5, immagine 1 di 2 iPad 4 CDMA Home Button Control Board Replacement: passo 5, immagine 2 di 2
    • Gently place the home button control board on top of the home button mounting bracket.

    • Make sure the home button control board is lined up with the bottom of the home button mounting bracket.

  6. iPad 4 CDMA Home Button Control Board Replacement: passo 6, immagine 1 di 1
    • Insert the two 2.1 mm Phillips #00 Phillips screws back into the home button control board to secure it against the home button mounting bracket.

Conclusione

To reassemble your device, follow these instructions in reverse order.

0Commenti sulla guida

Aggiungi Commento

Visualizza Statistiche:

Ultime 24 Ore: 0

Ultimi 7 Giorni: 0

Ultimi 30 Giorni: 1

Tutti i Tempi: 212