Questa versione può contenere modifiche errate. Passa all'ultima istantanea verificata.
Cosa ti serve
-
Questo passaggio è privo di traduzione. Aiuta a tradurlo
-
Remove any external skins placed on the device. To do so, simply lift up and peel to remove.
-
-
Questo passaggio è privo di traduzione. Aiuta a tradurlo
-
Firmly pull on the back clip in order to remove.
-
-
-
Questo passaggio è privo di traduzione. Aiuta a tradurlo
-
Use a Phillips head screwdriver to remove the four 4mm PH00 screws located on the sides of the device. All screws are located under each of the grey covers for the microSD card and the microUSB insert.
-
-
Questo passaggio è privo di traduzione. Aiuta a tradurlo
-
Grab a metal or plastic opening tool and insert it into the middle slot on the bottom of the camera and lightly pry open.
-
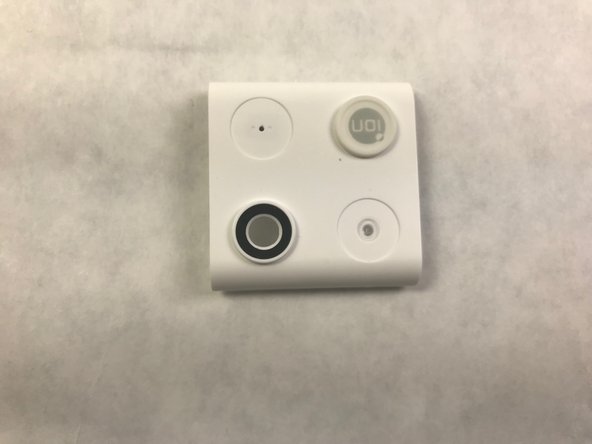
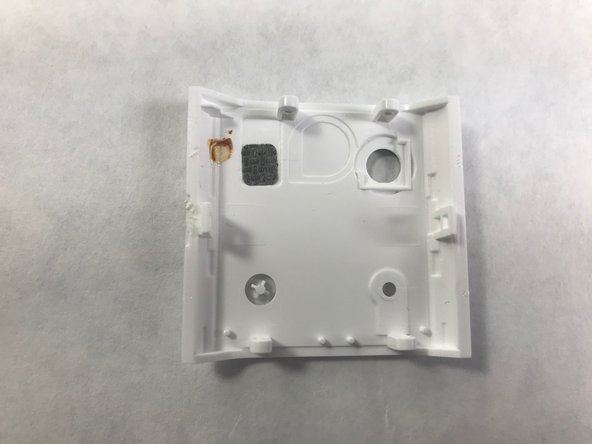
Locate the camera lens in the bottom left-hand corner of the picture which can be replaced by replacing the entire cover. The back of the cover is also shown. The camera is now located in the top right-hand corner of the picture.
-


Team

IUPUI, Team S22-G4, Bayer Fall 2017 Membro di IUPUI, Team S22-G4, Bayer Fall 2017
IUPUI-BAYER-F17S22G4
5 Membri
4 Guide realizzate