Introduzione
This Adapter Kit is used to replace the LCD screen in the iMac 17" Intel model. These models are notorius for developing hundreds of vertical lines due to a manufacturing defect. You may also wish to use this if you have cracked or otherwise damaged your screen.
Cosa ti serve
-
-
Loosen the two captive Phillips screws securing the access door to the iMac.
-
Remove the access door from the iMac.
-
-
-
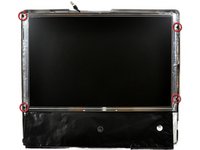
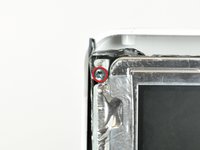
Remove the following four screws:
-
Three 6 mm T8 Torx.
-
One 8 mm T8 Torx.
-
-
-
Flip your iMac over and lay it stand-side down on a flat surface.
-
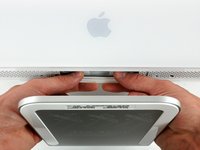
To lift the front bezel off the iMac, simultaneously:
-
Use your thumbs to press in the RAM arms and hold the iMac down.
-
Use your index fingers to pull the small bridge of material on the front bezel toward yourself.
-
Pull the Front bezel up with your index fingers.
-
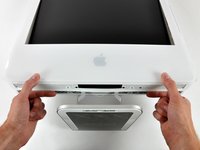
Once the small bridge of material has cleared the RAM arms, lift the front bezel by its lower edge just enough to clear the bottom edge of the rear case.
-
-
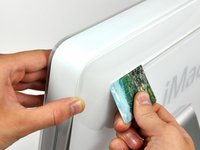
Attrezzo utilizzato in questo passaggio:Plastic Cards$2.99
-
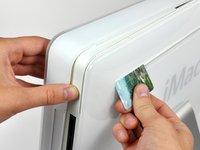
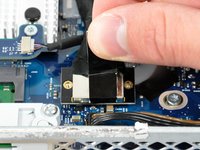
Insert a plastic card up into the corner of the air vent slot near the top of the rear case.
-
Push the card toward the top of the iMac to release the front bezel latch.
-
Pull the front bezel away from the rear case.
-
Repeat this process for the other side of the front bezel.
-
If the bezel refuses to release, try pressing the lower edge back onto the rear case and repeat this opening process.
-
-
-
-
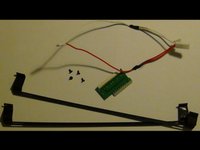
What you will need to complete this install:
-
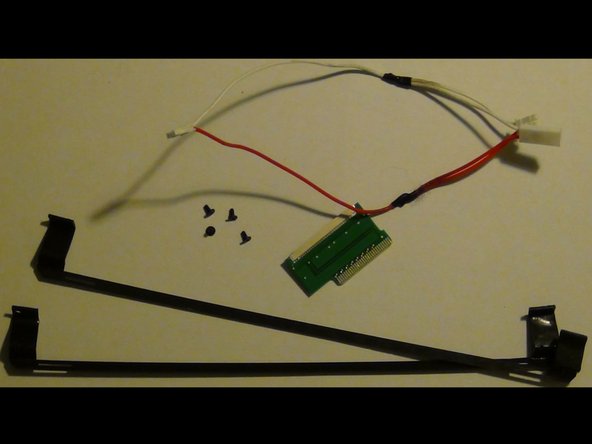
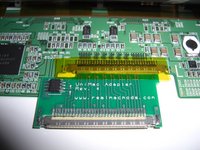
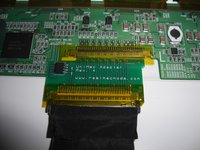
Contents of UniMac V4 Adapter Kit:
-
UniMac V4 Adapter
-
Mounting brackets
-
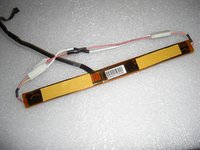
CCFL Adapter
-
Phillips Screws
-
Required tools listed prior, compatible LCD panel, insulation tape (clear packing tape works well)
-
-
-
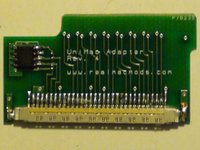
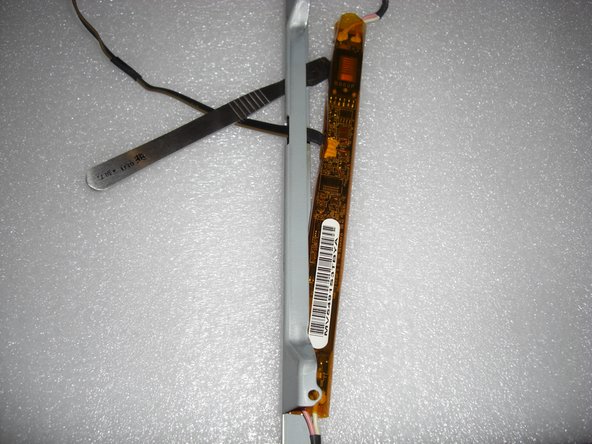
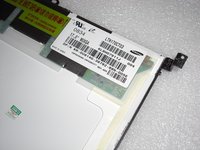
Attach the UniMac V4 Adapter to the LCD screen.
-
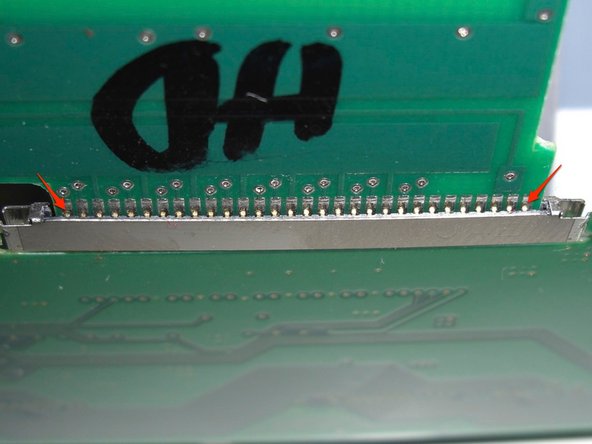
Simply clip it into the LVDS socket.
-
Ensure a solid connection and then put a piece of packing tape over the adapter.
-
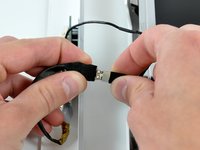
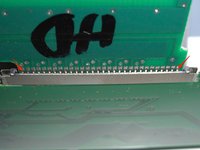
Attach the LVDS cable, that you removed earlier, to the UniMac V4 Adapter. Ensure a solid connection and put a piece of packing tape over it.
-
-
-
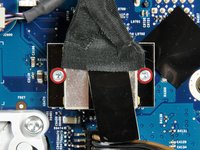
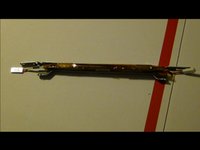
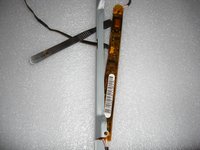
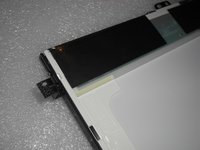
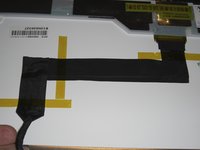
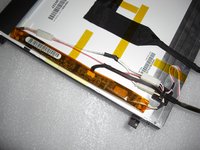
Fix the LVDS cable with some adhesive tape. This reduces mechanical force applied to the UniMac Adapter and makes the modification more stable.
-
Now place the inverter board at the left side of the LCD. There's enough room between the CD-ROM drive and the LCD, so there's the optimal place.
-
You should now have a fully assembled display ready for install.
-
-
-
Vertical alignment:
-
Each bracket utilizes 2 screws mounted through 2 slots. This allows a few inches of movement up or down.
-
You will likely need to go back and make adjustments after the install.
-
Just loosen the 2 screws and slide the bracket up or down as needed and then tighten screws.
-
-
-
Reassembly and test:
-
Double check everything and once you are confident everything went well, install the front bezel.
-
Attach the power cable, and hit the power button.
-
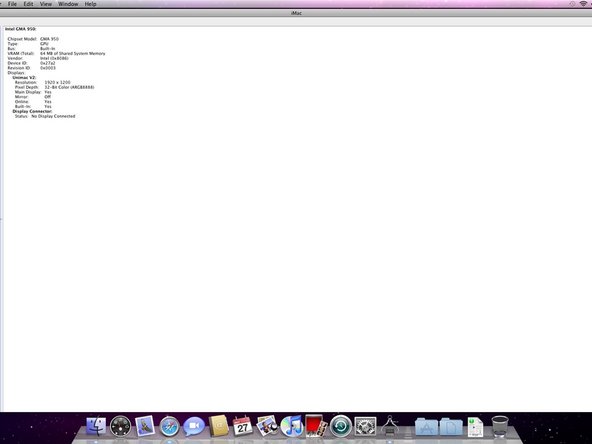
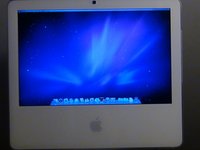
You should now be greeted by a white screen and the Apple logo.
-
It should now be apparent if any alignment adjustments need to be made.
-


Annulla: non ho completato questa guida.
Altre 5 persone hanno completato questa guida.
2Commenti sulla guida
My replacement screen has two wired out puts to put into the ccfl adaptor. The screen is one known to work.
Is correct?