Introduzione
Replace your broken optical drive to keep those disks spinning.
Cosa ti serve
-
-
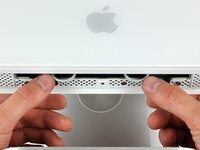
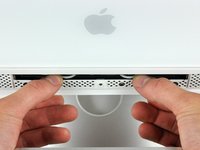
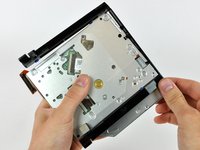
Remove the three T8 Torx screws securing the front bezel to the rear panel.
-
-
Attrezzo utilizzato in questo passaggio:Plastic Cards$2.99
-
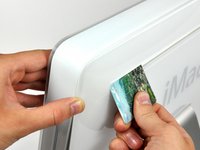
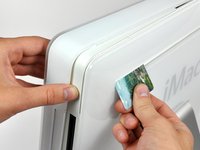
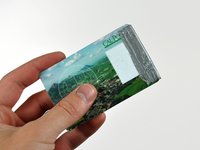
Insert a plastic card up into the corner of the air vent slot at the top of the rear case.
-
Push the card toward the top of the iMac to release the front bezel latch.
-
Pull the front bezel away from the rear case.
-
Repeat this process for the other side of the front bezel.
-
-
-
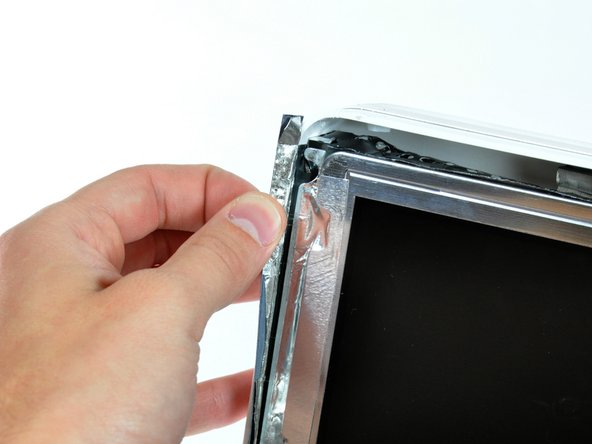
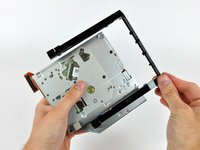
Peel back the aluminum EMI shield up off the lower three edges of the rear case.
-
-
-
-
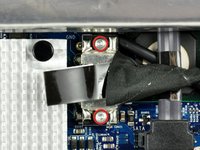
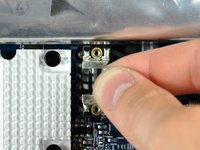
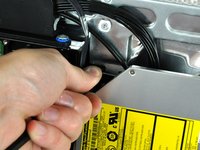
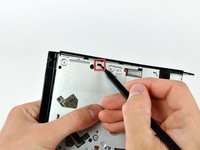
Remove the T10 Torx screw securing the optical drive flex cable mounting bracket to the logic board.
-
Remove the flex cable mounting bracket.
-
-
-
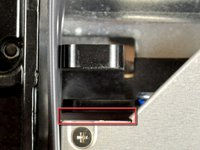
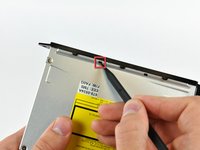
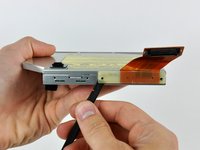
Use the flat end of a spudger to press the bottom edge of the lower optical drive bracket release tab toward the lower edge of the iMac.
-
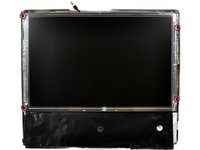
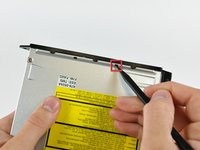
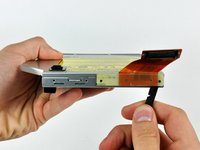
Maneuver the optical drive out of the rear case, minding the two plastic pins molded into the rear case near the open end of the optical drive that can break off.
-


To reassemble your device, follow these instructions in reverse order.
Annulla: non ho completato questa guida.
Altre 7 persone hanno completato questa guida.

1Commento della guida
Excellent information that is timely for me because I need to replace my hard disk. Do you recall the name of the hard disk you used to replace the original, just quickly?