Introduzione
Trip over your power cord? Use this guide to replace your AC power inlet.
Cosa ti serve
-
-
Remove the three T8 Torx screws securing the front bezel to the rear panel.
-
-
-
Insert a plastic card up into the corner of the air vent slot at the top of the rear case.
-
Push the card toward the top of the iMac to release the front bezel latch.
-
Pull the front bezel away from the rear case.
-
Repeat this process for the other side of the front bezel.
-
-
-
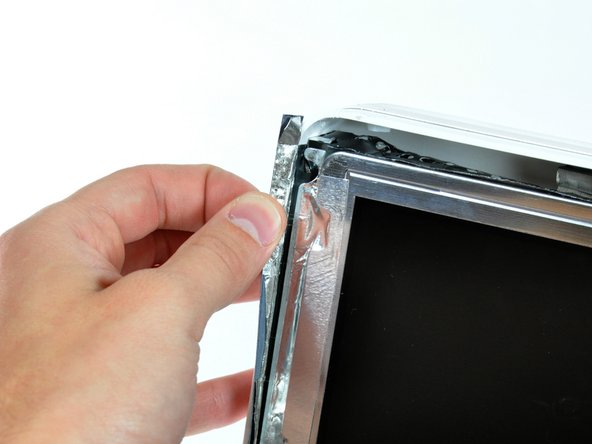
Peel back the aluminum EMI shield up off the lower three edges of the rear case.
-
-
-
-
Remove the single 5 mm T6 Torx screw securing the IR board bracket to the logic board.
-
Remove the IR cable finger and move the IR board, with cable still attached, out of the way.
-
-
-
Disconnect the CPU fan connector from the logic board by pulling it straight up from its socket.
-
-
-
Lift the hard drive fan off the plastic posts protruding from the rear case.
-
-
-
Use a pair of tweezers to pull the AC-in cable out from underneath the chassis.
-


To reassemble your device, follow these instructions in reverse order.
To reassemble your device, follow these instructions in reverse order.
Annulla: non ho completato questa guida.
Altre 2 persone hanno completato questa guida.
