Salta al contenuto principale

iHome iH27B iPod Adapter Replacement

Cosa ti serve

  1. iHome iH27B iPod Adapter Replacement, Adapter: passo 1, immagine 1 di 1
    • Set the IHome on a surface facing upward.

    • Locate the two screws on the docking station adapter.

    • Remove the following screws:

    • Two 10 mm Phillips #0

  2. iHome iH27B iPod Adapter Replacement: passo 2, immagine 1 di 1
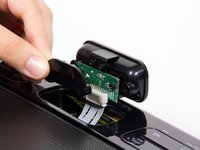
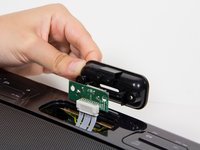
    • Grip the plastic adapter case and pull upwards with a medium amount of force. You will have to twist forward a little so that the connections are visible.

    • The adapter will still be connected with wires, so make sure not to pull too hard.

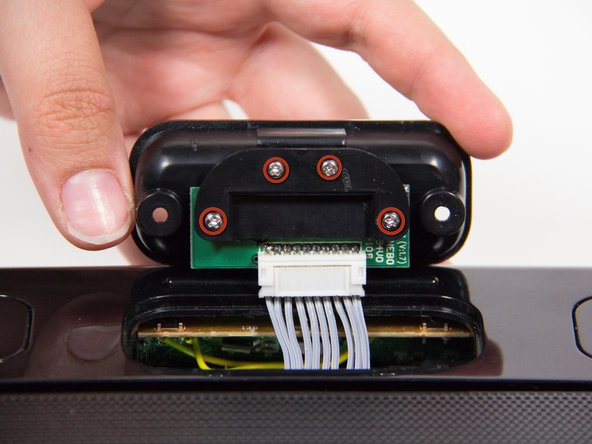
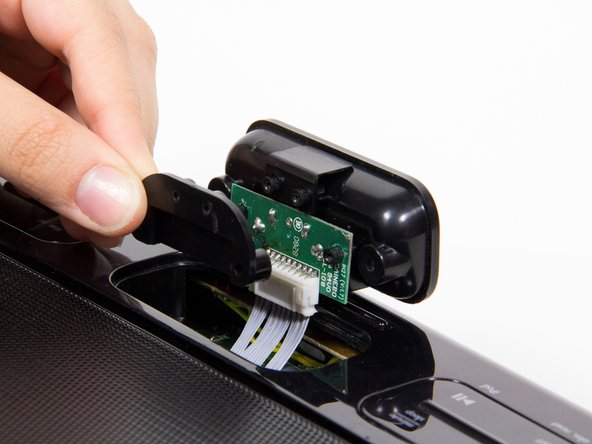
  3. iHome iH27B iPod Adapter Replacement: passo 3, immagine 1 di 3 iHome iH27B iPod Adapter Replacement: passo 3, immagine 2 di 3 iHome iH27B iPod Adapter Replacement: passo 3, immagine 3 di 3
    • Remove the following screws:

    • Four 7 mm Phillips #0

    • Lift up the two black plastic pieces that have come loose on either side of the circuit board, and set them aside.

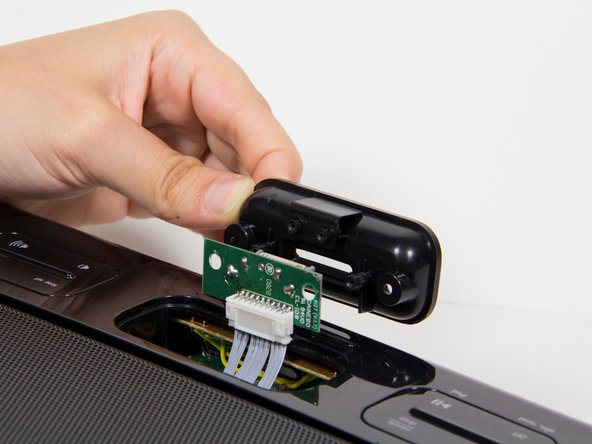
  4. iHome iH27B iPod Adapter Replacement: passo 4, immagine 1 di 2 iHome iH27B iPod Adapter Replacement: passo 4, immagine 2 di 2
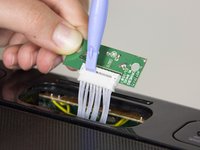
    • Carefully pry apart the bundle of white wires connected at the junction with the plastic opening tool.

    • Do this slowly. Be careful not to damage the wires

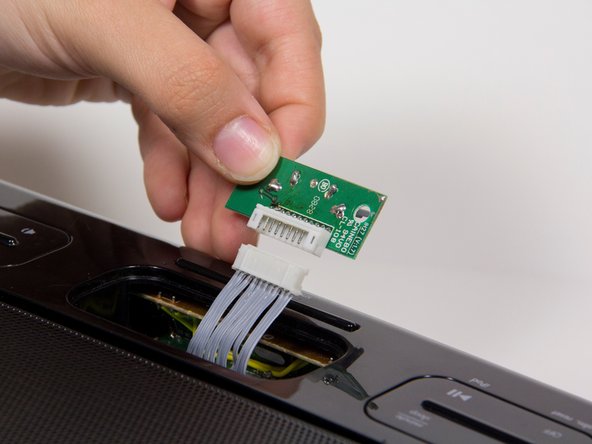
    • Lift up the circuit board that has become loose.

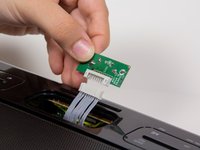
  5. iHome iH27B iPod Adapter Replacement: passo 5, immagine 1 di 1
    • Pull out the adapter, and replace it with the new one.

Conclusione

To reassemble your device, follow these instructions in reverse order.

Un'altra persona ha completato questa guida.

Team

Cal Poly, Team 3-21, Amido Fall 2012 Membro di Cal Poly, Team 3-21, Amido Fall 2012

CPSU-AMIDO-F12S3G21

4 Membri

9 Guide realizzate

0 Commenti

Aggiungi Commento

Visualizza Statistiche:

Ultime 24 Ore: 0

Ultimi 7 Giorni: 1

Ultimi 30 Giorni: 3

Tutti i Tempi: 2,322