Questa versione può contenere modifiche errate. Passa all'ultima istantanea verificata.
Cosa ti serve
-
Questo passaggio è privo di traduzione. Aiuta a tradurlo
-
Unscrew the two 9.0 mm screws with a Phillips #1 screwdriver.
-
Remove the translucent bottom case.
-
-
Questo passaggio è privo di traduzione. Aiuta a tradurlo
-
Remove the two Phillips #1 9.0mm screws on the back of the iHome.
-
Repeat the previous step for the two 9.0mm screws on the bottom.
-
-
-
Questo passaggio è privo di traduzione. Aiuta a tradurlo
-
Remove the aluminum bracket by loosening the two nuts and removing the 8.0 mm bolts.
-
Pull the bracket out.
-
-
Questo passaggio è privo di traduzione. Aiuta a tradurlo
-
Remove the two 12.0mm screws that hold the motherboard with a Phillips #1 screwdriver.
-
Slide the motherboard gently out.
-
-
Questo passaggio è privo di traduzione. Aiuta a tradurlo
-
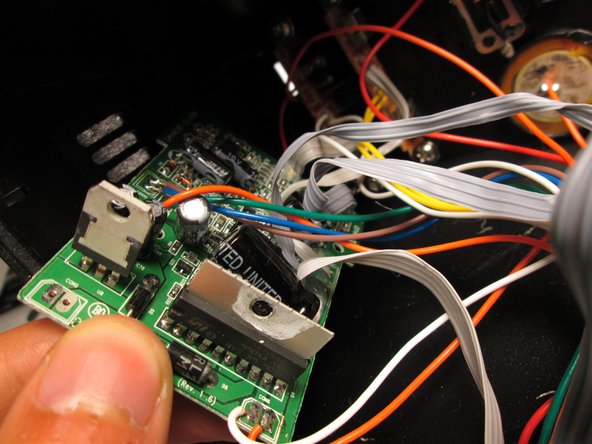
Solder each wire to corresponding input on the motherboard.
-
Annulla: non ho completato questa guida.
Un'altra persona ha completato questa guida.


