Introduzione
This is a guide to repair the original iFixit screwdriver which was included in the 54 Bit Driver Kit. The rubber grip rings wear out over time and this guide sheds some light on how to get a new grip on your old screwdriver.
Cosa ti serve
-
-
Your iFixit screwdriver has seen better days. Its been in one to many tight places and its mated with far too many screw faces. Its been a part of so many fixes that it seriously would appreciate some down time.
-
But no, you want to keep using this driver. You want it to weather the next fix. It's just not performing like it used to in its glory days.
-
So what is this anyway? A guide to fix a screwdriver? You bet.
-
-
-
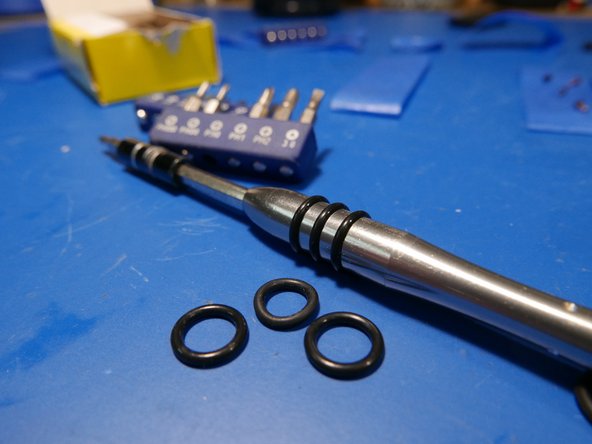
If you're an owner of the original iFixit screwdriver included in the 54 Bit Driver Kit, you've probably noticed that the rubber grip rings on the screw driver wear out over time, develop small tears and fall off.
-
Regardless if they wear from over-torquing or the build up of oils from your hands, it's quite frustrating to lose the grip on a prised screwdriver.
-
-
-
-
So how do you remove the old grip? Simple, use your fingernails!
-
Otherwise, use toothpicks!
-
Remember the mohs scale? Wood won't carelessly scratch your metal tool!
-


To reassemble your screwdriver, follow these instructions in reverse order.
To reassemble your screwdriver, follow these instructions in reverse order.
Annulla: non ho completato questa guida.
Altre 4 persone hanno completato questa guida.

Team

Un commento
Worked like a charm.
Now all I need is to get instructions on how to assemble a replacement 54-bit driver kit case….