Introduzione
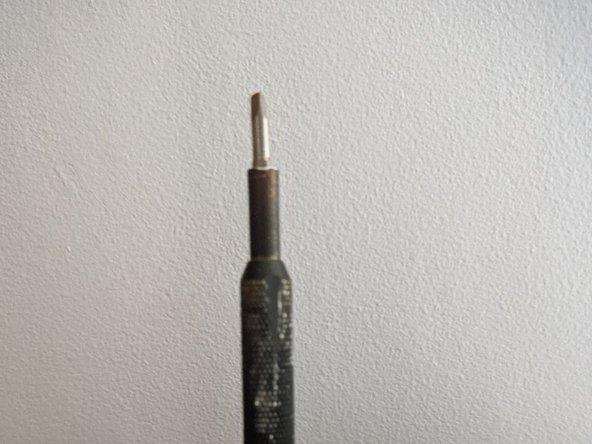
This guide will help you replace the magnet at the bottom of your IFixit 4mm aluminium precision driver.
This may be helpful:
- if you need to remove something stuck to the magnet inside the shaft (bearing, small screw...)
- if your magnet has become broken or lost strength
- if you're curious and addicted to taking things appart
A year ago, I caught a steel ball bearing inside my screwdriver. With the bearing inside, bits wouldn't stay in because of the lower magnetic strength and insertion depth. I tried a few things, but eventually removed the bearing by heating up my screwdriver with a blowtorch, which demagnetised the magnet, and allowed me to retrieve the bearing.
With the magnet no longer magnetic, I inserted 2 4mmx2mm disc magnets at the bottom of my driver to hold the bits in place. They stuck out a little, but at least my driver held bits in place again, and I have been using it for the past year.
I stumbled upon this guide : Reattach the cap on an IFixit Precision Bit Driver and did it in reverse to see what was inside. Turns out, the screwdriver is hollow, and I could see the old magnet through the hole.
I took advantage of this to remove the old magnet, and restore my original insertion depth
Cosa ti serve
-
-
Follow the Cap Replacement guide in reverse.
-
I found doing a few loops around the handle first helped tighten the floss around the cap
-
-
-
Place the screwdriver vertically, bit shaft down on a hard surface.
-
You will be hammering against that surface. Make sure it's either resistant, or that damage to it doesn't matter
-
Insert a 3mm allen key all the way down.
-
The allen key's 90° should not touch the end of the driver. It needs to be able to be pushed further.
-
Use a hammer to dislodge the old magnet. You may need to hit hard and a few times
-
Once the magnet is dislodged, you can blow through the driver or use a long pokey thing to remove it completely
-
-
-
-
Attach the new magnet (in this case 2x 2mm*4mm disc magnets, original was a 4*4mm) to one of your useless bits. I used the triangle one
-
You may want to add a dab of glue to the back of your magnets. I didn't feel the need, a press fit was all that was needed
-
Insert the bit. It may not go all the way to the required depth
-
Place the screwdriver, cap side down, on your makeshift anvil/surface
-
Give it a good few hits with the hammer, to push it back in.
-
Hits sound different when you're all the way in. When that's the case, you can't go further
-
-
-
Follow the Cap Replacement guide to re attaching the cap to put it back on
-
I couldn't tighten mine back all the way, I may have damaged some threads whilst hammering the allen key.
-
-
-
You've done it. You've fixed your IFixit driver that you bought to fix things. The fixer is fixed.
-
Maybe this wasn't worth it, and a replacement screwdriver was just an email to support away, but why do that, when you can fix it
-


Congratulaitons. Your screwdriver is fixed.
Now you that you have 4mm disc magnets, why not stick one to the bottom of your 4mm hex driver bit, and give you a magnetic bit extension for hard to reach screws.
Annulla: non ho completato questa guida.
Un'altra persona ha completato questa guida.