Salta al contenuto principale

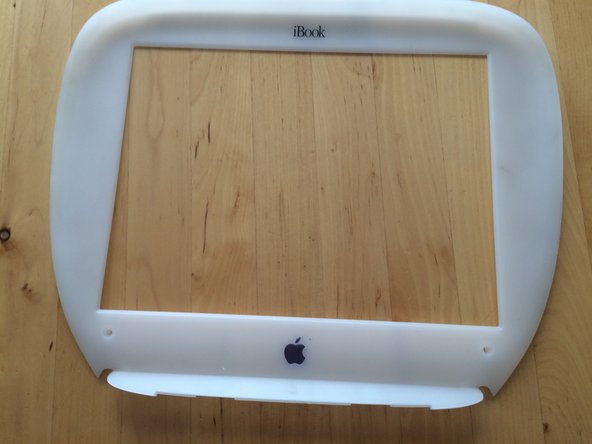
iBook G3 Clamshell LCD Bezel Replacement

Cosa ti serve

  1. iBook G3 Clamshell LCD Bezel Replacement, Battery Cover: passo 1, immagine 1 di 1
    • Use a coin to unscrew the battery cover, and remove battery.

  2. iBook G3 Clamshell LCD Bezel Replacement, Back Cover: passo 2, immagine 1 di 2 iBook G3 Clamshell LCD Bezel Replacement, Back Cover: passo 2, immagine 2 di 2
    • Use a t8 Torx driver to unscrew the two screws holding in the back cover, then remove the cover.

  3. iBook G3 Clamshell LCD Bezel Replacement: passo 3, immagine 1 di 1
    • Open the screen, and remove the two t8 Torx screws holding the bezel in place.

  4. iBook G3 Clamshell LCD Bezel Replacement: passo 4, immagine 1 di 2 iBook G3 Clamshell LCD Bezel Replacement: passo 4, immagine 2 di 2
    • Use a flat tip screw driver to unsnap the bezel from its place.

    • When at the top rubberized area, pry the bezel down.

Conclusione

To reassemble your device, follow these instructions in reverse order.

Un'altra persona ha completato questa guida.

aidan

Membro da: 02/26/16

101 Reputazione

1 Guida realizzata

0 Commenti

Aggiungi Commento

Visualizza Statistiche:

Ultime 24 Ore: 4

Ultimi 7 Giorni: 18

Ultimi 30 Giorni: 41

Tutti i Tempi: 3,359