Introduzione
La copertura metallica inferiore che protegge la scheda logica dall'interferenza elettromagnetica.
Cosa ti serve
-
-
Utilizza una moneta per ruotare la vite che blocca la batteria di 90 gradi in senso orario.
-
Estrai la batteria dal computer.
-
-
-
Utilizza uno spillo per rimuovere i tre piedini in gomma dal case inferiore.
-
-
-
-
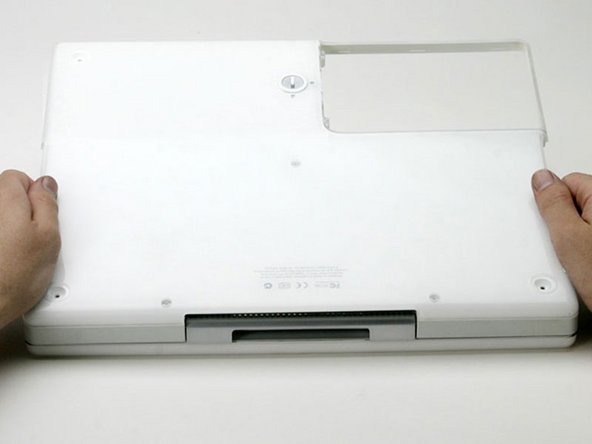
Passa uno spudger lungo la linea di giunzione tra il case inferiore e il case superiore sulla parte anteriore del computer per liberare le alette che bloccano il case inferiore.
-
Tira su sul case inferiore e continua a utilizzare uno spudger finché necessario fino a sentire tre click distinti.
-


Per riassemblare il tuo dispositivo, segui queste istruzioni in ordine inverso.
Per riassemblare il tuo dispositivo, segui queste istruzioni in ordine inverso.
Annulla: non ho completato questa guida.
Un'altra persona ha completato questa guida.
Un ringraziamento speciale a questi traduttori:
100%

Questi traduttori ci stanno aiutando ad aggiustare il mondo! Vuoi partecipare?
Inizia a tradurre ›
Documenti Allegati

2 Commenti
By using a T8 Torx screwdriver to remove and reinstall the three hex screws on the bottom case as suggested, I ended up stripping the screw heads when tightening them. By pushing hard on a T9 Torx driver I was able to carefully remove the stripped screws. I would recommend using the proper size hex driver instead of the T8 Torx driver for a more positive grip in the screw head.