Questa guida ha delle modifiche più recenti. Passa all'ultima versione non verificata.
Introduzione
Change out the entire display assembly, including the inverter, Airport antenna, hinges and plastic casing.
Cosa ti serve
-
-
Use a coin to rotate the battery locking screw 90 degrees clockwise.
-
Lift the battery out of the computer.
-
-
-
Pull the keyboard release tabs toward you and lift up on the keyboard until it pops free.
-
If the keyboard does not come free, use a small flathead screwdriver to turn the keyboard locking screw 180 degrees in either direction and try again.
-
Flip the keyboard over, away from the screen, and rest it face-down on the trackpad area.
-
-
-
-
Remove the following 4 screws on the bottom of the computer:
-
Two 3 mm Phillips from the left side of the computer.
-
One 4.5 mm Phillips near the latch mechanism (this screw may be missing in 800 MHz iBooks)
-
One 14.2 mm Phillips near the front, right corner.
-
-
-
Remove the following 14 screws (some models may be missing a couple of screws):
-
One 2.5 mm Phillips.
-
Six 3.5 mm Phillips.
-
One 4.5 mm Phillips near the sleep light with a small shaft.
-
Two 4.5 mm Phillips with larger shafts.
-
Four 5 mm Phillips
-
If a screw is inserted in the left hole, the 14.2 mm screw in step 24 can not be inserted to hold the top case down.
-
-
-
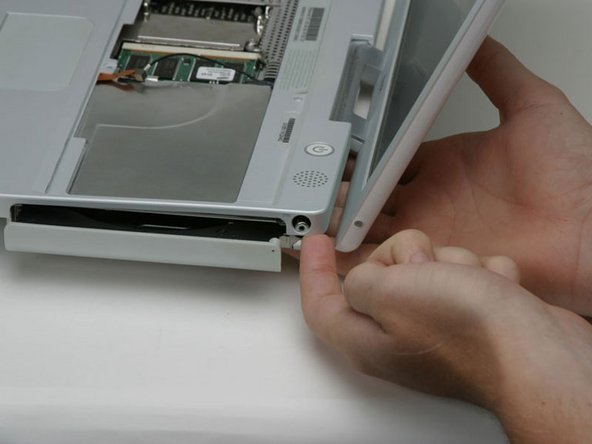
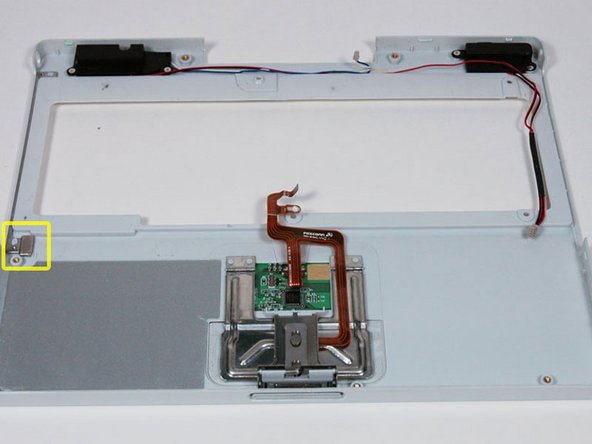
Your laptop should look approximately like this.
-
Your laptop should look approximately like this.
-


To reassemble your device, follow these instructions in reverse order.
To reassemble your device, follow these instructions in reverse order.
Annulla: non ho completato questa guida.
Altre 28 persone hanno completato questa guida.
