Introduzione
This guide has some missing steps. Check out the comprehensive iPhone 4S Screen Replacement Guide.
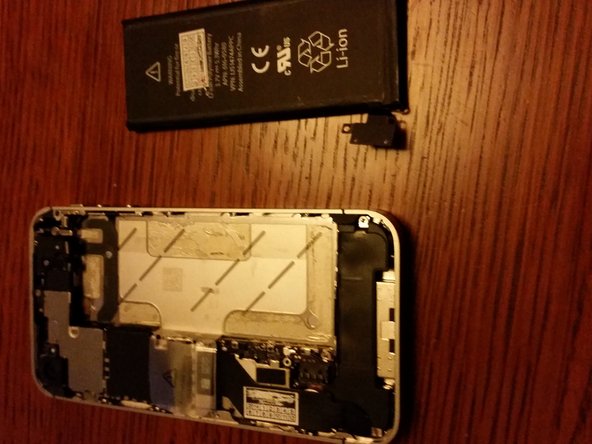
Cosa ti serve
-
-
-
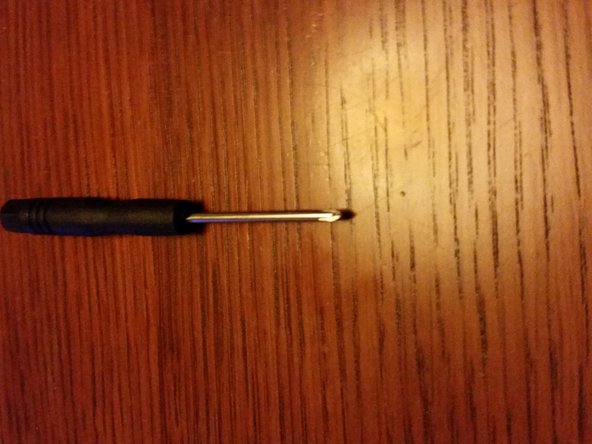
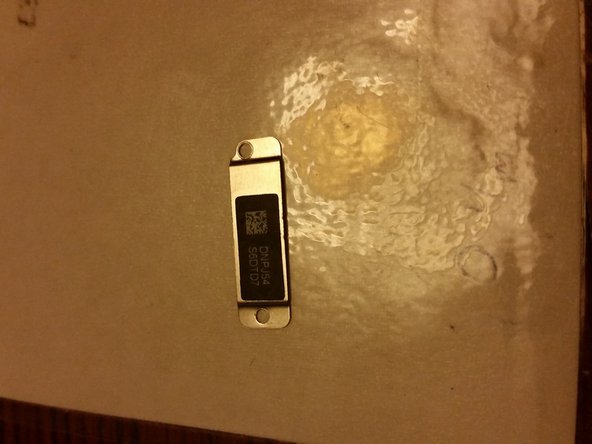
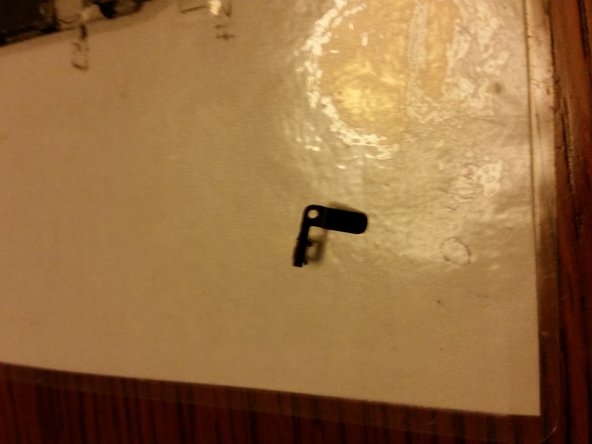
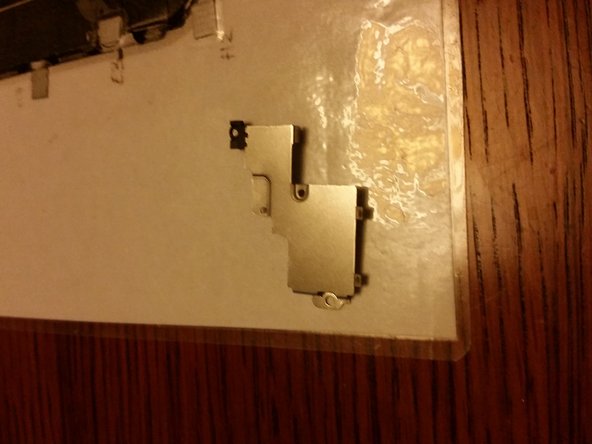
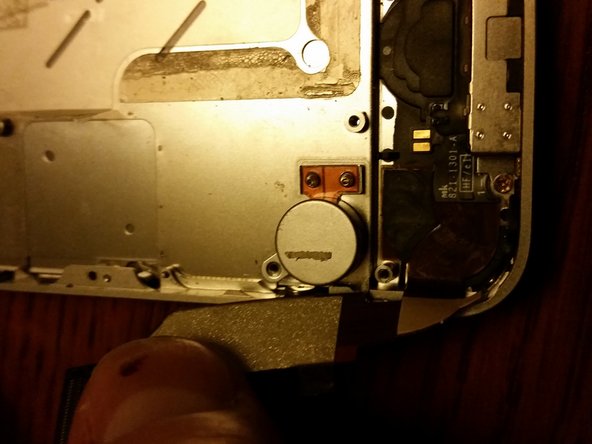
Remove 2 X Philips screws and plate
-
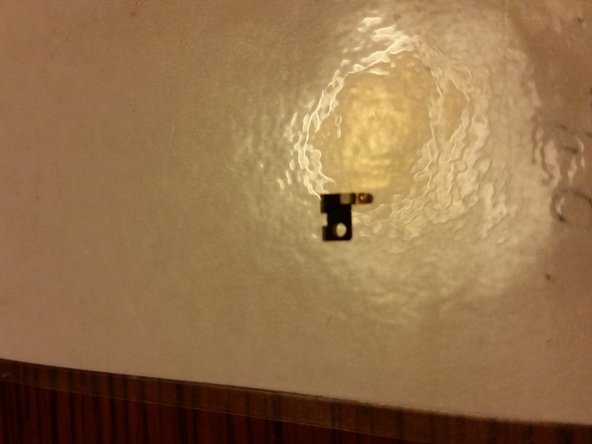
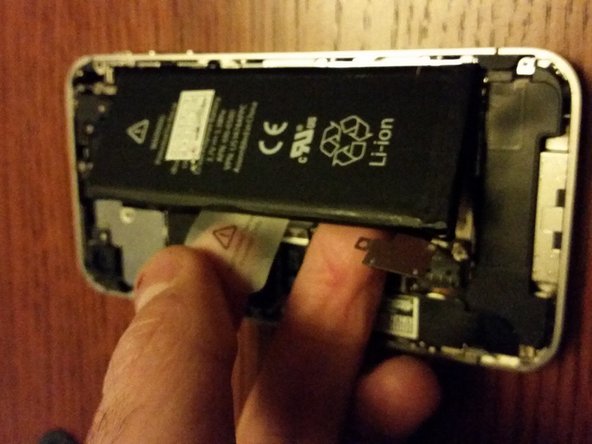
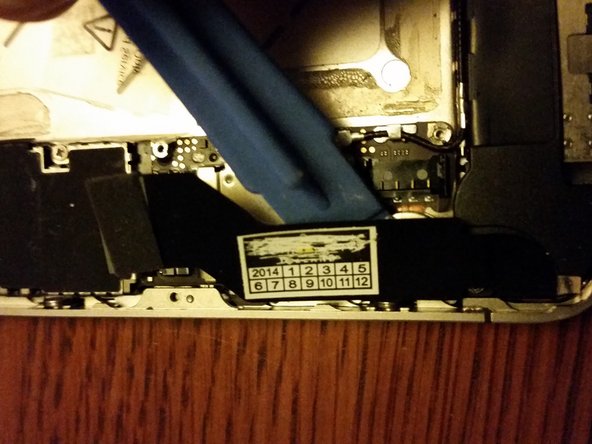
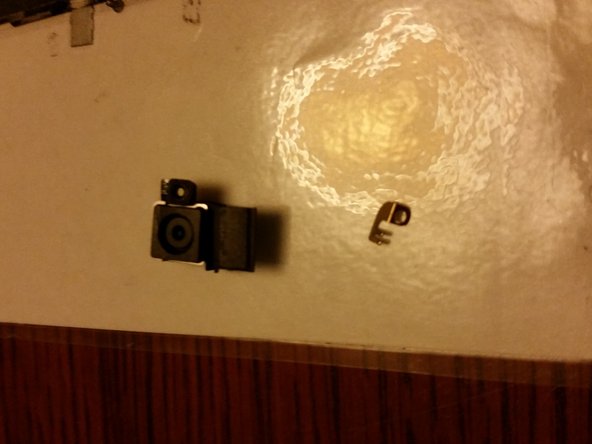
Pop up connector and slide tool underneath ribbon cable to remove glue
-


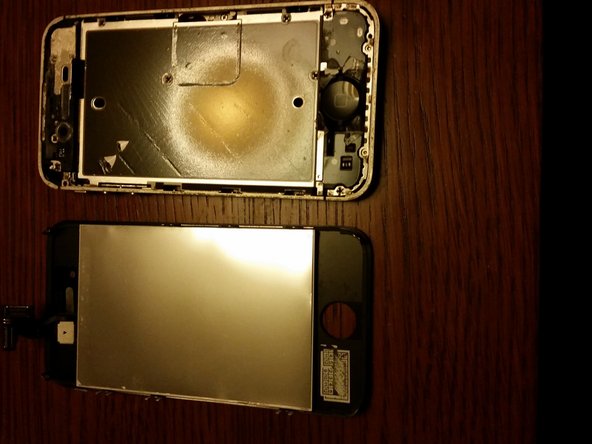
To reassemble your device, follow these instructions in reverse order.
To reassemble your device, follow these instructions in reverse order.
Annulla: non ho completato questa guida.
Altre 6 persone hanno completato questa guida.
Team

Un commento
I know the user had good intentions, but this is a low quality guide. Low lighting, super vagueness in steps, not all steps necessary are listed, screws to remove, harmful surprises to expect etc. If you want to replace your screen successfully with confidence and ease, use ifixit's staff guide: Sostituzione schermo iPhone 4S