Introduzione
This guide shows you how to replace the Zune Flash 2nd Generation face plate.
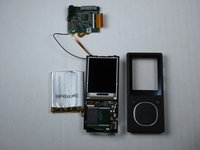
Cosa ti serve
-
-
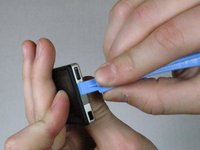
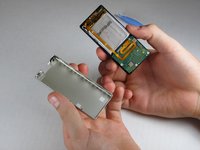
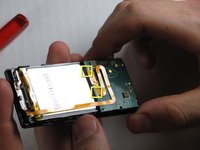
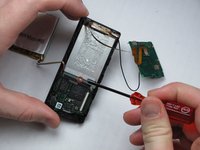
Prior to disassembly, verify the hold switch is engaged to ensure the device will not turn on during the procedure.
-
If the device turns on while it is being disassembled it could cause irreversible damage to the device.
-
-
-
-
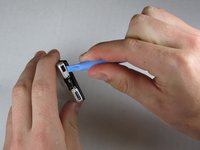
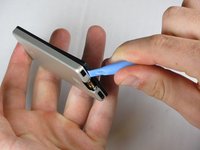
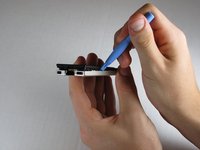
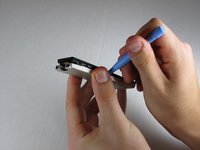
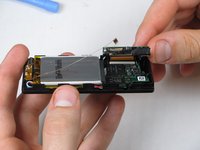
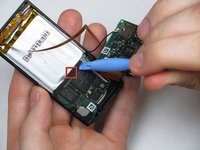
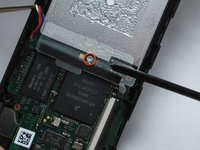
Remove the three screws (5.5mm by 3mm) from the backside of the Zune using a Y00 Tri-Wing screwdriver.
-
Be sure to put this set of screws aside since they are a different size than any other screws in the device.
-


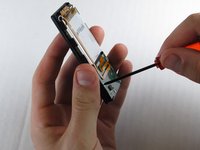


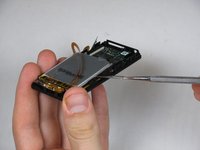


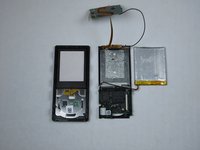
To reassemble your device, follow these instructions in reverse order.
Annulla: non ho completato questa guida.
Altre 2 persone hanno completato questa guida.
Team

Cal Poly, Team 9-20, Regan Fall 2009 Membro di Cal Poly, Team 9-20, Regan Fall 2009
CPSU-REGAN-F09S9G20
5 Membri
7 Guide realizzate