Salta al contenuto principale
Unisciti alla Community delle riparazioni - Crea un account
Zeepad 7DRK Power and Volume Button  Replacement

Zeepad 7DRK Power and Volume Button Replacement

Trevor Taylor

Trevor Taylor e 5 altri collaboratori

Ultimo aggiornamento il March 18, 2019

10 minuti
Facile

Introduzione

Vai al passo 1

In this repair guide, the Zeepad 7DRK will be taken apart to replace the Volume and Power buttons. This task can be accomplished with a simple soft-tipped prying tool in a short amount of time. The tablet will simply be pried apart to access the buttons.

Cosa ti serve

Strumenti

  1. Zeepad 7DRK Power and Volume Button  Replacement, Power and Volume Buttons: passo 1, immagine 1 di 1
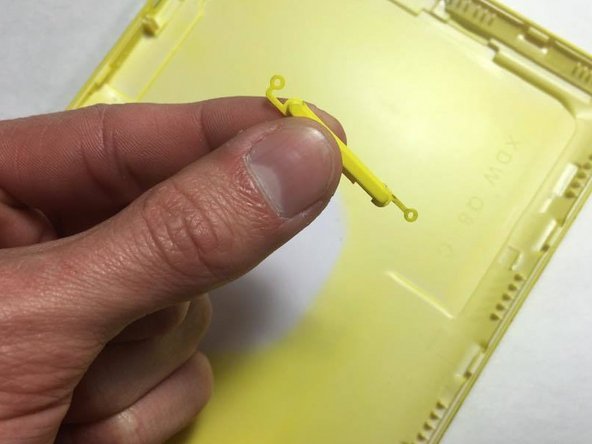
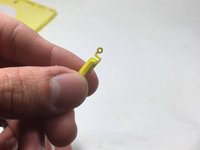
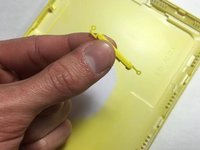
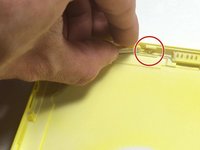
    • First find the power and volume buttons so that you are familiar with their location.

    • The smaller button is the power button and the larger button is the volume button.

  2. Zeepad 7DRK Power and Volume Button  Replacement: passo 2, immagine 1 di 2 Zeepad 7DRK Power and Volume Button  Replacement: passo 2, immagine 2 di 2
    • To open the tablet, use one of the soft-tip prying tools.

    • It is easiest to start by using the corner of the tool first and sliding the rest in. Then carefully move the tool around the edges of the tablet until it separates.

  3. Zeepad 7DRK Power and Volume Button  Replacement: passo 3, immagine 1 di 1
    • Be careful of how you open the tablet, as the button will want to fall out. Try opening it flat on its back to avoid this problem.

    • This is what the tablet looks like when pried apart.

  4. Zeepad 7DRK Power and Volume Button  Replacement: passo 4, immagine 1 di 2 Zeepad 7DRK Power and Volume Button  Replacement: passo 4, immagine 2 di 2
    • In the first picture you will see the power button. Notice the small plastic ring that sticks out the side, this is so the piece can be positioned easily when you put it back together.

    • In the second picture, the volume control button is shown. Again notice the small locator rings.

  5. Zeepad 7DRK Power and Volume Button  Replacement: passo 5, immagine 1 di 2 Zeepad 7DRK Power and Volume Button  Replacement: passo 5, immagine 2 di 2
    • Now remove the old or broken buttons, and replace them.

Conclusione

To reassemble your device, follow these instructions in reverse order.

Un'altra persona ha completato questa guida.

Trevor Taylor

Membro da: 10/20/16

234 Reputazione

2 Guide realizzate

Team

UMass Dartmouth, Team 6-8, Martin Fall 2016 Membro di UMass Dartmouth, Team 6-8, Martin Fall 2016

UMASSD-MARTIN-F16S6G8

3 Membri

10 Guide realizzate

0Commenti sulla guida

Aggiungi Commento

Visualizza Statistiche:

Ultime 24 Ore: 0

Ultimi 7 Giorni: 0

Ultimi 30 Giorni: 1

Tutti i Tempi: 375