Questa versione può contenere modifiche errate. Passa all'ultima istantanea verificata.
Cosa ti serve
-
Questo passaggio è privo di traduzione. Aiuta a tradurlo
-
Pry rear cover off starting at the corner
-
Continue down the side
-
Lift rear cover off
-
-
Questo passaggio è privo di traduzione. Aiuta a tradurlo
-
Remove Kapton tape covering fingerprint scanner cover
-
Unscrew two screws holding on fingerprint scanner flex cover
-
Disconnect fingerprint sensor flex cable and set rear cover aside.
-
-
Questo passaggio è privo di traduzione. Aiuta a tradurlo
-
Remove the 15 Phillips 00 screws securing the midframe to the phone.
-
-
Questo passaggio è privo di traduzione. Aiuta a tradurlo
-
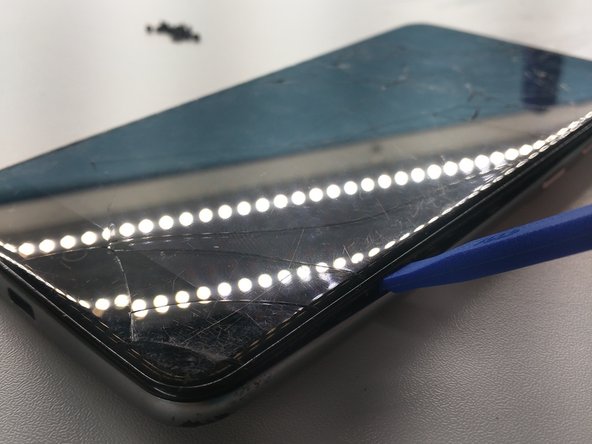
Carefully insert pry tool on side of phone between LCD and frame
-
Continue down the side the phone and around the edges until frame and LCD assembly are separated
-
Ta-da!
-
-
Questo passaggio è privo di traduzione. Aiuta a tradurlo
-
Remove Kapton tape over battery plug
-
Disconnect battery
-
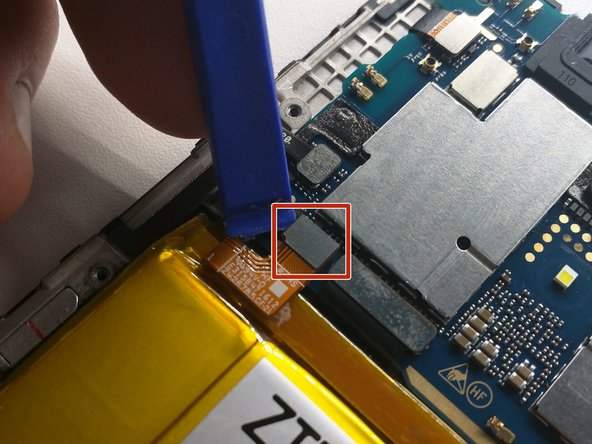
Disconnect this other flex cable above the battery, whatever it goes to
-
-
-
Questo passaggio è privo di traduzione. Aiuta a tradurlo
-
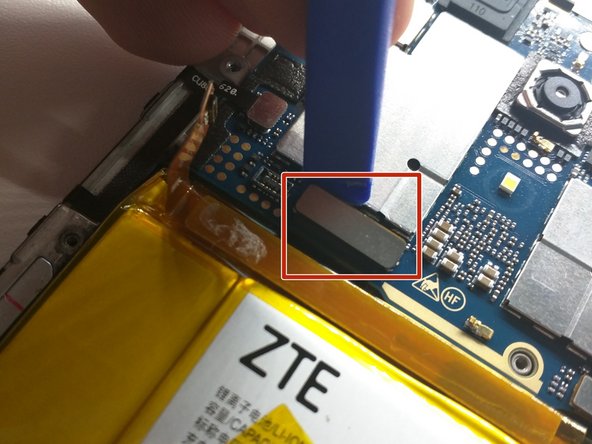
Disconnect this one
-
Now this one
-
And this camera one also
-
-
Questo passaggio è privo di traduzione. Aiuta a tradurlo
-
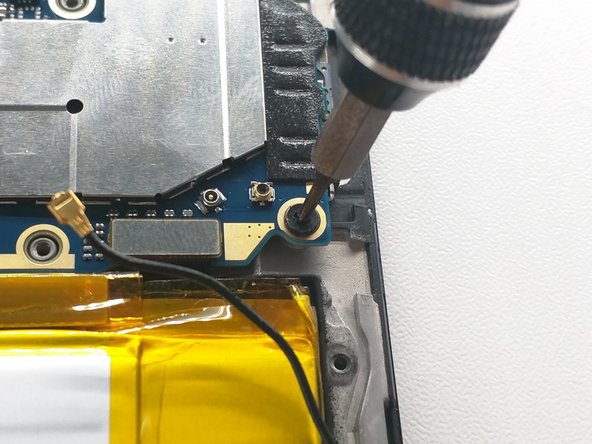
Disconnect antenna
-
Unscrew motherboard screw
-
Disconnect LCD flex cable
-
-
Questo passaggio è privo di traduzione. Aiuta a tradurlo
-
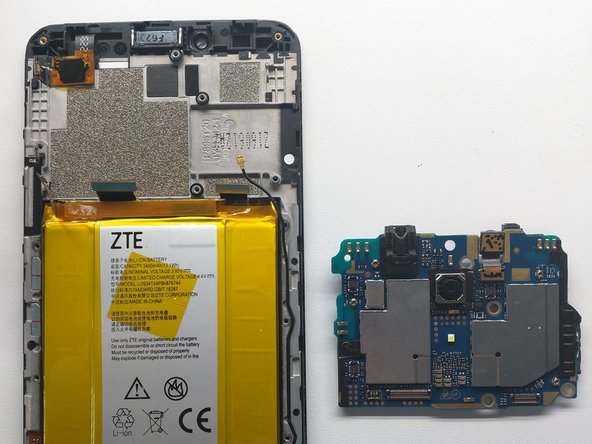
Lift out logic board
-
Easy
-
Now on to the fun part...
-
-
Questo passaggio è privo di traduzione. Aiuta a tradurlo
-
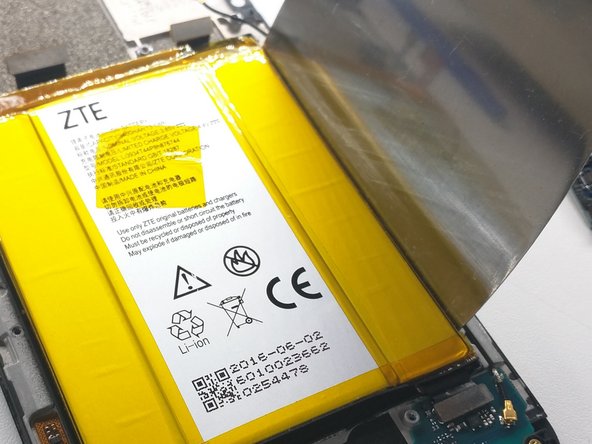
Heat up battery
-
Find appropriate tool to pry battery
-
-
Questo passaggio è privo di traduzione. Aiuta a tradurlo
-
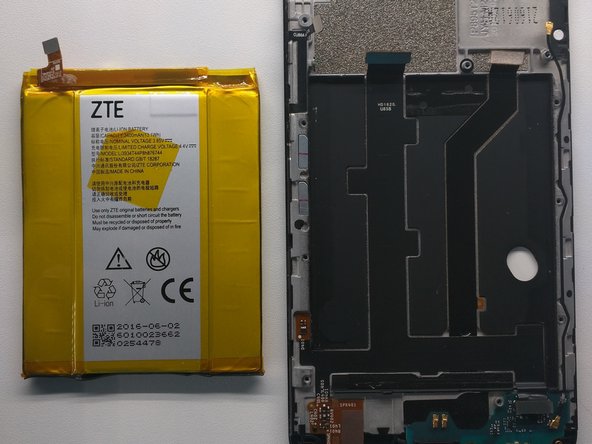
Once you have found the proper tool, begin prying up on either side of the battery.
-
Finally, bend the battery back into shape so it doesn't look too bad in your photos.
-
-
Questo passaggio è privo di traduzione. Aiuta a tradurlo
-
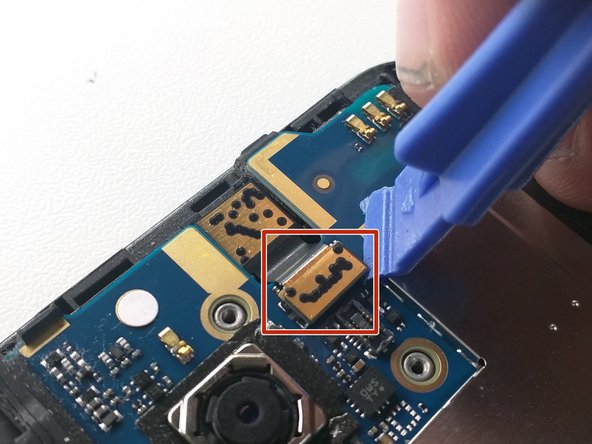
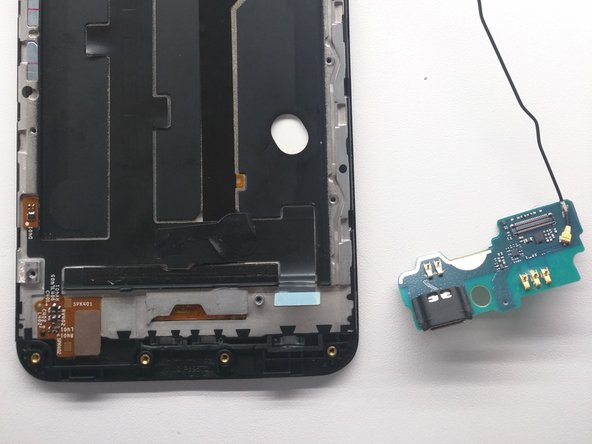
Remove tape holding charging board down (red outline)
-
Pry up charging port / antenna daughterboard.
-
Remove from frame and set aside
-
-
Questo passaggio è privo di traduzione. Aiuta a tradurlo
-
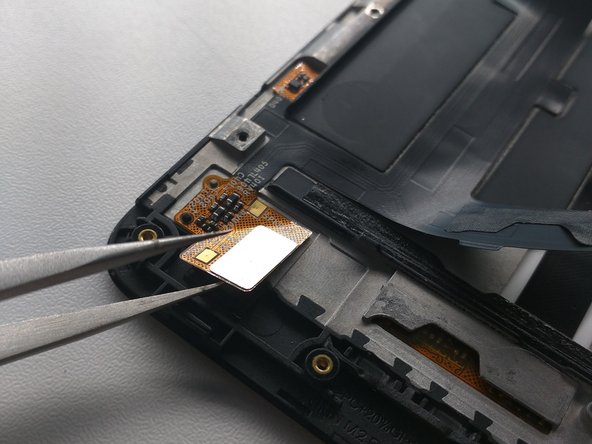
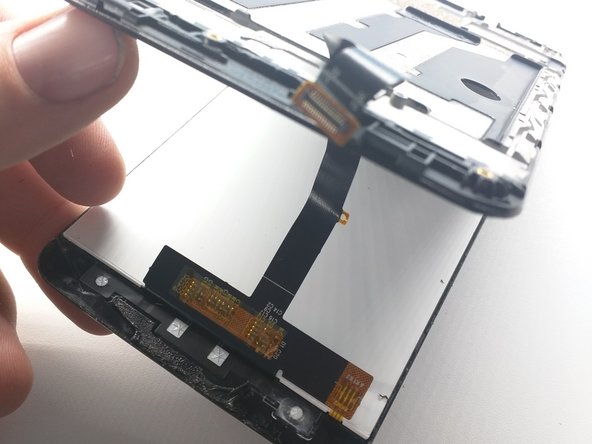
Lift up digitizer flex cable from frame
-
Peel up this flex cable and tweezer it off where it's stuck to the frame
-
Peel up the LCD flex cable
-
-
Questo passaggio è privo di traduzione. Aiuta a tradurlo
-
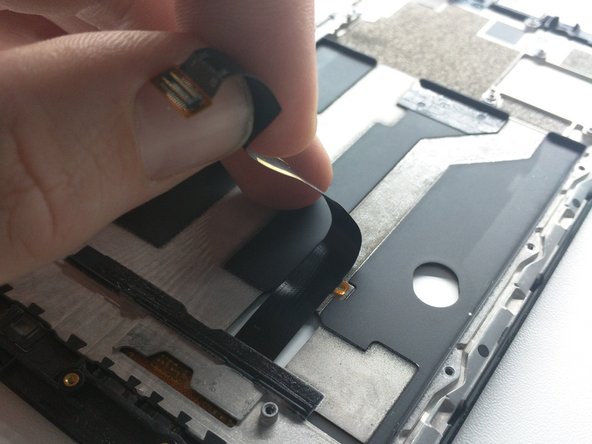
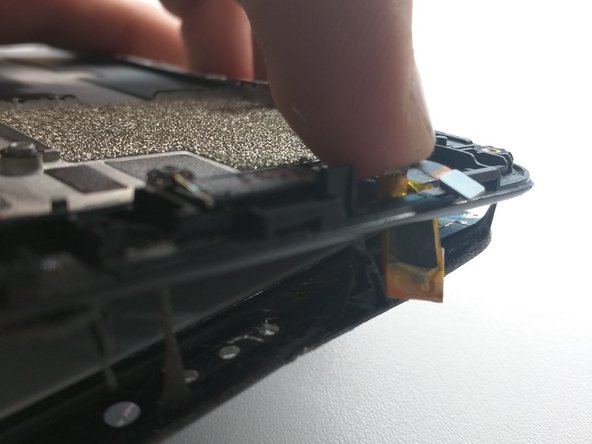
Slide something in between the screen and frame.
-
Separate LCD assembly from frame, starting at the bottom.
-
-
Questo passaggio è privo di traduzione. Aiuta a tradurlo
-
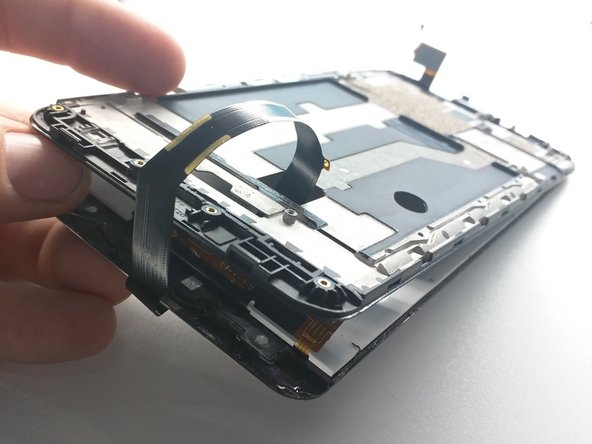
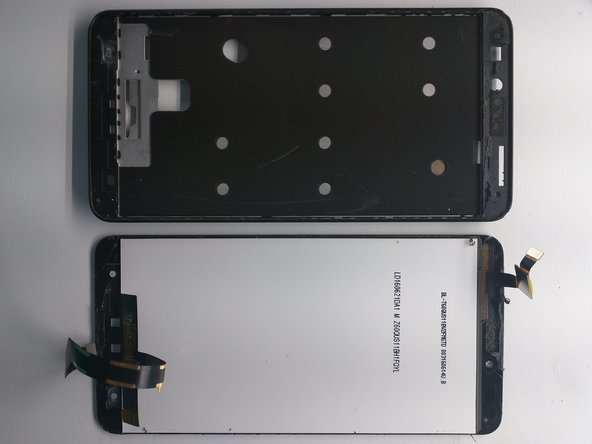
Push digitizer flex cable through frame
-
Remove LCD assembly from phone
-


Annulla: non ho completato questa guida.
Altre 90 persone hanno completato questa guida.
48 Commenti
Does the digitizer snap in? Or will I need adhesive to install my new digitizer?? Other phones that I have replaced the digitizer I needed adhesive, but I know some just snap in. I'm hoping this is one of those that just snap in.
With this phone, you would need new adhesive. I would recommend using the 2mm Tessa 61395 tape ( Tesa 61395 Tape )
So is it even possible to actually just replace the digitizer? Because it seems like in getting it out I took the lcd with it?? is that "always" the case???
The digitizer may be built into the LCD panel it self, it's not uncommon. If that's the case, no, it would not be possible to replace just the digitizer. And the cost to difficulty ratio would be rather low