Salta al contenuto principale
Yobo Gameware Controller Trigger Spring Replacement

Yobo Gameware Controller Trigger Spring Replacement

Shoaf

Shoaf e un altro collaboratore

Ultimo aggiornamento il July 30, 2024

5 - 7 minuti
Moderato
Guida fornita dalla comunità

Introduzione

Vai al passo 1

This guide will provide a step by step process to replace the left or right trigger spring in a Yobo Gameware controller for the Nintendo GameCube.

Cosa ti serve

  1. Yobo Gameware Controller Trigger Spring Replacement, Back Panel: passo 1, immagine 1 di 2 Yobo Gameware Controller Trigger Spring Replacement, Back Panel: passo 1, immagine 2 di 2
    • Be sure the controller is disconnected from the console or any source of power.

    • Place the controller (button - side down) on a clean, solid work surface.

    • Use your screwdriver to remove the six 9.2mm Tri-wing Y0 screws that hold the back panel in place.

  2. Yobo Gameware Controller Trigger Spring Replacement, Removing Back Panel: passo 2, immagine 1 di 2 Yobo Gameware Controller Trigger Spring Replacement, Removing Back Panel: passo 2, immagine 2 di 2
    • Gently life the back panel up, separating it from the front panel.

    • Some components could fall off the front panel if the controller is knocked around during this step.

  3. Yobo Gameware Controller Trigger Spring Replacement, Removing Triggers: passo 3, immagine 1 di 3 Yobo Gameware Controller Trigger Spring Replacement, Removing Triggers: passo 3, immagine 2 di 3 Yobo Gameware Controller Trigger Spring Replacement, Removing Triggers: passo 3, immagine 3 di 3
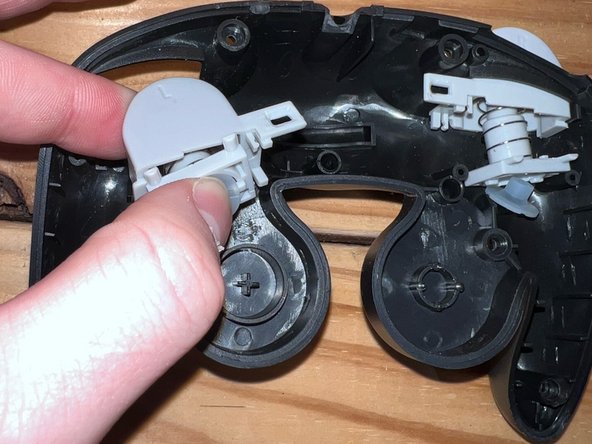
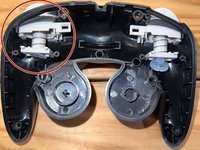
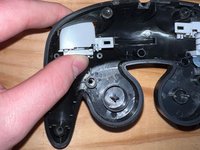
    • Depress the trigger assembly using your index finger while using your thumb to keep upward pressure on the grey square bracket and clear circular component on the underside of the trigger assembly.

    • Maintain a firm grip on the entire assembly, as the components could spring apart if you release pressure.

    • Rotate the assembly upwards and towards you to remove it from its housing in the controller.

    • The removal process is the same for both the left and right triggers.

  4. Yobo Gameware Controller Trigger Spring Replacement, Replacing Spring: passo 4, immagine 1 di 2 Yobo Gameware Controller Trigger Spring Replacement, Replacing Spring: passo 4, immagine 2 di 2
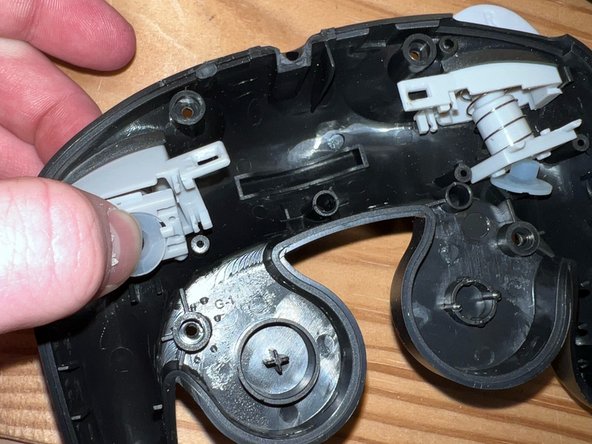
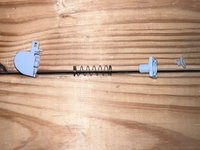
    • Gently release pressure on the trigger assembly, allowing the components to come apart on your work surface.

    • A new spring may now be incorporated into the designated trigger assembly.

Conclusione

To reassemble your device, follow these instructions in reverse order.

Shoaf

Membro da: 04/12/22

109 Reputazione

1 Guida realizzata

0Commenti sulla guida

Aggiungi Commento

Visualizza Statistiche:

Ultime 24 Ore: 0

Ultimi 7 Giorni: 6

Ultimi 30 Giorni: 24

Tutti i Tempi: 329