Salta al contenuto principale

Yamaha FG-425 Guitar String Replacement

Cosa ti serve

  1. Yamaha FG-425 Guitar String Replacement, Guitar String: passo 1, immagine 1 di 3 Yamaha FG-425 Guitar String Replacement, Guitar String: passo 1, immagine 2 di 3 Yamaha FG-425 Guitar String Replacement, Guitar String: passo 1, immagine 3 di 3
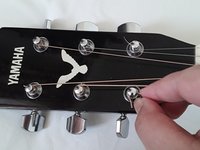
    • Turn the tuning peg clockwise using the All-In-1 Restringing Tool’s peg winder to loosen the tension of the strings.

    • Unwind the string from the tuning post and remove the string.

    • Caution: Be careful when removing the string from the tuning post because you may hurt your fingers while doing so.

  2. Yamaha FG-425 Guitar String Replacement: passo 2, immagine 1 di 2 Yamaha FG-425 Guitar String Replacement: passo 2, immagine 2 di 2
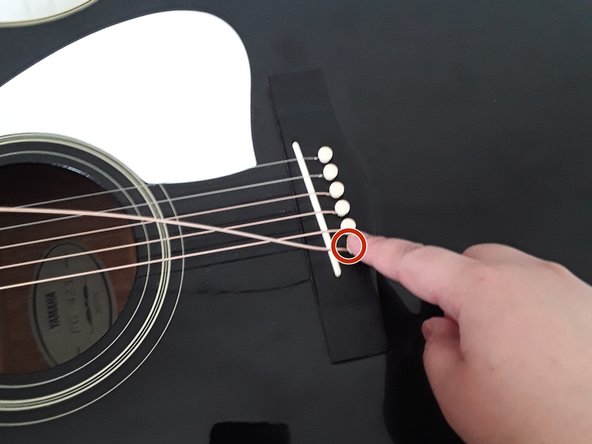
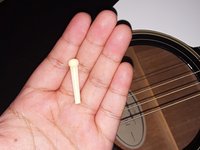
    • Use the pin remover in the All-In-1 Restringing Tool to remove the pin from the bridge

    • Remove the string from the bridge hole.

  3. Yamaha FG-425 Guitar String Replacement: passo 3, immagine 1 di 2 Yamaha FG-425 Guitar String Replacement: passo 3, immagine 2 di 2
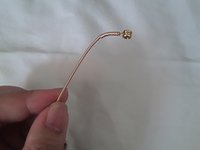
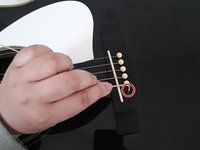
    • Bend the string end on the string ball.

    • Place the string into the bridge hole.

  4. Yamaha FG-425 Guitar String Replacement: passo 4, immagine 1 di 3 Yamaha FG-425 Guitar String Replacement: passo 4, immagine 2 di 3 Yamaha FG-425 Guitar String Replacement: passo 4, immagine 3 di 3
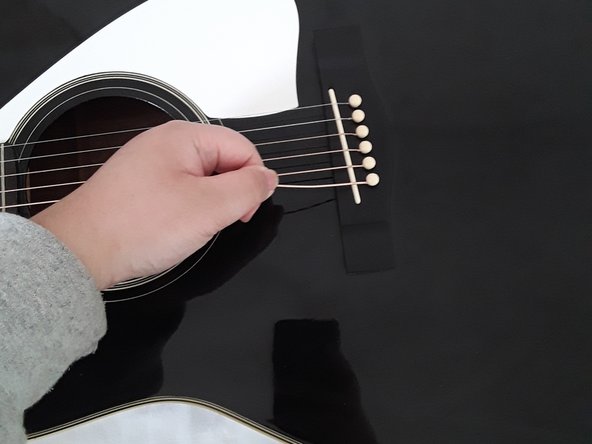
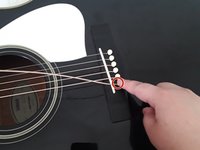
    • Place the bridge pin into the bridge hole.

    • Gently pull the string while pushing the pin into the hole.

  5. Yamaha FG-425 Guitar String Replacement: passo 5, immagine 1 di 2 Yamaha FG-425 Guitar String Replacement: passo 5, immagine 2 di 2
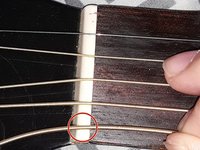
    • Insert the string through the tuning post hole.

    • Pull the string about half an inch or an inch through the tuning post.

    • Ensure that the string is lined up with the nut.

  6. Yamaha FG-425 Guitar String Replacement: passo 6, immagine 1 di 1
    • Use the All-In-1 Restringing Tool's peg winder to turn the tuning peg counterclockwise to slightly tighten the strings.

  7. Yamaha FG-425 Guitar String Replacement: passo 7, immagine 1 di 1
    • Cut any excess strings on the tuning post using the All-In-1 Restringing Tool’s clippers.

Linea Traguardo

Un'altra persona ha completato questa guida.

Nicole Francheska Letigio

Membro da: 01/18/21

207 Reputazione

1 Guida realizzata

0 Commenti

Aggiungi Commento

Visualizza Statistiche:

Ultime 24 Ore: 2

Ultimi 7 Giorni: 6

Ultimi 30 Giorni: 14

Tutti i Tempi: 246