Introduzione
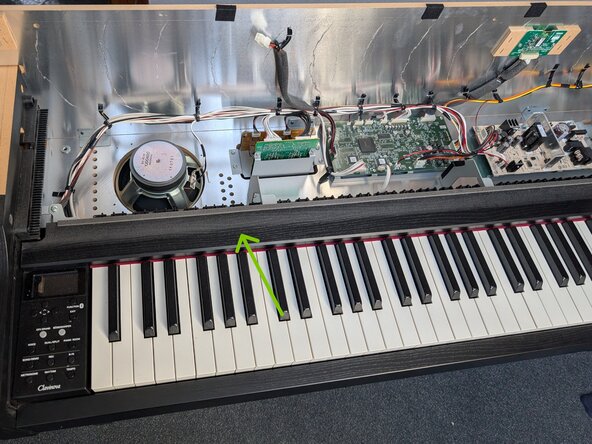
If your Yamaha piano has the apparently common problem that some keys sometimes sound as if they have been pressed with maximal force/speed even though they have been pressed normally, there might be dust particles between the silicone mats and the printed circuit board (PCB) contacts. This can be mitigated by disassembling the piano and cleaning all silicone mats and PCB contacts.
This guide is just an adaptation of the following comprehensive video instruction to the CLP-645: https://www.youtube.com/watch?v=LbRkqGUm...
Cosa ti serve
-
-
Remove these three screws at the top of the back side.
-
Push the top cover to the front side. It is locked on the inside with a slide mechanism.
-
-
-
Remove this clip on the covers rails.
-
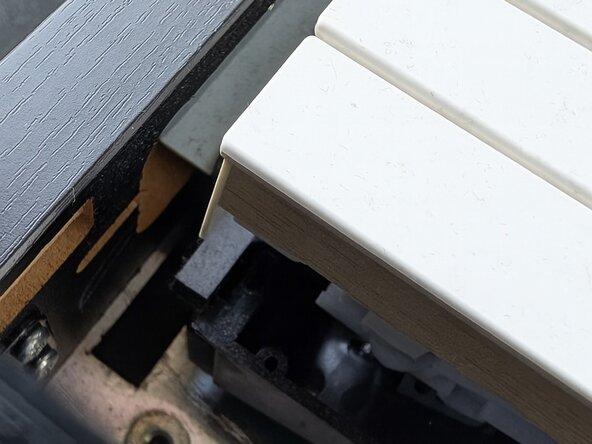
Use the new opening on the cover rails to remove the back pins of the key cover. The pins at the front of the cover cannot be moved up to this point. Instead, tilt the cover slightly to remove them from the guide rails at the front (after removing the back side pins).
-
-
-
The decorative key cover at the top of the keys needs to be removed.
-
Remove the screws at the metal connectors.
-
-
-
-
Remove the computer parts on the left and right of the key board. They are secured with one screw only.
-
-
-
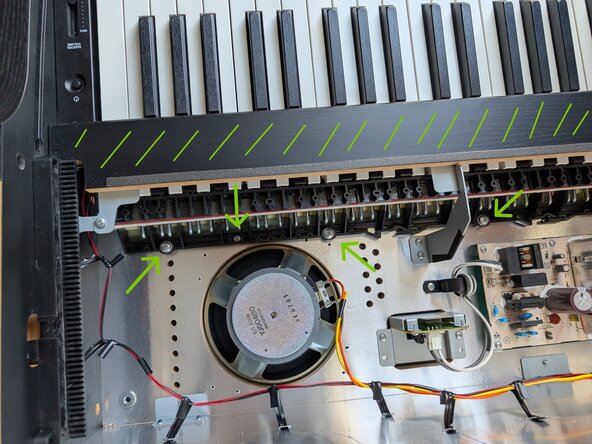
Remove the large screws and two small screws on the back side of the keyboard.
-
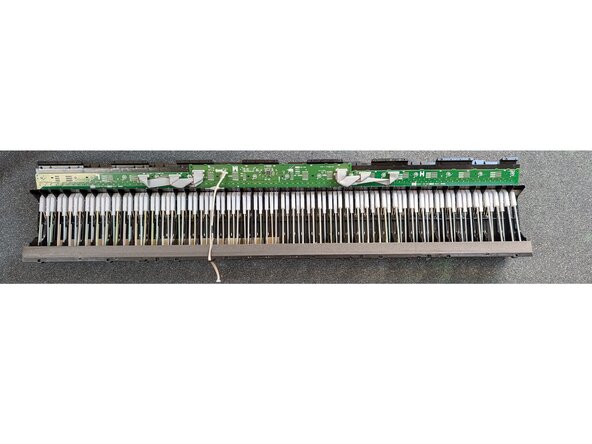
The keyboard is secured in a guide rail at the front. Push the entire keyboard assembly slightly to the back and take it out the top.
-
-
-
Lay the keyboard assembly on its back. Now, all keys are pressed, which makes it more difficult to remove the PCBs with the silicone mats.
-
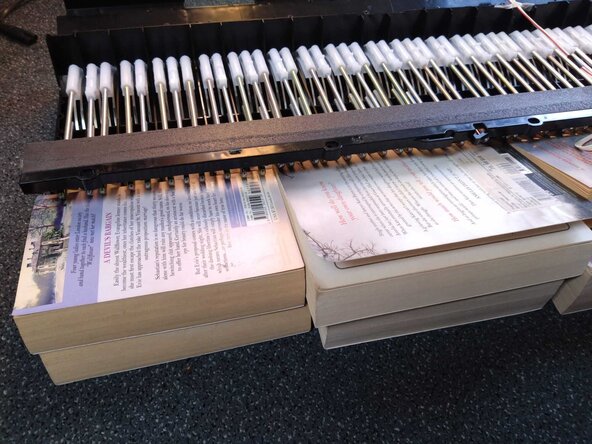
Push up the metal levers to relax the keys and the silicone mats. You can use books or broom stick or similar.
-
-
-
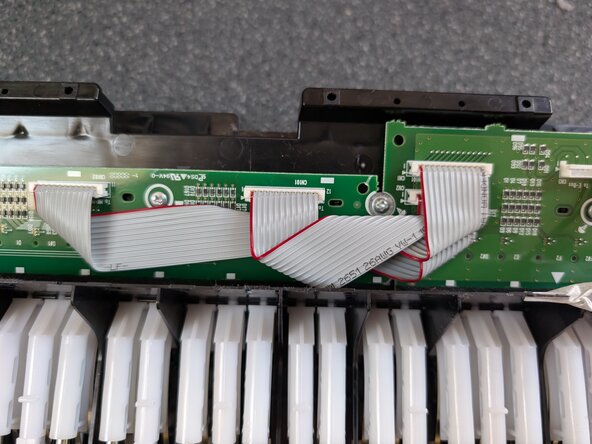
Remove the screws from the PCBs and flip over all three at once.
-
-
-
Clean the inside of the silicone mats with contact spray, compressed air or similar. Make sure not to damage the black contacts on the silicone mats.
-
The silicone mats have a guide rail on one side that fits into the black plastic and small grooves on the other side. The grooves are matched by nubs on the plastic part.
-


To reassemble your device, follow these instructions in reverse order.