Salta al contenuto principale

Questa guida ha delle modifiche più recenti. Passa all'ultima versione non verificata.

Xiaomi Mi Mix 2s Screen (LCD+Touch) Replacement

Cosa ti serve

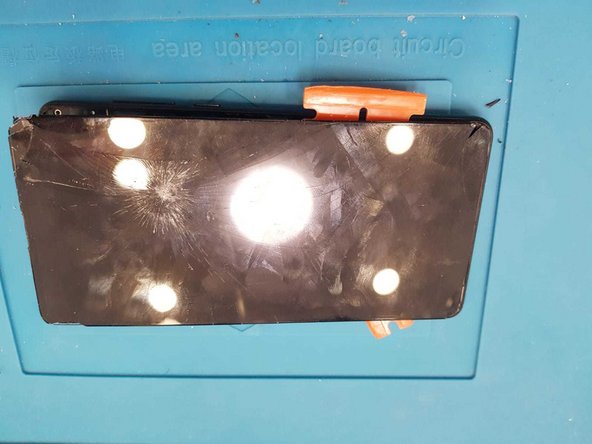
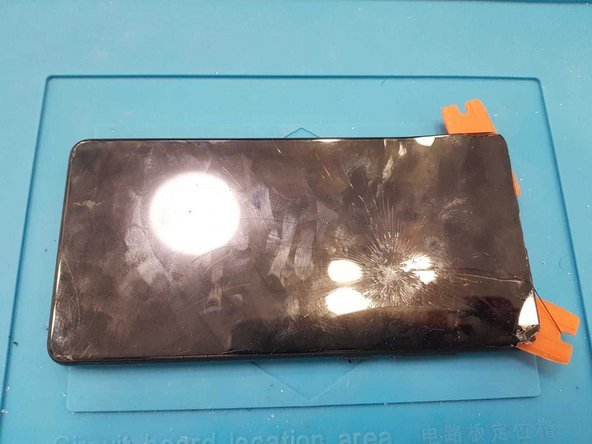
  1. Xiaomi Mi Mix 2s Screen (LCD+Touch) Replacement, Screen (LCD+Touch): passo 1, immagine 1 di 2 Xiaomi Mi Mix 2s Screen (LCD+Touch) Replacement, Screen (LCD+Touch): passo 1, immagine 2 di 2
    • Turn off and remove the SIM card.

  2. Xiaomi Mi Mix 2s Screen (LCD+Touch) Replacement: passo 2, immagine 1 di 3 Xiaomi Mi Mix 2s Screen (LCD+Touch) Replacement: passo 2, immagine 2 di 3 Xiaomi Mi Mix 2s Screen (LCD+Touch) Replacement: passo 2, immagine 3 di 3
    • Apply heat to loosen the back cover adhesive. Then remove it carefully.

  3. Xiaomi Mi Mix 2s Screen (LCD+Touch) Replacement: passo 3, immagine 1 di 2 Xiaomi Mi Mix 2s Screen (LCD+Touch) Replacement: passo 3, immagine 2 di 2
    • Remove all nine screws that hold the shield protecting the motherboard.

  4. Xiaomi Mi Mix 2s Screen (LCD+Touch) Replacement: passo 4, immagine 1 di 3 Xiaomi Mi Mix 2s Screen (LCD+Touch) Replacement: passo 4, immagine 2 di 3 Xiaomi Mi Mix 2s Screen (LCD+Touch) Replacement: passo 4, immagine 3 di 3
    • Remove the shield and disconnect the battery connector, LCD and touch connector, and touch ID connector.

  5. Xiaomi Mi Mix 2s Screen (LCD+Touch) Replacement: passo 5, immagine 1 di 3 Xiaomi Mi Mix 2s Screen (LCD+Touch) Replacement: passo 5, immagine 2 di 3 Xiaomi Mi Mix 2s Screen (LCD+Touch) Replacement: passo 5, immagine 3 di 3
    • Remove the battery carefully as shown and apply heat to loosen the adhesive holding the screen.

  6. Xiaomi Mi Mix 2s Screen (LCD+Touch) Replacement: passo 6, immagine 1 di 3 Xiaomi Mi Mix 2s Screen (LCD+Touch) Replacement: passo 6, immagine 2 di 3 Xiaomi Mi Mix 2s Screen (LCD+Touch) Replacement: passo 6, immagine 3 di 3
    • Carefully start to separate the screen as shown. Start from the top corner.

  7. Xiaomi Mi Mix 2s Screen (LCD+Touch) Replacement: passo 7, immagine 1 di 2 Xiaomi Mi Mix 2s Screen (LCD+Touch) Replacement: passo 7, immagine 2 di 2
    • You have done it.

Conclusione

To reassemble your device, follow these instructions in reverse order.

Altre 8 persone hanno completato questa guida.

0 Commenti

Aggiungi Commento

Visualizza Statistiche:

Ultime 24 Ore: 5

Ultimi 7 Giorni: 26

Ultimi 30 Giorni: 95

Tutti i Tempi: 7,428