Introduzione
This guide offers instructions on how to replace cracked or split trigger caps in the Xbox One Wireless Controller (model 1708).
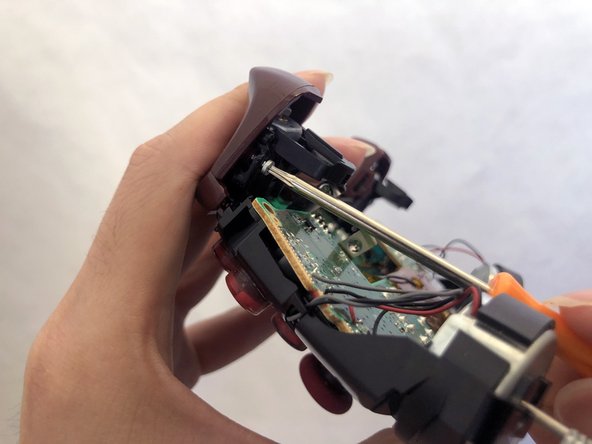
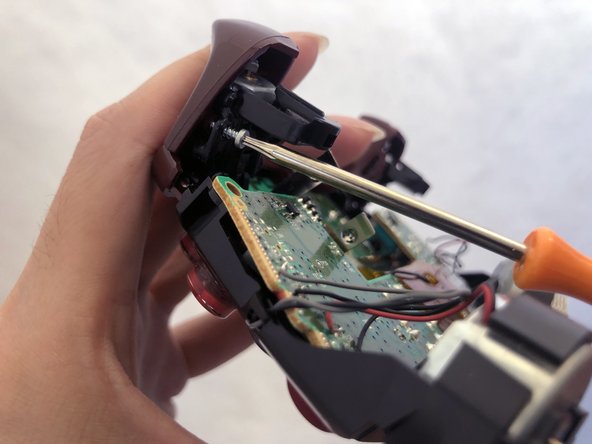
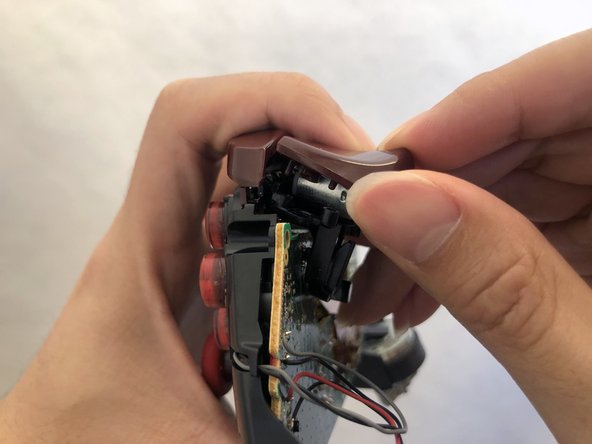
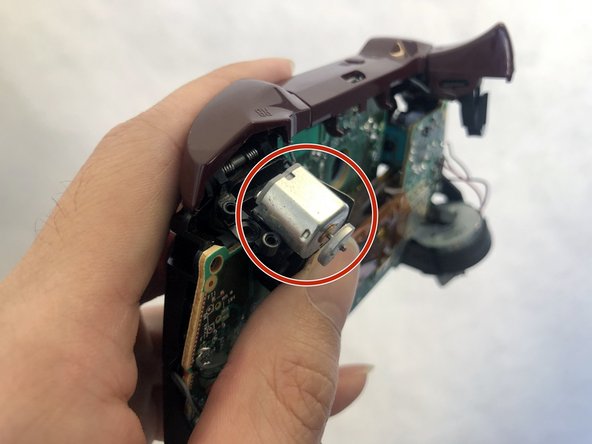
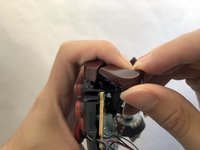
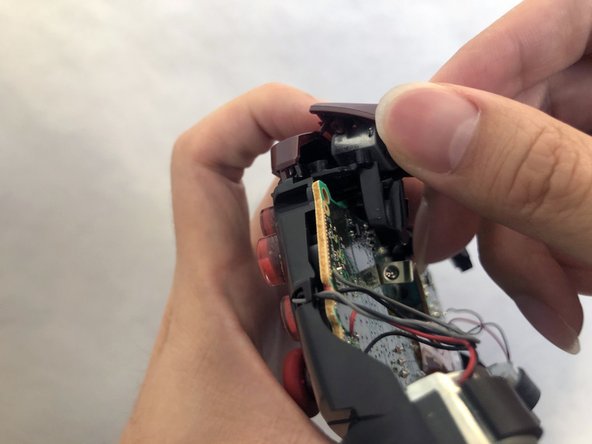
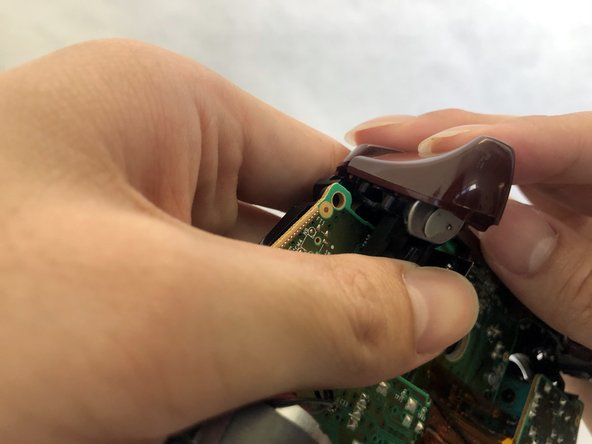
Trigger caps are pressable controls that often vibrate to provide feedback during gameplay. A cracked or split trigger cap will get jammed and will prevent the trigger motor from performing its intended function.
This guide is intended for trigger cap replacement only.
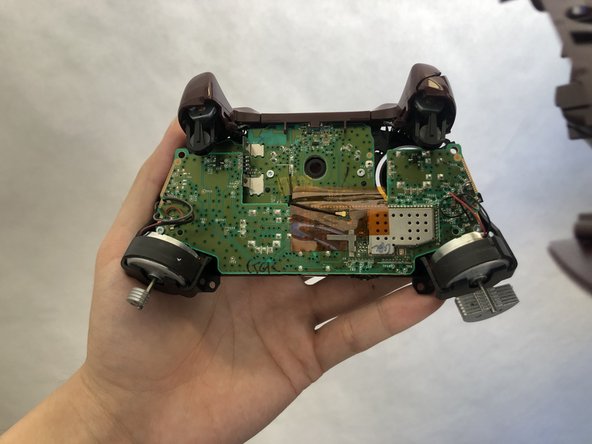
Before using this guide, examine the plastic trigger caps for any noticeable exterior damage. If you can see the trigger motors beneath the caps, this is the guide for you.
Make sure you have the proper tools and parts for this replacement and make sure your device is turned off before you begin.
Cosa ti serve


To reassemble your device, follow steps 1-5 in reverse order.
Annulla: non ho completato questa guida.
Altre 19 persone hanno completato questa guida.

Team

UC Davis, Team S1-G6, Andersen Winter 2020 Membro di UC Davis, Team S1-G6, Andersen Winter 2020
UCD-ANDERSEN-W20S1G6
3 Membri
4 Guide realizzate
1Commento della guida
Et le reboitage stp non parce que je pense que ses le plus compliqué.