Introduzione
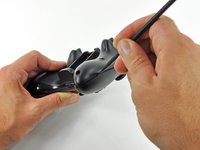
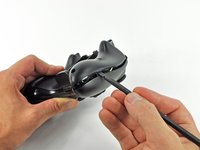
Put some feeling back in your gameplay by replacing the vibration motors in your Xbox 360 wireless controller.
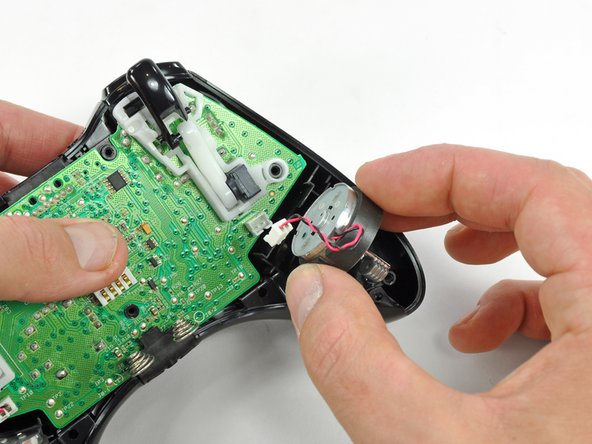
The two vibration motors have different counterweights. The left motor has the heavier counterweight, and the right motor has the lighter counterweight.
Cosa ti serve
-
-
Depress the battery release button on the top of the controller.
-
Remove the battery holder from the controller.
-
-
Attrezzo utilizzato in questo passaggio:Tweezers$4.99
-
Use a pair of tweezers to peel the barcode sticker from the battery compartment.
-
-
-
-
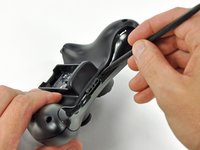
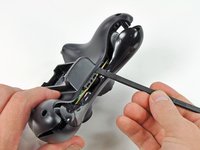
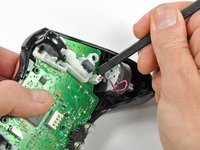
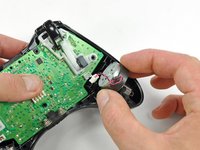
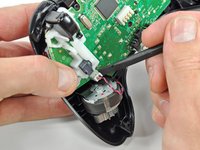
Use the flat end of a spudger to remove the vibration motor cable, moving it upward from its socket on the logic board.
-
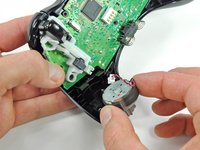
Lift the vibration motor out of the front case.
-
To reassemble your device, follow these instructions in reverse order.
Annulla: non ho completato questa guida.
Altre 19 persone hanno completato questa guida.
3Commenti sulla guida
Hello, I am very concerned about which side of the controller the motor with heavier counterweight should be. Shouldn’t it be on the left side of the controller, since the right side should be used for higher frequency vibrations?
Hi Yado,
Thanks for pointing this out! You are right—the left side have the heavier counterweight. I’ve corrected the relevant step.
Hi there, I believe that the screenshots provided have the vibration motors on the wrong sides. Watching several videos of the disassembly on youtube as well as taking apart my own controller that previously was never opened, the larger heavier motor should be on the right side and the smaller lighter motor should be on the left side.


