Cosa ti serve
-
Questo passaggio è privo di traduzione. Aiuta a tradurlo
-
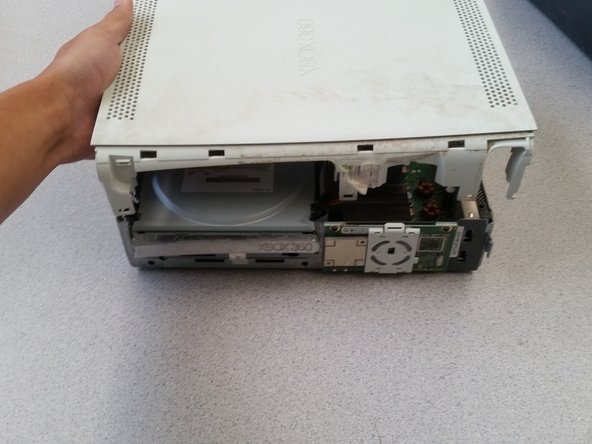
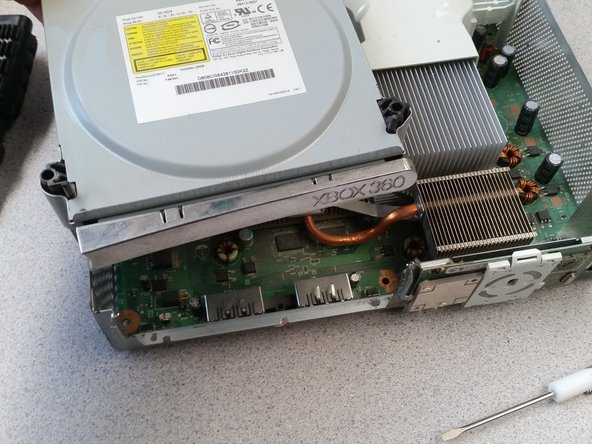
Here you would usually have a hard drive, my xbox does not. To remove it you push down the button and lift it out
-
-
Questo passaggio è privo di traduzione. Aiuta a tradurlo
-
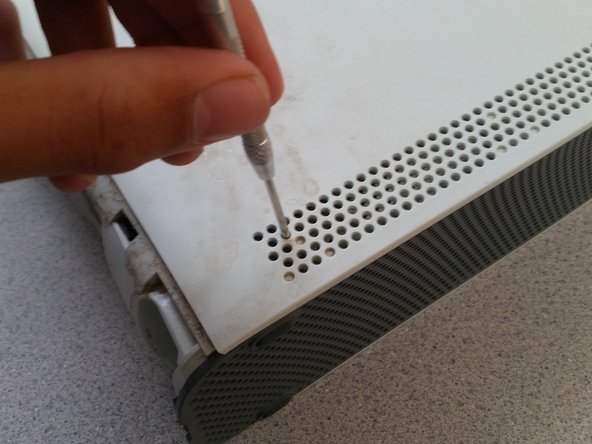
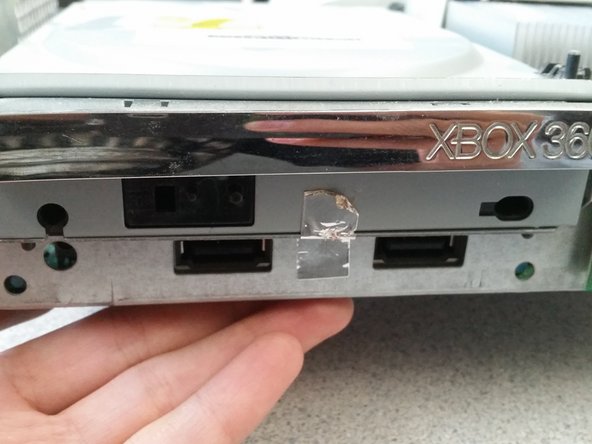
You can put a flat head screw driver in between the plastic as shown and gently pry open the front
-
You can alternatively grab inside the USB port and pull the cover off
-
-
Questo passaggio è privo di traduzione. Aiuta a tradurlo
-
Use a small tool to stick in and push these pins
-
Be sure to keep pressure pulling outwards for this to come out easily
-
Make sure that you pop out the pins on both sides
-
-
Questo passaggio è privo di traduzione. Aiuta a tradurlo
-
Same as the bottom plate you want to push in the buttons holding this in
-
-
Questo passaggio è privo di traduzione. Aiuta a tradurlo
-
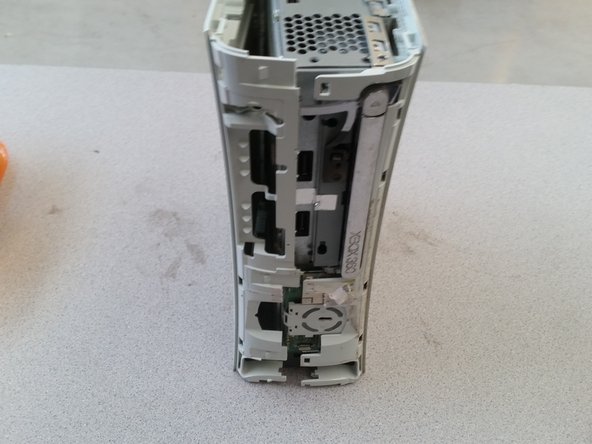
You have to evenly disconnect all four of these connectors holding it together
-
-
-
Questo passaggio è privo di traduzione. Aiuta a tradurlo
-
You must push in these buttons (7 in total)
-
Make sure you keep pressure applied outwards so that the locks do not re-engage
-
-
Questo passaggio è privo di traduzione. Aiuta a tradurlo
-
To pop off this button, use the flat end of a spudger or flat-head screwdriver.
-
-
Questo passaggio è privo di traduzione. Aiuta a tradurlo
-
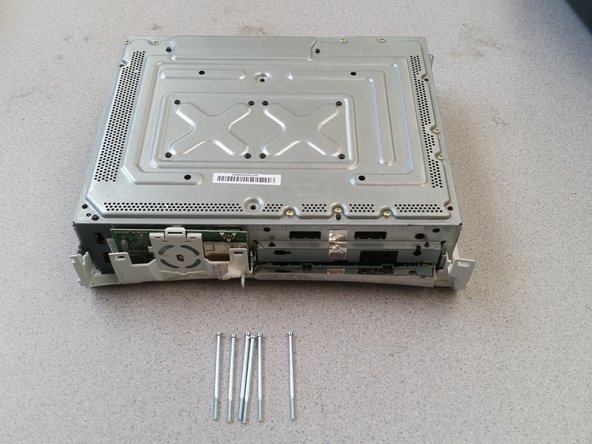
Remove the six silver screws
-
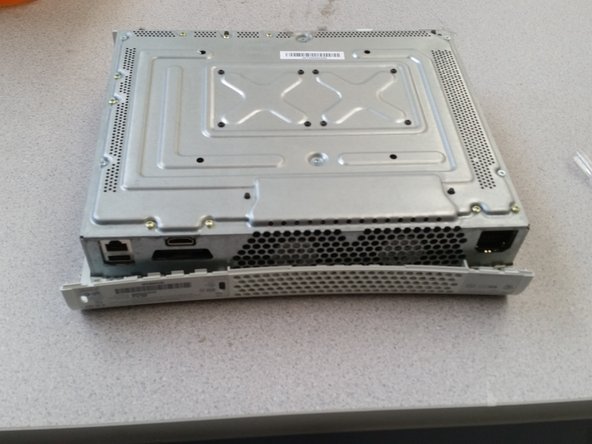
Flip over the whole Xbox holding both the plastic and the metal, then pull off the casing
-
-
Questo passaggio è privo di traduzione. Aiuta a tradurlo
-
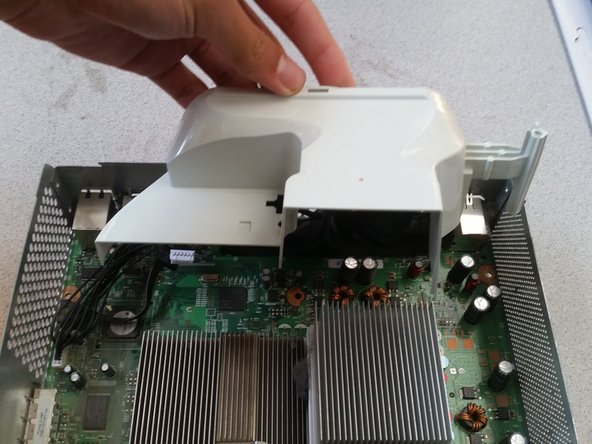
To remove the fan covering, use a flat head screw driver as shown to gently pry it off
-
-
Questo passaggio è privo di traduzione. Aiuta a tradurlo
-
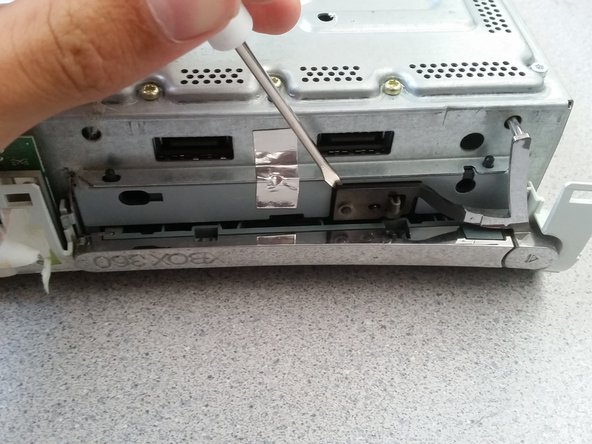
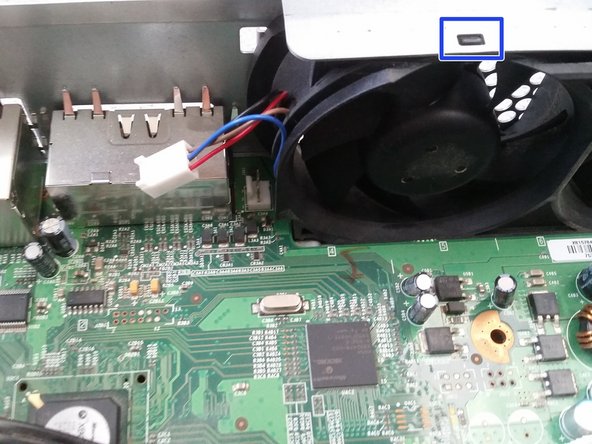
Use a small flat head screw driver to open this locking mechanism and then gently remove the fan connector
-
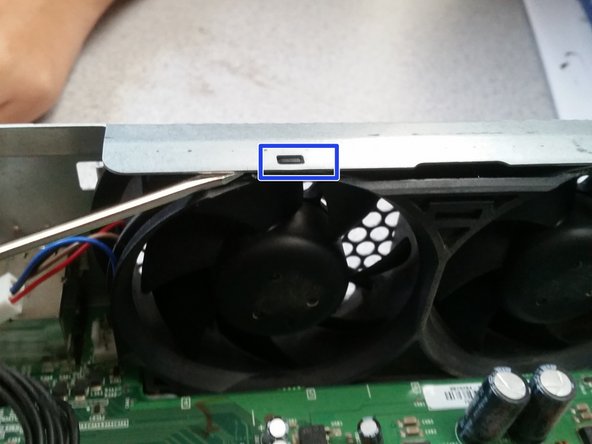
Use a screw driver or spludger to pry out the fan from the casing
-
-
Questo passaggio è privo di traduzione. Aiuta a tradurlo
-
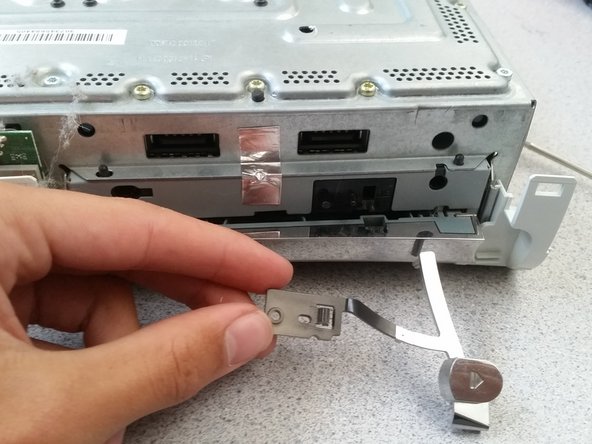
To remove the "On" button simply disconnect the plastic clip
-
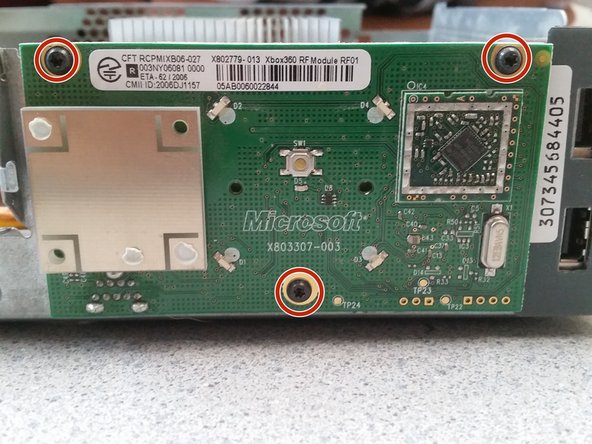
Remove the three black screws and pull the chip directly outwards so you do not damage the connector
-
-
Questo passaggio è privo di traduzione. Aiuta a tradurlo
-
Remove the 9 gold screws
-
Remove the 8 black screws
-
Carefully pull out the mother board and make sure that you do not damage any connectors
-
-
Questo passaggio è privo di traduzione. Aiuta a tradurlo
-
Memory card ports
-
Custom ATi Graphics Processor with 10Mb of Ram
-
3 IBM PowerPC Cores Each Running At 3.2Ghz with 512Mb of System Ram
-
Hard drive port
-
Power port
-
HDMI and Video ports
-
-
Questo passaggio è privo di traduzione. Aiuta a tradurlo
-
This is it. Follow these steps in reverse to re-assemble your Xbox 360 system!
-


11 Commenti
Your method is very offensive and not recommended when you wont damage the case of your Xbox 360.
Up yours it obviously helped 3.1 thousand people. Being as you have zero guides and close to no reputation, maybe you should try it. But your input is valued, so thank you.
Michael -
$@$*-hot reply - like it!!!
this was helpful