Salta al contenuto principale

Wyze WVCR200s Bumper Replacement

Cosa ti serve

  1. Wyze WVCR200s Bumper Replacement, Side Brush: passo 1, immagine 1 di 1
    • Flip the vacuum upside down so the underside of the device is facing up.

    • On the upper left of the device, you should see a spinning brush with three arms protruding out. This is the side brush.

  2. Wyze WVCR200s Bumper Replacement: passo 2, immagine 1 di 1
    • To remove, grab the three arms of the brush and pull upwards. The arms should be tight, but should not require too much force to lift off.

    • Once the brush is off, a square peg that holds the brush should be visible.

    • Place the replacement brush on the square peg, and press down with moderate pressure.

  3. Wyze WVCR200s Bumper Replacement, Bumper: passo 3, immagine 1 di 1
    • Flip the vacuum over.

  4. Wyze WVCR200s Bumper Replacement: passo 4, immagine 1 di 1
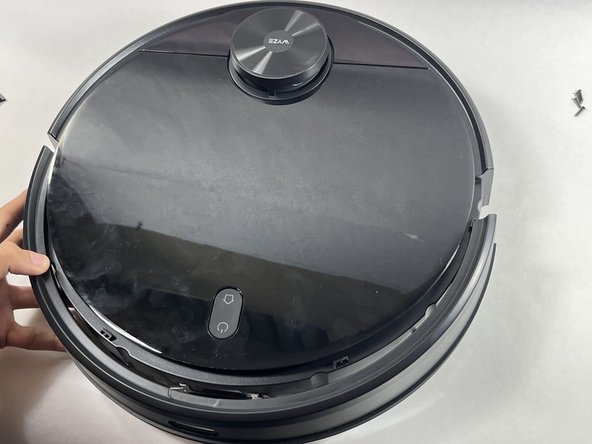
    • Use a Phillips screwdriver to remove the six screws along the bottom edge of the bumper.

  5. Wyze WVCR200s Bumper Replacement: passo 5, immagine 1 di 3 Wyze WVCR200s Bumper Replacement: passo 5, immagine 2 di 3 Wyze WVCR200s Bumper Replacement: passo 5, immagine 3 di 3
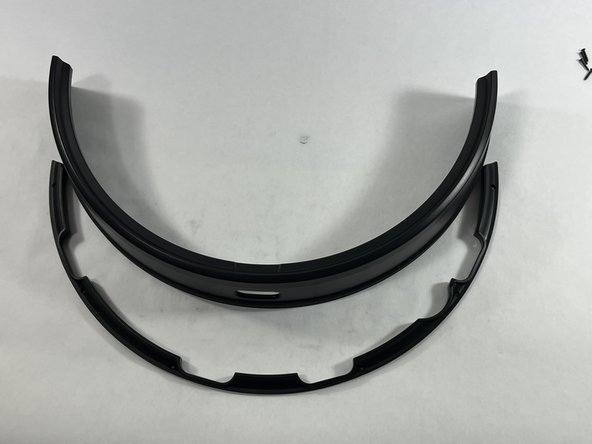
    • The small plastic connector holding the bumper in place should now be loose. Make sure it's disconnected.

    • Pull the bumper straight off of the vacuum.

Conclusione

To reassemble your device, follow these instructions in reverse order.

Brandon Amado

Membro da: 03/20/23

411 Reputazione

2 Guide realizzate

Team

0 Commenti

Aggiungi Commento

Visualizza Statistiche:

Ultime 24 Ore: 0

Ultimi 7 Giorni: 1

Ultimi 30 Giorni: 3

Tutti i Tempi: 98