Introduzione
The main motherboard is the circuit board that controls all the main components such as storing electrical components and helps them communicate to each other. It is vital to have a working motherboard to use your device. This guide will walk you through replacing the main motherboard of the Wyze Cam V2.
Cosa ti serve
-
-
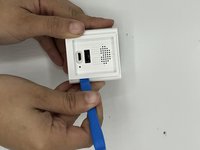
Open up the camera stand to expose the bottom plate of the camera.
-
Remove two 4 mm silver screws using the Phillips #0 screwdriver.
-
-
-
Attrezzo utilizzato in questo passaggio:Tweezers$3.99
-
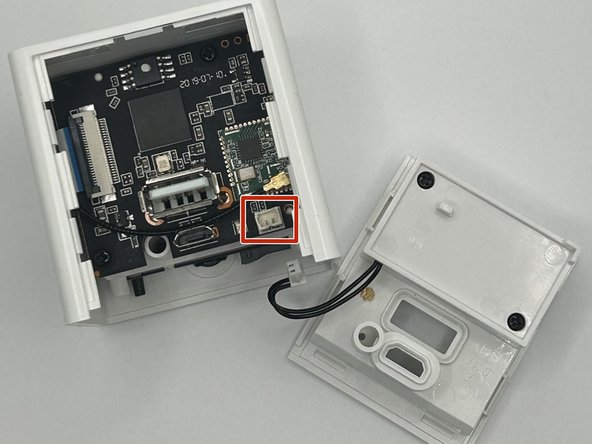
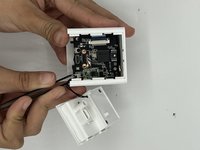
Using the angled slim tweezers, disconnect the cord and pull it gently off of the motherboard.
-
-
-
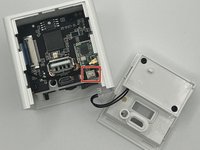
Remove the single 6 mm screw located deep inside the device using a Phillips #000 screwdriver.
-
Carefully remove the motherboard from the device.
-


To reassemble your device, follow these instructions in reverse order.
Team

University of North Texas, Team 4-10, Harold Fall 2023 Membro di University of North Texas, Team 4-10, Harold Fall 2023
UNT-HAROLD-F23S4G10
3 Membri
5 Guide realizzate