Questa versione può contenere modifiche errate. Passa all'ultima istantanea verificata.
Cosa ti serve
-
Questo passaggio è privo di traduzione. Aiuta a tradurlo
-
Begin by removing both screws and the brushed metal casing. Simply lift up at the indicated area with your hand.
-
-
Questo passaggio è privo di traduzione. Aiuta a tradurlo
-
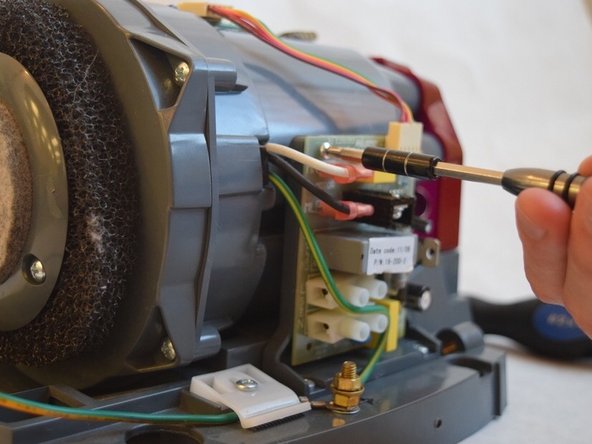
Remove both 3/8" Ph2 screws attached to the grey belt at the top and bottom.
-
Lift the grey belt away. This gives access to the server board.
-
-
-
Questo passaggio è privo di traduzione. Aiuta a tradurlo
-
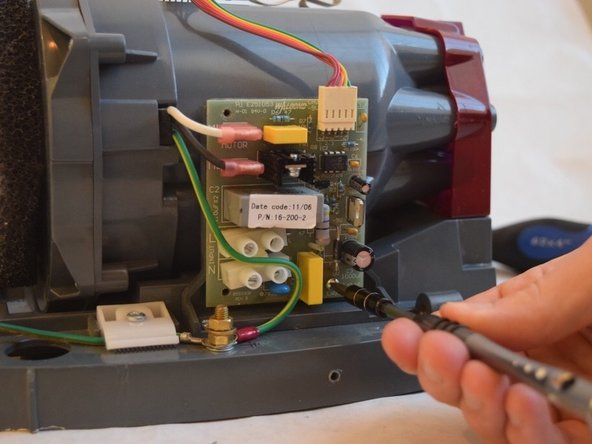
Remove all three 1/2" Ph1 screws connecting the server board to the device.
-
-
Questo passaggio è privo di traduzione. Aiuta a tradurlo
-
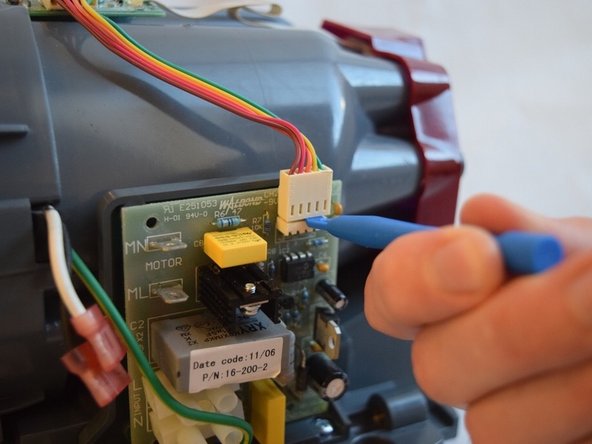
Use a plastic opening tool to remove the two pink capped wires in the upper left corner of the server board.
-
Use the same tool to dislodge the white capped ribbon bus with the multi-colored wires.
-
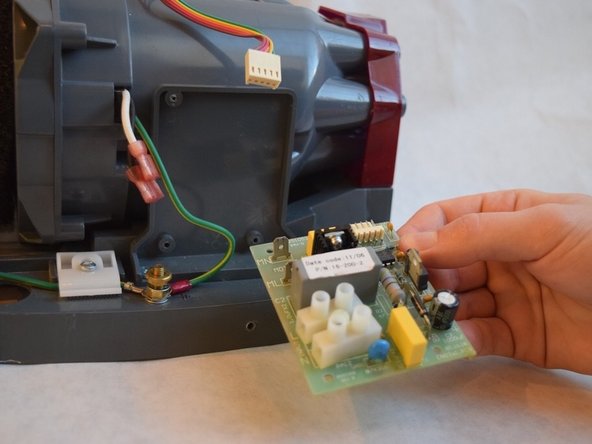
After these steps, the server board should easily come off the side of the device.
-


Team

Washington State, Team S1-G6, Hope Fall 2018 Membro di Washington State, Team S1-G6, Hope Fall 2018
WSU-HOPE-F18S1G6
4 Membri
4 Guide realizzate