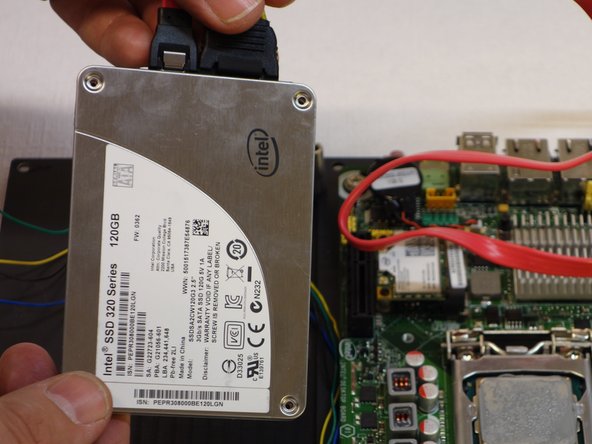
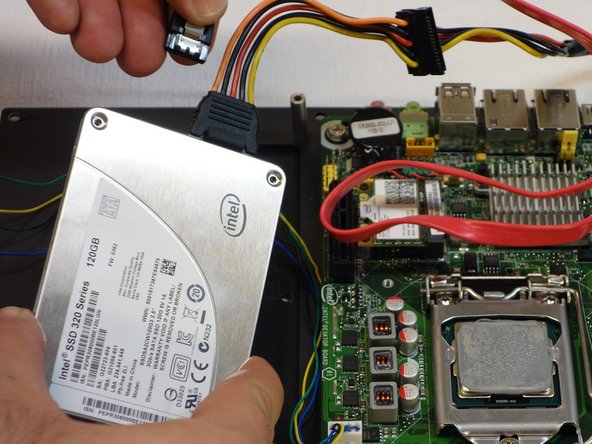
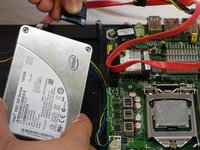
Salta al contenuto principale

Why! WDi7SSD SSD Hard Drive Replacement

Cosa ti serve

  1. Why! WDi7SSD SSD Hard Drive Replacement, why! WDi7SSD Opening procedure: passo 1, immagine 1 di 3 Why! WDi7SSD SSD Hard Drive Replacement, why! WDi7SSD Opening procedure: passo 1, immagine 2 di 3 Why! WDi7SSD SSD Hard Drive Replacement, why! WDi7SSD Opening procedure: passo 1, immagine 3 di 3
    • Make sure the computer is disconnected from the power source.

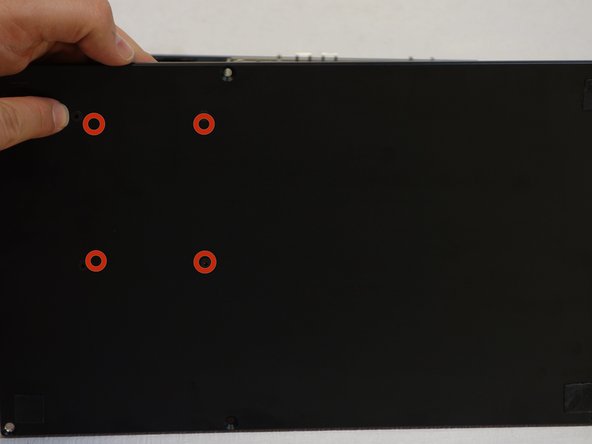
    • Flip the computer over.

    • Remove the six screws with a 2 mm Allen key.

    • Carefully remove the back panel, as well the left and right panel.

  2. Why! WDi7SSD SSD Hard Drive Replacement: passo 2, immagine 1 di 1
    • Now flip up the base panel to which all components are attached.

  3. Why! WDi7SSD SSD Hard Drive Replacement, SSD Hard Drive: passo 3, immagine 1 di 3 Why! WDi7SSD SSD Hard Drive Replacement, SSD Hard Drive: passo 3, immagine 2 di 3 Why! WDi7SSD SSD Hard Drive Replacement, SSD Hard Drive: passo 3, immagine 3 di 3
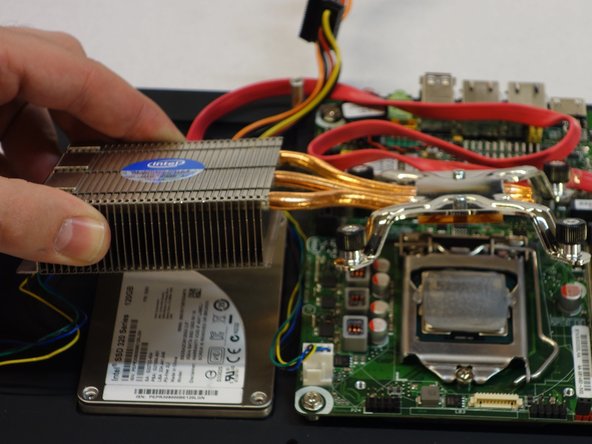
    • Using a Phillips #2 screwdriver, remove the four screws on the heatsink that cools the processor unit.

    • Remove the heatsink.

  4. Why! WDi7SSD SSD Hard Drive Replacement: passo 4, immagine 1 di 3 Why! WDi7SSD SSD Hard Drive Replacement: passo 4, immagine 2 di 3 Why! WDi7SSD SSD Hard Drive Replacement: passo 4, immagine 3 di 3
    • The SSD is now visible.

    • Now flip the computer over and use the Allen wrench to loosen the 1.5 mm screws fixing the SSD.

  5. Why! WDi7SSD SSD Hard Drive Replacement: passo 5, immagine 1 di 2 Why! WDi7SSD SSD Hard Drive Replacement: passo 5, immagine 2 di 2
    • Disconnect the first cable from the SSD. You must press the lever down to do this.

    • The cable may not loosen easily. In this case, carefully use a little force, but not too much.

    • Pay attention do the orientation when assembling. Otherwise, the SSD and cable can be damaged.

  6. Why! WDi7SSD SSD Hard Drive Replacement: passo 6, immagine 1 di 2 Why! WDi7SSD SSD Hard Drive Replacement: passo 6, immagine 2 di 2
    • Disconnect the second cable from the SSD. You must press the lever down to do this.

    • The cable may not loosen easily. In this case, carefully use a little force, but not too much.

    • Pay attention do the orientation when assembling. Otherwise, the SSD and cable can be damaged.

Conclusione

To reassemble the device, follow the instructions in reverse order.

Un ringraziamento speciale a questi traduttori:

de en

100%

Questi traduttori ci stanno aiutando ad aggiustare il mondo! Vuoi partecipare?
Inizia a tradurre ›

Felice Suglia

Membro da: 06/15/13

31.100 Reputazione

264 Guide realizzate

0 Commenti

Aggiungi Commento

Visualizza Statistiche:

Ultime 24 Ore: 0

Ultimi 7 Giorni: 5

Ultimi 30 Giorni: 17

Tutti i Tempi: 142