Salta al contenuto principale
Unisciti alla Community delle riparazioni - Crea un account

Weed Eater Rotary Lawn Mower Engine Control Cable Replacement

Visualizzazioni: 4565

Visualizza statistiche:

Ultime 24 ore:
2
Ultimi 7 giorni:
18
Ultimi 30 giorni:
127
Tutti i Tempi:
4.565
Commenti: 0

Nessuno ha lasciato commenti su questa guida. Sarai il primo?

Vai ai commenti della guida
Completato: 0

Nessuno ha contrassegnato questa guida "completata". Sarai il primo?

Preferiti: 0

Nessuno ha preferito (e si è iscritto) questa guida. Sarai il primo?

Tempo necessario: 20 minuti
Difficoltà: Moderato
Guida Studente in Evidenza

Questa guida è frutto del duro lavoro dei nostri bravissimi studenti e il nostro staff iFixit la trova eccezionalmente brillante.

Weed Eater Rotary Lawn Mower Engine Control Cable Replacement

Introduzione

Vai al passo 1 ↓

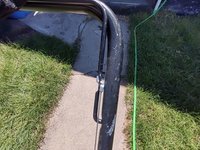
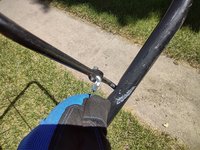
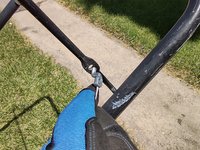
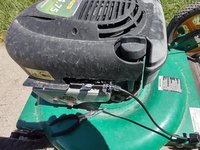
A common cause of failure among push mowers is the engine control cable. Older cables that have broken, stretched, or bonded to their sheath may prevent the mower from starting. Owners of this mower may not understand how to diagnose a faulty engine control cable.

As a result, owners may unnecessarily replace other, more expensive parts, or may purchase a replacement mower when the engine control cable fails. Fortunately, it is possible and cost effective to repair a broken engine control cable. This guide provides users with the necessary steps to replace the part, enabling continued use of the Weed Eater Rotary lawn mower.

When the engine control cable fails the lawn mower will not start at all; however, if the if the mower starts and then dies, it is not likely that the cable is the issue. Signs that the engine control cable needs to be replaced include:

  • The engine control cable does not fully squeeze the brake assembly arms together, or
  • The engine control cable may partially squeeze the brake assembly arms together.

Cosa ti serve

Ricambi

Strumenti

    1. Weed Eater Rotary Lawn Mower Engine Control Cable Replacement, Engine Control Cable: passo 1, immagine 1 di 3 Weed Eater Rotary Lawn Mower Engine Control Cable Replacement, Engine Control Cable: passo 1, immagine 2 di 3 Weed Eater Rotary Lawn Mower Engine Control Cable Replacement, Engine Control Cable: passo 1, immagine 3 di 3
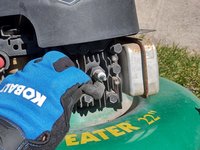
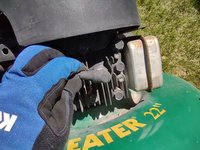
      • Disconnect the spark plug wire and tuck it away from the spark plug to avoid any accidental startups.

      • CAUTION: failure to disconnect the spark plug wire may lead to bodily injury and/or equipment damage.

      Chiedi a FixBot

      Aggiungi Commento

    2. Weed Eater Rotary Lawn Mower Engine Control Cable Replacement: passo 2, immagine 1 di 3 Weed Eater Rotary Lawn Mower Engine Control Cable Replacement: passo 2, immagine 2 di 3 Weed Eater Rotary Lawn Mower Engine Control Cable Replacement: passo 2, immagine 3 di 3
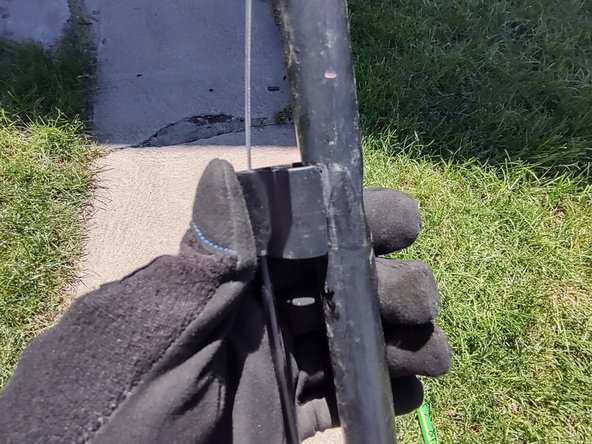
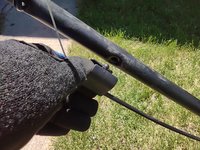
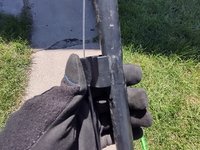
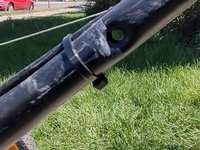
      • To remove the cable bracket from the handle, insert the flathead screwdriver into the bottom of the bracket and pry it off.

      Chiedi a FixBot

      Aggiungi Commento

    3. Weed Eater Rotary Lawn Mower Engine Control Cable Replacement: passo 3, immagine 1 di 3 Weed Eater Rotary Lawn Mower Engine Control Cable Replacement: passo 3, immagine 2 di 3 Weed Eater Rotary Lawn Mower Engine Control Cable Replacement: passo 3, immagine 3 di 3
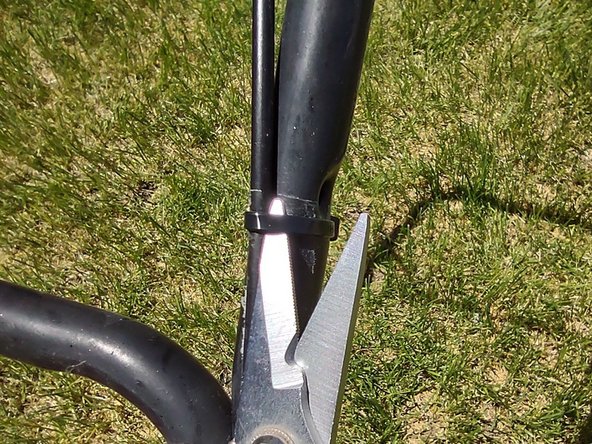
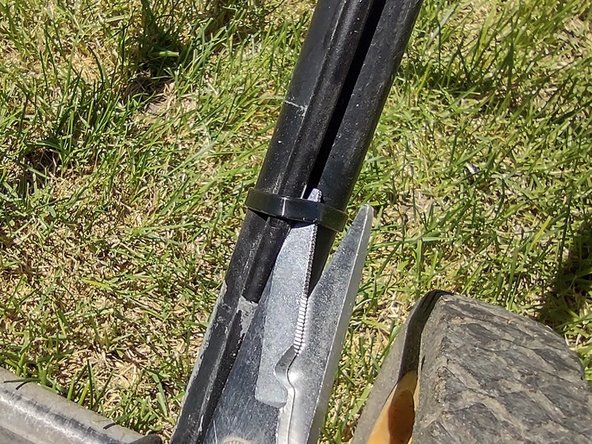
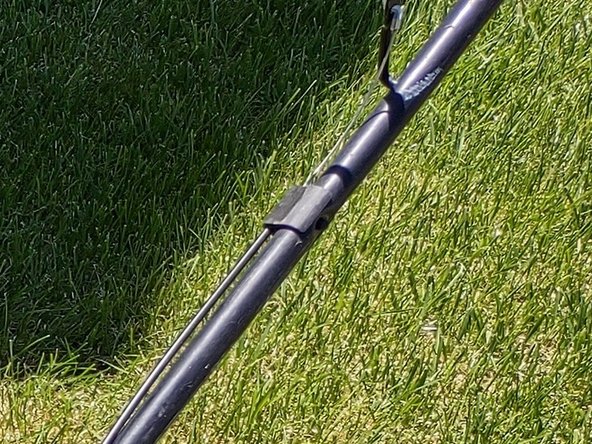
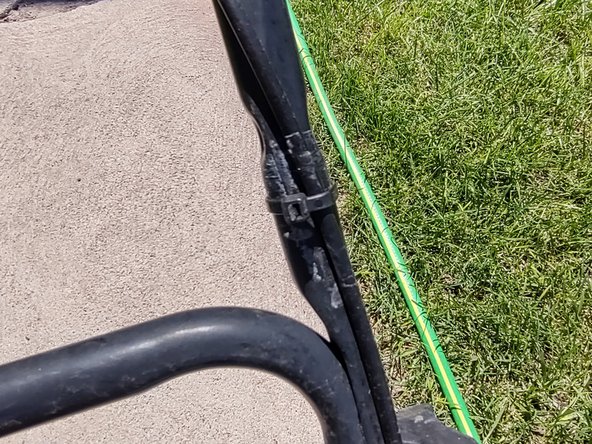
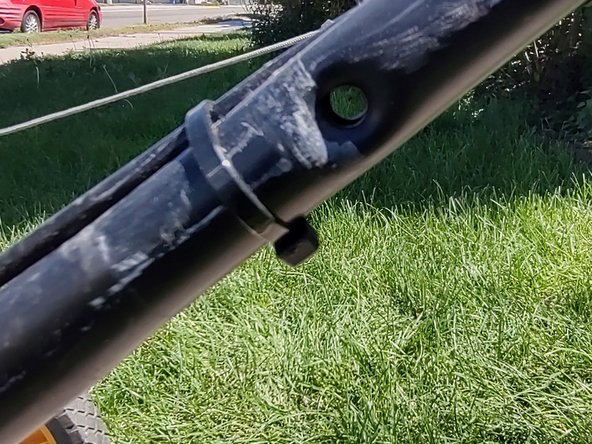
      • Use the utility shears to cut the zip ties which secure the cable to the upper and lower handles of the mower.

      Chiedi a FixBot

      Aggiungi Commento

    4. Weed Eater Rotary Lawn Mower Engine Control Cable Replacement: passo 4, immagine 1 di 3 Weed Eater Rotary Lawn Mower Engine Control Cable Replacement: passo 4, immagine 2 di 3 Weed Eater Rotary Lawn Mower Engine Control Cable Replacement: passo 4, immagine 3 di 3
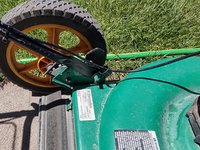
      • Use the needle nose pliers to remove the cotter pin holding the rear wheel cable clip in place.

      • Remove the clip from the retaining post.

      Chiedi a FixBot

      Aggiungi Commento

    5. Weed Eater Rotary Lawn Mower Engine Control Cable Replacement: passo 5, immagine 1 di 3 Weed Eater Rotary Lawn Mower Engine Control Cable Replacement: passo 5, immagine 2 di 3 Weed Eater Rotary Lawn Mower Engine Control Cable Replacement: passo 5, immagine 3 di 3
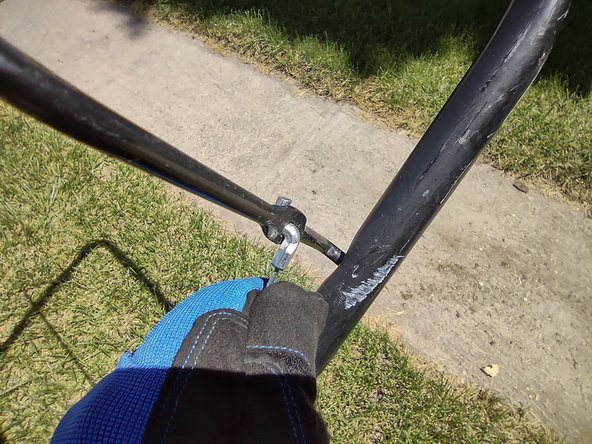
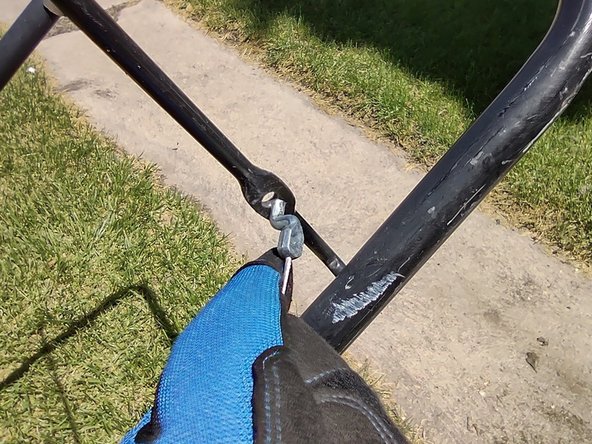
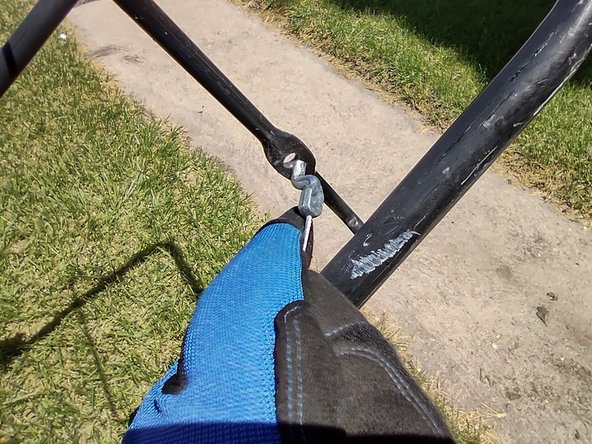
      • Disconnect the Z end of the cable from the control bar.

      • You may need to slightly pull the cable toward the control bar to get enough slack to remove the hook.

      Chiedi a FixBot

      Aggiungi Commento

    6. Weed Eater Rotary Lawn Mower Engine Control Cable Replacement: passo 6, immagine 1 di 3 Weed Eater Rotary Lawn Mower Engine Control Cable Replacement: passo 6, immagine 2 di 3 Weed Eater Rotary Lawn Mower Engine Control Cable Replacement: passo 6, immagine 3 di 3
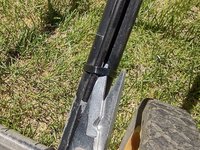
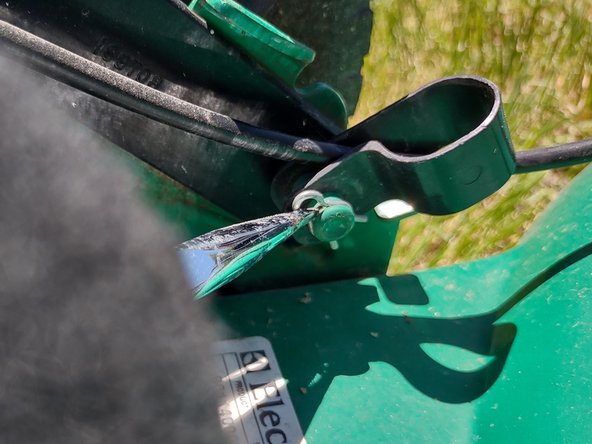
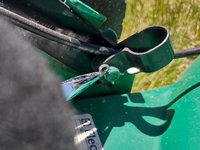
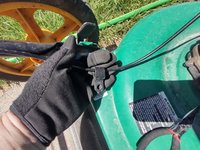
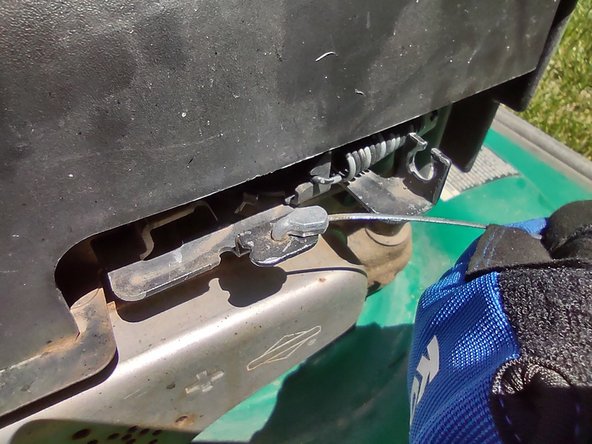
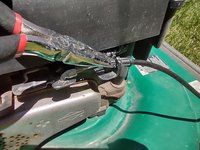
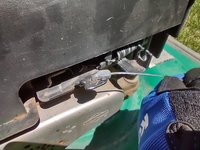
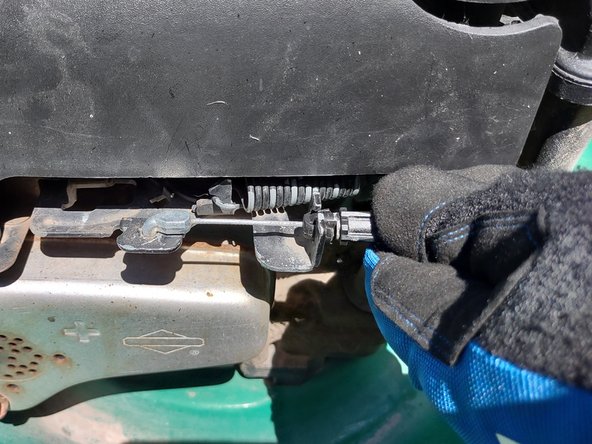
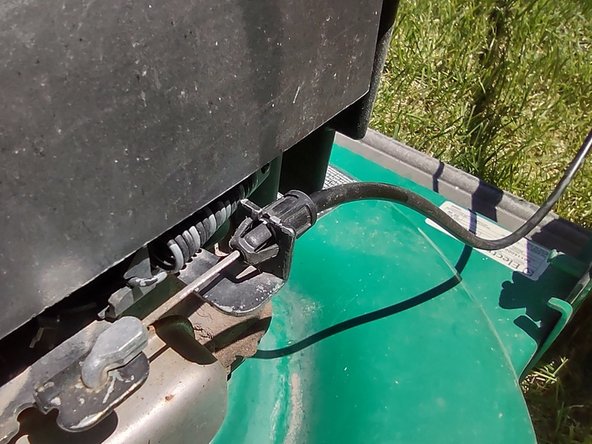
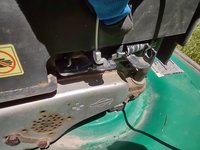
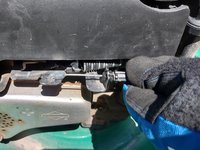
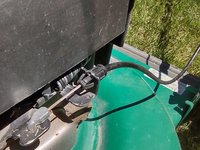
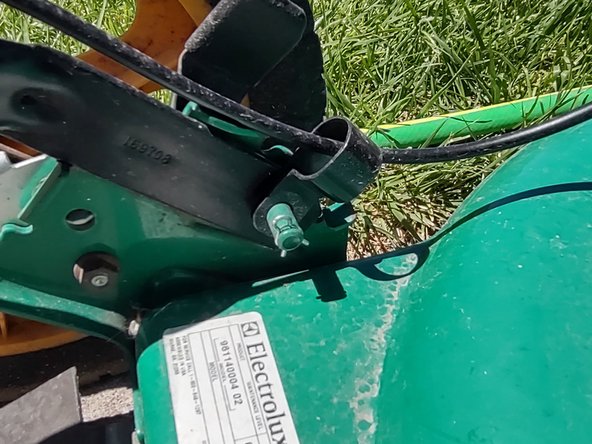
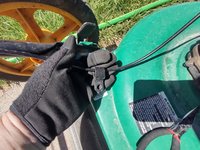
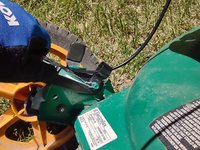
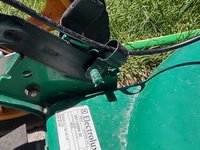
      • Use the needle nose pliers to squeeze the wings of the retaining clip together; push it through the hole in the brake assembly plate.

      • Remove the Z end of the cable from the brake assembly retaining plate.

      Chiedi a FixBot

      Aggiungi Commento

    7. Weed Eater Rotary Lawn Mower Engine Control Cable Replacement: passo 7, immagine 1 di 3 Weed Eater Rotary Lawn Mower Engine Control Cable Replacement: passo 7, immagine 2 di 3 Weed Eater Rotary Lawn Mower Engine Control Cable Replacement: passo 7, immagine 3 di 3
      • To install the new engine control cable:

      • Attach the Z end of the cable to the brake assembly retaining plate.

      • Push the plastic retaining clip through the hole in the brake assembly plate.

      Chiedi a FixBot

      Aggiungi Commento

    8. Weed Eater Rotary Lawn Mower Engine Control Cable Replacement: passo 8, immagine 1 di 2 Weed Eater Rotary Lawn Mower Engine Control Cable Replacement: passo 8, immagine 2 di 2
      • Attach the cable to the control bar by pushing the Z end of the cable into the hole.

      Chiedi a FixBot

      Aggiungi Commento

    9. Weed Eater Rotary Lawn Mower Engine Control Cable Replacement: passo 9, immagine 1 di 3 Weed Eater Rotary Lawn Mower Engine Control Cable Replacement: passo 9, immagine 2 di 3 Weed Eater Rotary Lawn Mower Engine Control Cable Replacement: passo 9, immagine 3 di 3
      • Slide the cable clip onto the rear wheel retaining post.

      • Use the needle nose pliers to attach the cotter pin to the retaining post.

      Chiedi a FixBot

      Aggiungi Commento

    10. Weed Eater Rotary Lawn Mower Engine Control Cable Replacement: passo 10, immagine 1 di 3 Weed Eater Rotary Lawn Mower Engine Control Cable Replacement: passo 10, immagine 2 di 3 Weed Eater Rotary Lawn Mower Engine Control Cable Replacement: passo 10, immagine 3 di 3
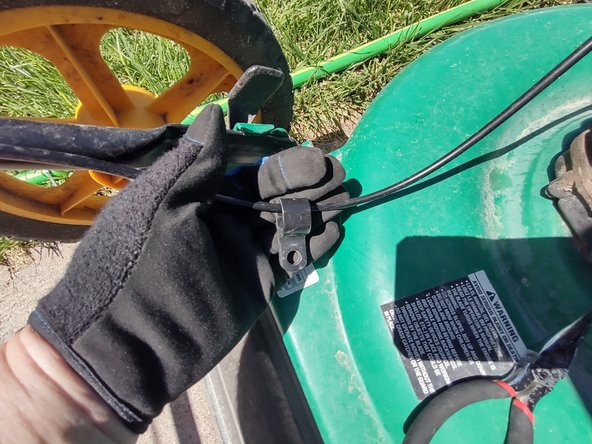
      • Attach the cable bracket to the upper handle of the mower.

      • You may need to use both hands to squeeze the bracket onto the handle.

      Chiedi a FixBot

      Aggiungi Commento

    11. Weed Eater Rotary Lawn Mower Engine Control Cable Replacement: passo 11, immagine 1 di 3 Weed Eater Rotary Lawn Mower Engine Control Cable Replacement: passo 11, immagine 2 di 3 Weed Eater Rotary Lawn Mower Engine Control Cable Replacement: passo 11, immagine 3 di 3
      • Secure the cable to the upper and lower handle of the mower with zip ties.

      • Clip the ends of the zip ties off.

      • CAUTION: The zip ties may have sharp edges after being trimmed. Turn the zip ties underneath the frame to avoid bodily injury when working around the mower.

      Chiedi a FixBot

      Aggiungi Commento

    12. Weed Eater Rotary Lawn Mower Engine Control Cable Replacement: passo 12, immagine 1 di 3 Weed Eater Rotary Lawn Mower Engine Control Cable Replacement: passo 12, immagine 2 di 3 Weed Eater Rotary Lawn Mower Engine Control Cable Replacement: passo 12, immagine 3 di 3
      • Reconnect the spark plug wire to the spark plug.

      Chiedi a FixBot

      Aggiungi Commento

Linea Traguardo

Annulla: non ho completato questa guida.

0Commenti sulla guida

Aggiungi Commento

Visualizza statistiche:

Ultime 24 ore: 2

Ultimi 7 giorni: 18

Ultimi 30 giorni: 127

Tutti i Tempi: 4,565