-
-
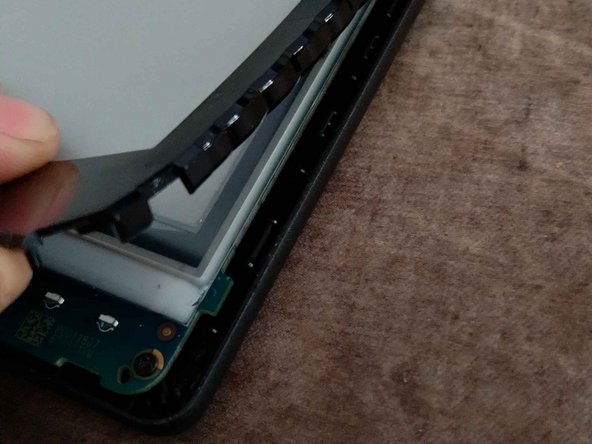
Use a piece of plastic, like a credit or store card, to open up the case.
-
-
-
Lift the cover with a plastic card and carefully pull it off.
-
Tip: The glue is very strong, so I recommend helping things along with the plastic card.
-
If you remove the cover slowly and don't stick the plastic card in too far, you might be able to re-use the strip of glue.
-
-
-
-
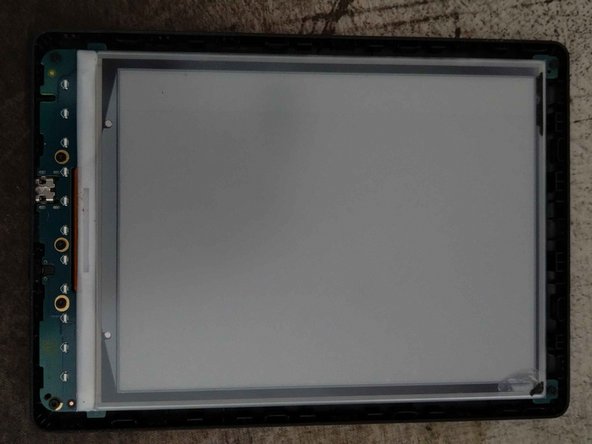
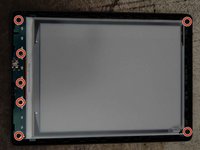
Loosen the seven 20mm T5 screws.
-
Then slide the display upwards.
-
-
-
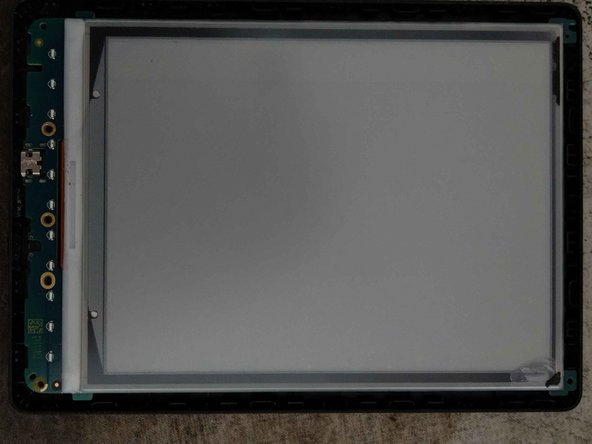
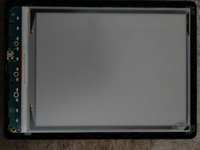
Now the battery can be disconnected and replaced, if necessary.
-
-
-
This Kindle has water damage which corroded the display cable.
-
I think changing the display is not possible because it is glued to the mainboard, possibly even soldered. I won't try replacing it because I only need to clean the display connector.
-


To reassemble your device, follow these instructions in reverse order.
Un ringraziamento speciale a questi traduttori:
100%


Questi traduttori ci stanno aiutando ad aggiustare il mondo! Vuoi partecipare?
Inizia a tradurre ›