Salta al contenuto principale
Unisciti alla Community delle riparazioni - Crea un account

Wall Outlet Cover Replacement

Cosa ti serve

  1. Wall Outlet Cover Replacement, Wall Outlet Cover: passo 1, immagine 1 di 3 Wall Outlet Cover Replacement, Wall Outlet Cover: passo 1, immagine 2 di 3 Wall Outlet Cover Replacement, Wall Outlet Cover: passo 1, immagine 3 di 3
    • Remove any hazardous pieces from previous cover.

    • Be sure to remove the two flathead screws to remove any debris, rather than trying to pull off the sharp pieces.

    Chiedi a FixBot

    Aggiungi Commento

  2. Wall Outlet Cover Replacement: passo 2, immagine 1 di 3 Wall Outlet Cover Replacement: passo 2, immagine 2 di 3 Wall Outlet Cover Replacement: passo 2, immagine 3 di 3
    • Insert any cable or cables that may be hanging out inside of the wall hole.

    • Making a loop in the cable might be helpful to push it inside the wall.

    Chiedi a FixBot

    Aggiungi Commento

  3. Wall Outlet Cover Replacement: passo 3, immagine 1 di 1
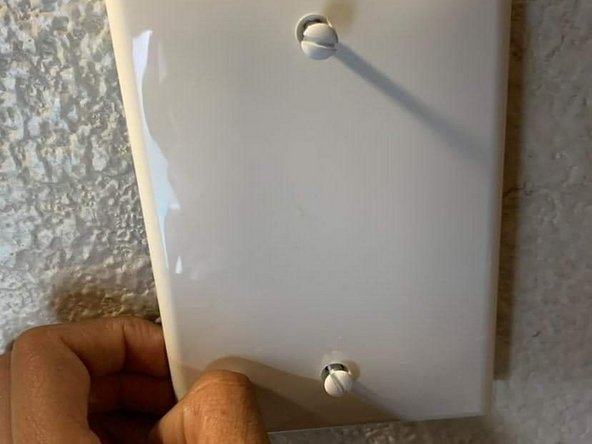
    • Insert two screws into the holes of the new wall cover.

    Chiedi a FixBot

    Aggiungi Commento

  4. Wall Outlet Cover Replacement: passo 4, immagine 1 di 3 Wall Outlet Cover Replacement: passo 4, immagine 2 di 3 Wall Outlet Cover Replacement: passo 4, immagine 3 di 3
    • Line up the screws in the plate with the screw holes in the wall.

    • Tighten the screws slightly with your hands to ensure that both screws have found the proper holes.

    • Once the screws have been tightened enough to stay in the holes, they should hold the outlet cover in place.

    Chiedi a FixBot

    Aggiungi Commento

  5. Wall Outlet Cover Replacement: passo 5, immagine 1 di 3 Wall Outlet Cover Replacement: passo 5, immagine 2 di 3 Wall Outlet Cover Replacement: passo 5, immagine 3 di 3
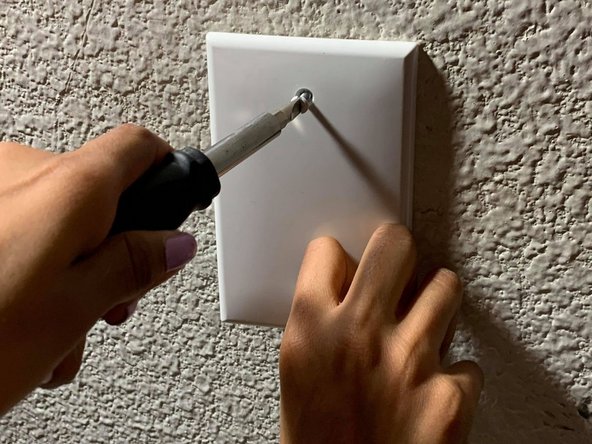
    • Tighten the two screws with a flathead screwdriver.

    Chiedi a FixBot

    Aggiungi Commento

  6. Wall Outlet Cover Replacement: passo 6, immagine 1 di 3 Wall Outlet Cover Replacement: passo 6, immagine 2 di 3 Wall Outlet Cover Replacement: passo 6, immagine 3 di 3
    • Double check that the wall cover plate does not have a gap, and it is completely attached to the wall.

    • If any gap is detected, push the plate to the wall and continue to tighten the screws until the gap completely closes.

    Chiedi a FixBot

    Aggiungi Commento

Conclusione

To reassemble your device, follow these instructions in reverse order.

Annulla: non ho completato questa guida.

Altre 2 persone hanno completato questa guida.

Team

0Commenti sulla guida

Aggiungi Commento

Visualizza statistiche:

Ultime 24 ore: 2

Ultimi 7 giorni: 28

Ultimi 30 giorni: 143

Tutti i Tempi: 3,264