Introduzione
When Emil won't work well, deoxidize the springs.
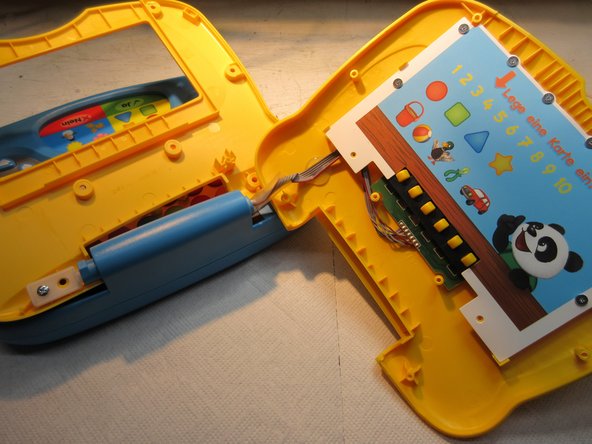
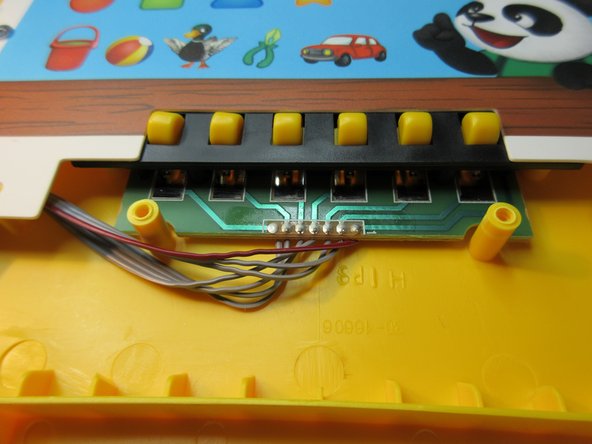
Emil is a talking baby-laptop which works with cards, that have holes which trigger the programs.
When the spring sensors are oxidized, the cards can't work and the programs don't start.
So you must deoxidize the contacts at the springs.
Cosa ti serve
-
-
First you must detach thes round yellow plugs which cover the screws.
-
There are 6 short screws around the "display"
-
...and two longer screws under that "display"
-
-


To reassemble your device, follow these instructions in reverse order.
To reassemble your device, follow these instructions in reverse order.
Annulla: non ho completato questa guida.
Un'altra persona ha completato questa guida.
