Salta al contenuto principale

Questa guida ha delle modifiche più recenti. Passa all'ultima versione non verificata.

Vinotemp VT-12TEDi Power Cord Replacement

Cosa ti serve

  1. Vinotemp VT-12TEDi Power Cord Replacement, Power Cord: passo 1, immagine 1 di 2 Vinotemp VT-12TEDi Power Cord Replacement, Power Cord: passo 1, immagine 2 di 2
    • Remove nine 12mm Phillips screws from the upper back panel.

    • Remove three 12mm Phillips screws inset under the back panel.

    • As soon as the screws are removed, the panel will fall freely.

    • When replacing the twelve 12mm Phillips screws, do not tighten the fasteners until all twelve screws have been loosely fitted back onto the cooler. This will ensure the flimsy metal casing will not warp.

  2. Vinotemp VT-12TEDi Power Cord Replacement: passo 2, immagine 1 di 1
    • Power Cord Fastener

    • Ground

    • Motherboard

    • Heat Sink Fan

    • Heat Sink

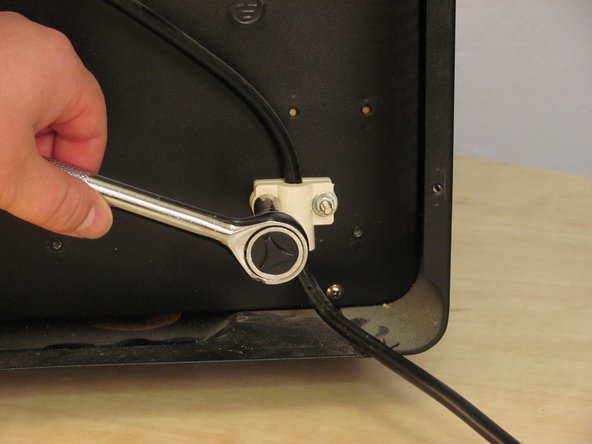
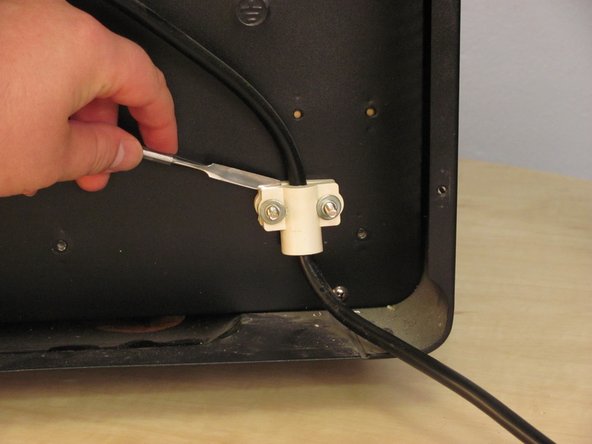
  3. Vinotemp VT-12TEDi Power Cord Replacement: passo 3, immagine 1 di 3 Vinotemp VT-12TEDi Power Cord Replacement: passo 3, immagine 2 di 3 Vinotemp VT-12TEDi Power Cord Replacement: passo 3, immagine 3 di 3
    • Remove two 7mm Hex Nuts.

    • Clearance is minimal and these screws are very tight. You will likely need a socket wrench to avoid stripping.

    • If the white plastic components stick, pry them apart with a metal spudger. Don't pull on the power cord to get plastic pieces to separate.

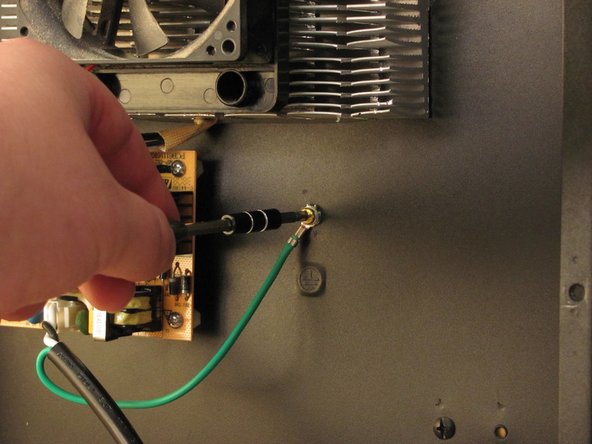
  4. Vinotemp VT-12TEDi Power Cord Replacement: passo 4, immagine 1 di 2 Vinotemp VT-12TEDi Power Cord Replacement: passo 4, immagine 2 di 2
    • Remove one 12mm Phillips screw securing ground.

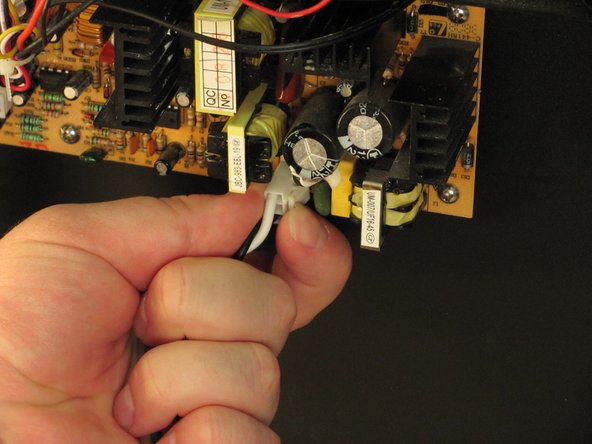
  5. Vinotemp VT-12TEDi Power Cord Replacement: passo 5, immagine 1 di 3 Vinotemp VT-12TEDi Power Cord Replacement: passo 5, immagine 2 di 3 Vinotemp VT-12TEDi Power Cord Replacement: passo 5, immagine 3 di 3
    • Remove power cable from motherboard.

    • Pinch cable connector to release it from the motherboard, then pull.

  6. Vinotemp VT-12TEDi Power Cord Replacement: passo 6, immagine 1 di 1
    • Your power cord is removed.

Conclusione

To reassemble your device, follow these instructions in reverse order.

Un'altra persona ha completato questa guida.

Jeff Snyder

Membro da: 02/07/13

8.799 Reputazione

4 Guide realizzate

Team

iFixit Membro di iFixit

Staff

135 Membri

16.816 Guide realizzate

0 Commenti

Aggiungi Commento

Visualizza Statistiche:

Ultime 24 Ore: 0

Ultimi 7 Giorni: 0

Ultimi 30 Giorni: 1

Tutti i Tempi: 845