Introduzione
We recently had one of these awesome little Vectrex Light Pens come across our bench from another shop in Portland, OR who was packaging it with an original Vectrex Console for resale to a collector. The unit we received needed to be disassembled to remove a small piece of debris that had made its way into the tip of the pen housing but there was no documentation for disassembling the light pen, even in the Vectrex Service Manual, just the console itself. So we disassembled it very carefully and documented the process for your benefit!
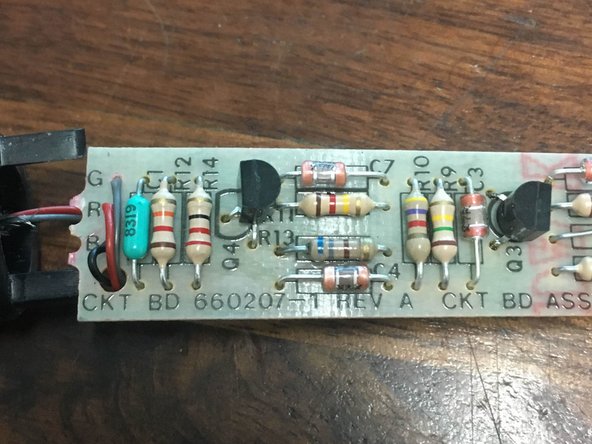
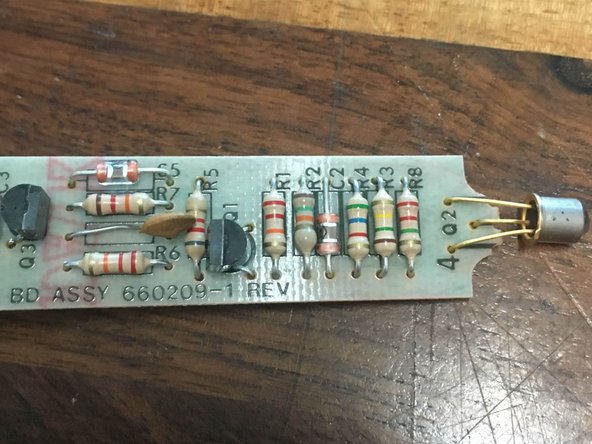
[More images of the unit including pictures of the solder-side of the board can be found at https://www.bridgetownrepair.com/blog/20... ]
Cosa ti serve
-
-
Here is our patient, since the originals are very rare at this point it is important to hand the opening process with a lot of care and delicate/precise tools.
-
Not much is visible through the open tip of the pen because the emitter is positioned to block it for the most part.
-
The plastic plug that the wiring harness runs into at the rear of the primary device housing assembly is really the only component that is a pain to deal with.
-
-
-
-
Using a heating pad or pre-heated iOpener begin to heat the general area around the visible seam between the primary housing and the plastic plug.
-
If you are using a heating pad like we did you have the opportunity to roll the housing back and forth on the pad to evenly spread heat. The small amount of compression caused by the pressure from rolling will also help to loosen the adhesive bonding the two pieces of plastic together.
-
Use a sharp hobby knife to remove a very small amount of plastic along the seam until you have created a gap large enough for a thin plastic tool. Continue rolling the housing and running the tool into that seam. After what seems like an eternity it should begin to loosen and eventually release entirely.
-


To reassemble your device, follow these instructions in reverse order.
To reassemble your device, follow these instructions in reverse order.
Annulla: non ho completato questa guida.
Un'altra persona ha completato questa guida.

Team
