Salta al contenuto principale
VTech Baby's Learning Laptop Mode Switch Replacement

VTech Baby's Learning Laptop Mode Switch Replacement

Scott Parkinson

Scott Parkinson e 3 altri collaboratori

Ultimo aggiornamento il December 7, 2023

5 - 10 minuti
Moderato

Introduzione

Vai al passo 1

This guide will show you how replace a faulty mode switch if your device does not properly switch modes.

Cosa ti serve

Strumenti

Mostra di più…

iFixit guadagna commissioni quando acquisti tramite questi link.
  1. VTech Baby's Learning Laptop Mode Switch Replacement, Battery and Rear Panel: passo 1, immagine 1 di 1
    • To remove the battery door, loosen the screw shown using a Phillips #2 screwdriver.

    • A coin can also be used to loosen the screw.

  2. VTech Baby's Learning Laptop Mode Switch Replacement: passo 2, immagine 1 di 1
    • Remove the battery door.

    • Take out the batteries.

  3. VTech Baby's Learning Laptop Mode Switch Replacement: passo 3, immagine 1 di 1
    • Remove the rear panel screws using a Phillips #2 screwdriver.

    • Two 21.6mm (Long)

    • One 9.8mm (Short)

    • Five 13.8mm (Medium)

  4. VTech Baby's Learning Laptop Mode Switch Replacement: passo 4, immagine 1 di 2 VTech Baby's Learning Laptop Mode Switch Replacement: passo 4, immagine 2 di 2
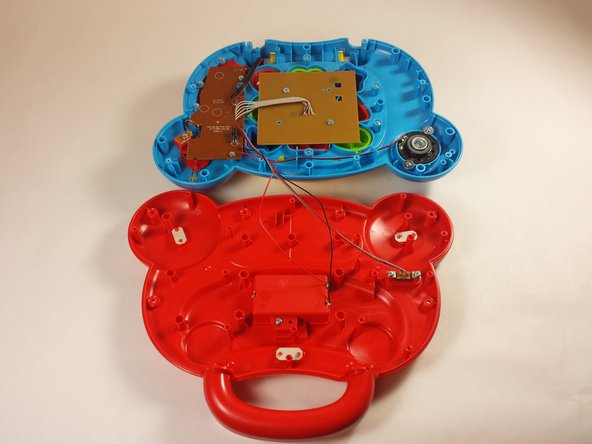
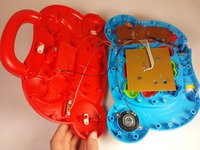
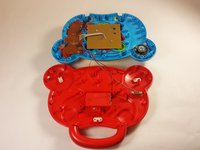
    • Gently pull up on the rear panel.

    • Be careful not to pull on the wire connections.

    • Rest the laptop open on the table.

  5. VTech Baby's Learning Laptop Mode Switch Replacement, Mode Switch: passo 5, immagine 1 di 2 VTech Baby's Learning Laptop Mode Switch Replacement, Mode Switch: passo 5, immagine 2 di 2
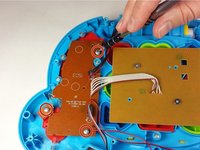
    • Using a Phillips #0 screwdriver, remove the three 7.3mm screws.

  6. VTech Baby's Learning Laptop Mode Switch Replacement: passo 6, immagine 1 di 3 VTech Baby's Learning Laptop Mode Switch Replacement: passo 6, immagine 2 di 3 VTech Baby's Learning Laptop Mode Switch Replacement: passo 6, immagine 3 di 3
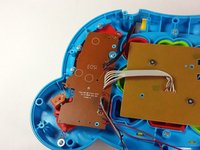
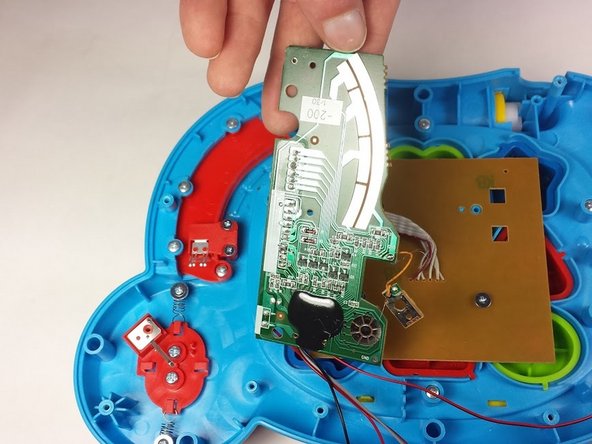
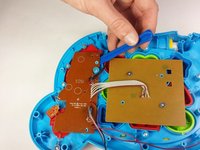
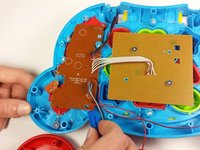
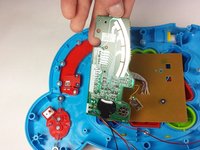
    • Once the screws have been removed from the board, use a plastic opening tool to gently pry up the board and expose the mode switch assembly underneath.

    • Lay the board down gently and out of the way.

    • Take care not to damage any of the wires or the board itself.

  7. VTech Baby's Learning Laptop Mode Switch Replacement: passo 7, immagine 1 di 1
    • Using a Phillips #0 screwdriver, remove the seven screws securing the mode switch assembly to the device.

    • Five 7.3mm

    • Two 6.0mm

  8. VTech Baby's Learning Laptop Mode Switch Replacement: passo 8, immagine 1 di 1
    • Once the screws have been removed, the mode switch assembly can be removed easily.

    • Take care not to misplace the spring indicated in the picture.

    • You need this spring to find a matching replacement if it is in anyway damaged.

Conclusione

To reassemble your device, follow these instructions in reverse order.

Team

USF Tampa, Team 12-2, Blackwell Fall 2015 Membro di USF Tampa, Team 12-2, Blackwell Fall 2015

USFT-BLACKWELL-F15S12G2

4 Membri

14 Guide realizzate

0Commenti sulla guida

Aggiungi Commento

Visualizza Statistiche:

Ultime 24 Ore: 0

Ultimi 7 Giorni: 1

Ultimi 30 Giorni: 13

Tutti i Tempi: 552