Salta al contenuto principale

Unbranded UB-15MS10 Speaker Replacement

Guida Archiviata
Questa guida รจ mantenuta solo per scopi storici. Usa la versione aggiornata della guida per eseguire la riparazione.

Cosa ti serve

  1. Unbranded UB-15MS10 Speaker Replacement, Back Panel: passo 1, immagine 1 di 1
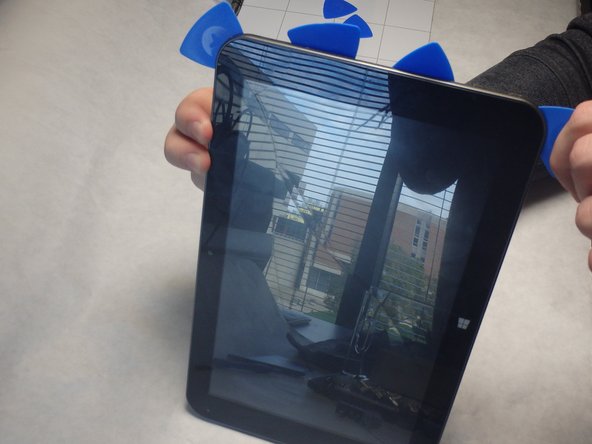
    • Remove the cover over the Micro SD outlet by using a plastic opening tool to pry open and push out the cover panel.

  2. Unbranded UB-15MS10 Speaker Replacement: passo 2, immagine 1 di 1
    • Remove the two 4-mm #0 screws from the inside of the Micro SD compartment.

  3. Unbranded UB-15MS10 Speaker Replacement: passo 3, immagine 1 di 2 Unbranded UB-15MS10 Speaker Replacement: passo 3, immagine 2 di 2
    • Insert blue guitar picks in the crease between the top and bottom panels starting on the same end as the Micro SD slot.

    • Inserting the picks directly under the Micro SD compartment was the easiest place to get started. It still requires some force.

  4. Unbranded UB-15MS10 Speaker Replacement: passo 4, immagine 1 di 1
    • Insert the black spudger between the guitar picks in order to pry open gaps between the blue guitar picks.

    • As the gaps open, slide the guitar picks along the sides to separate the panels.

  5. Unbranded UB-15MS10 Speaker Replacement: passo 5, immagine 1 di 1
    • Pry all four sides apart using the blue guitar picks and the black spudger until they can easily be pried apart by hand.

  6. Unbranded UB-15MS10 Speaker Replacement, Speaker: passo 6, immagine 1 di 1
    • Remove the yellow tape from the speaker.

  7. Unbranded UB-15MS10 Speaker Replacement: passo 7, immagine 1 di 1
    • Remove the two 4-mm #0 screws holding the speaker in place.

    • The copper-colored plastic piece covering the speaker does not need to be removed from the device, move it to the side to reach the screws.

  8. Unbranded UB-15MS10 Speaker Replacement: passo 8, immagine 1 di 1
    • Remove the silver tape covering the speaker's black and red wires.

  9. Unbranded UB-15MS10 Speaker Replacement: passo 9, immagine 1 di 1
    • Reflow the solder of the black and red wires from the circuit board by using the soldering iron.

    • For more information about using a soldering iron click here.

Conclusione

To reassemble your device, follow these instructions in reverse order.

Jordan Turk

Membro da: 09/21/15

331 Reputazione

2 Guide realizzate

Team

IUPUI, Team 2-1, Baechle Fall 2015 Membro di IUPUI, Team 2-1, Baechle Fall 2015

IUPUI-BAECHLE-F15S2G1

3 Membri

3 Guide realizzate

0 Commenti

Aggiungi Commento

Visualizza Statistiche:

Ultime 24 Ore: 1

Ultimi 7 Giorni: 1

Ultimi 30 Giorni: 9

Tutti i Tempi: 739