Introduzione
The Audio Adapter is used to connect your headset to the controller, which sends and receives the audio from your gaming device. The Adapter Audio Jack Board is what connects your headphones to the Audio Adapter. If the Audio Adapter is broken, no signal will come to or from the headset from the controller.
This device has seven screws of three different lengths. To avoid confusion when reassembling the device, please use the Magnetic Project Mat or something that can organize the smaller parts when disassembling.
Cosa ti serve
-
-
Wedge the Plastic Opening Tool below the plug and between the bottom plate and the body.
-
-
-
Wedge the Spudger at an upward angle in between the two pieces of plastic above the audio jack. Be careful, this may take a firm push.
-
Gently point the Spudger at a downward angle into the gap between the bottom cover and the rest of the device. Take care to work the Spudger all the way in between the pieces when doing so.
-
Use the Spudger as a lever to gently pop the bottom cover over the lip of the audio jack.
-
-
-
-
-
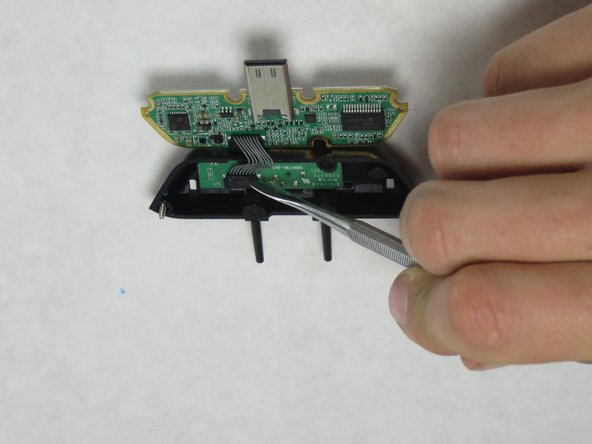
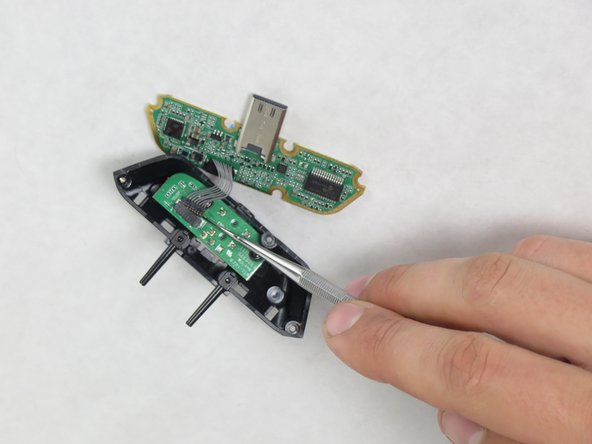
Insert the sharp end of the Metal Spudger in between the male and the female ends of the nine pin connector and slowly work the ends apart.
-
-
-
Remove the two Phillips #0 head screws on either side of the Audio Jack board. These screws are 5.5 mm in length.
-
Remove the Audio Jack Board.
-


To reassemble your device, follow these instructions in reverse order.
To reassemble your device, follow these instructions in reverse order.
Annulla: non ho completato questa guida.
Un'altra persona ha completato questa guida.
Team

Cal Poly, Team 17-36, Amido Winter 2015 Membro di Cal Poly, Team 17-36, Amido Winter 2015
CPSU-AMIDO-W15S17G36
4 Membri
12 Guide realizzate