Introduzione
If the microphone on your Turtle Beach Ear Force X12 headphones is not detecting any audio input, you may be experiencing a failure of the microphone module. This can be caused by a faulty electrical connection between the microphone and microphone wires or a mechanical issue within the microphone. These faults can be caused by drop damage or liquid damage.
This guide will outline the steps needed to replace the failed microphone on your headset. Step 6 for this guide requires you to desolder the connections on the microphone before reinstallation. After the microphone is removed, you will need to resolder the connection to the microphone wires. For supplemental information on soldering and desoldering connections, view this guide. Be sure to follow the recommendations in the project safety guide when soldering to prevent injury or damaged components.
Ensure to carefully remove the ear cushions to avoid tearing them. Take caution when working with the microphone wires as they are delicate and can be easily damaged.
Before starting the microphone replacement, unplug any audio or power connections on the headset.
Cosa ti serve
-
-
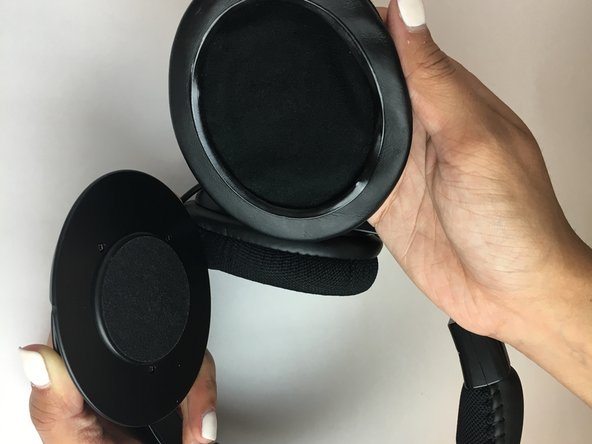
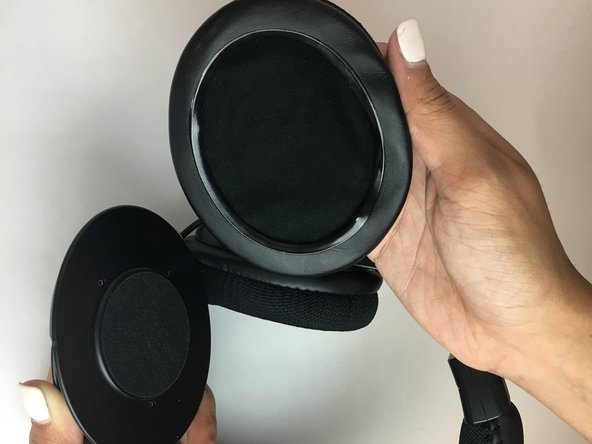
Start by removing the left ear pad.
-
Gently pull on the pad from the side by the leathery material until it comes loose from slot.
-
-
-
-
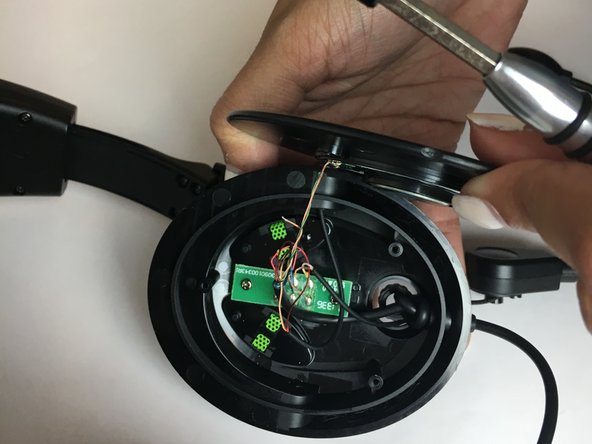
Remove the three 1.1 mm screws around the speaker using a T3 screwdriver.
-
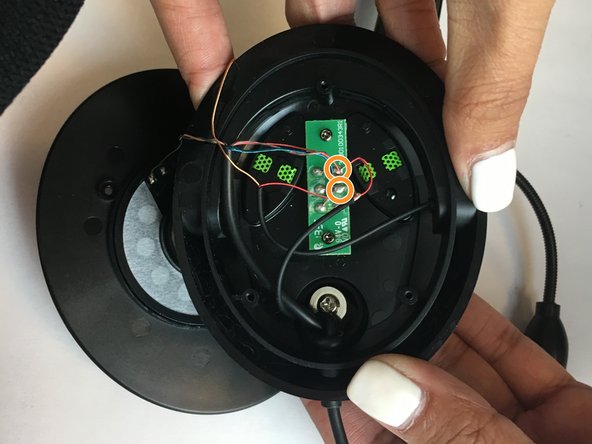
Open the top panel carefully.
-


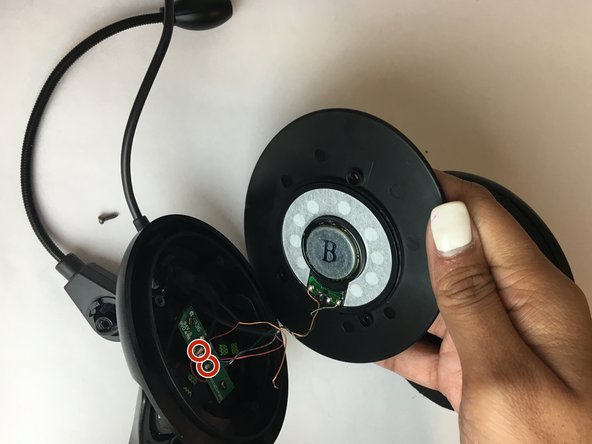
To reassemble your device, follow these instructions in reverse order.
To reassemble your device, follow these instructions in reverse order.
Team

USF Tampa, Team S1-G3, Thompson Fall 2017 Membro di USF Tampa, Team S1-G3, Thompson Fall 2017
USFT-THOMPSON-F17S1G3
3 Membri
5 Guide realizzate