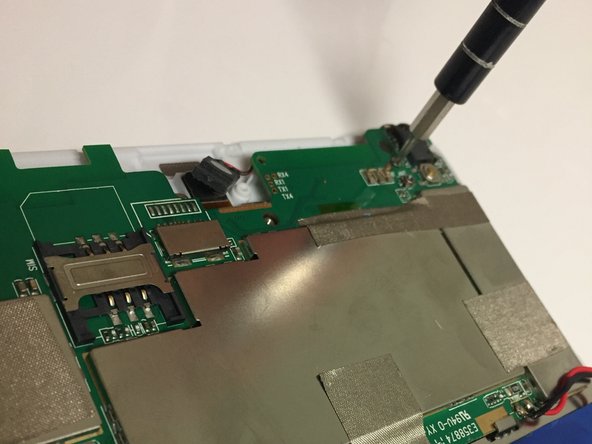
Salta al contenuto principale

Trio AXS 3G Camera Replacement

Cosa ti serve

  1. Trio AXS 3G Camera Replacement, Back Case: passo 1, immagine 1 di 1
    • On the back of the device there is a white SD card case that shelters the screws that attach the back panel to the tablet.

    • Use your thumbs to slide up and off the small SD card case.

  2. Trio AXS 3G Camera Replacement: passo 2, immagine 1 di 2 Trio AXS 3G Camera Replacement: passo 2, immagine 2 di 2
    • Using the Phillips Head #000, unscrew the 5 4mm and 3mm screws at the top.

  3. Trio AXS 3G Camera Replacement: passo 3, immagine 1 di 1
    • Insert a plastic opening tool between the back panel and the front of the tablet, and gently pry it away from the tablet.

    • Do not pry too hard as the screen is fragile and might crack.

    • It is best to start at the bottom of the tablet when prying the back panel off.

    • The volume piece will also dislodge when the back panel is removed.

  4. Trio AXS 3G Camera Replacement, Camera: passo 4, immagine 1 di 2 Trio AXS 3G Camera Replacement, Camera: passo 4, immagine 2 di 2
    • Unscrew 5 #000 4 mm and 3 mm screws around the strip.

  5. Trio AXS 3G Camera Replacement: passo 5, immagine 1 di 1
    • Undo the tape on top of the connector from the camera to motherboard.

  6. Trio AXS 3G Camera Replacement: passo 6, immagine 1 di 1
    • Slightly lift up the motherboard.

  7. Trio AXS 3G Camera Replacement: passo 7, immagine 1 di 2 Trio AXS 3G Camera Replacement: passo 7, immagine 2 di 2
    • Disconnect the camera from the motherboard on the topside and pull the camera strip out.

Conclusione

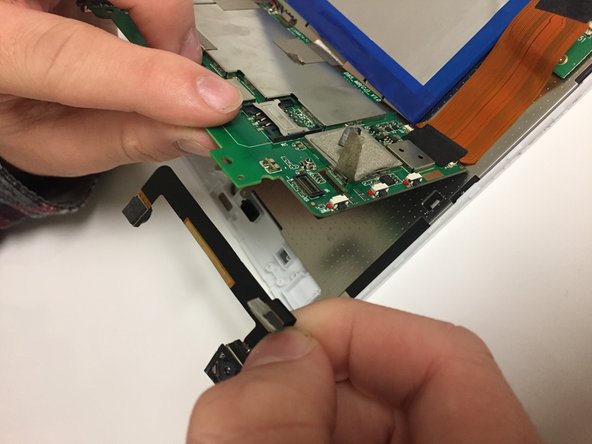
To reassemble your device, follow these instructions in reverse order.

Un commento

Where can I get the camera?

Amanda Springsteen - Replica

Aggiungi Commento

Visualizza Statistiche:

Ultime 24 Ore: 0

Ultimi 7 Giorni: 3

Ultimi 30 Giorni: 3

Tutti i Tempi: 138