Salta al contenuto principale

Toshiba Thrive Charging Port Replacement

Cosa ti serve

  1. Toshiba Thrive Charging Port Replacement, Back Cover: passo 1, immagine 1 di 1
    • Make sure the lock switch for the back cover is unlocked.

    • The cover is unlocked when the switch is slid in the direction of the 'unlock' icon.

  2. Toshiba Thrive Charging Port Replacement: passo 2, immagine 1 di 2 Toshiba Thrive Charging Port Replacement: passo 2, immagine 2 di 2
    • Remove back cover by prying away from the Thrive.

    • The easiest place to pry from is one of the two speakers.

  3. Toshiba Thrive Charging Port Replacement: passo 3, immagine 1 di 1
    • To remove the battery, make sure the lock switch is in the unlocked position.

    • The battery is unlocked when the switch is slid to the unlocked position.

  4. Toshiba Thrive Charging Port Replacement: passo 4, immagine 1 di 3 Toshiba Thrive Charging Port Replacement: passo 4, immagine 2 di 3 Toshiba Thrive Charging Port Replacement: passo 4, immagine 3 di 3
    • Slide the battery switch release to the right.

    • While holding the switch in place, lift up the battery.

  5. Toshiba Thrive Charging Port Replacement, Midframe: passo 5, immagine 1 di 2 Toshiba Thrive Charging Port Replacement, Midframe: passo 5, immagine 2 di 2
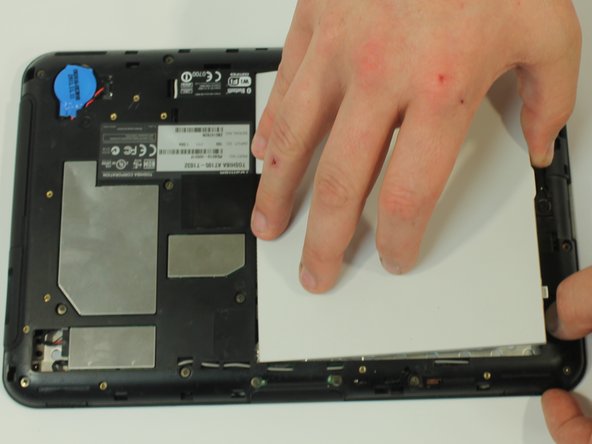
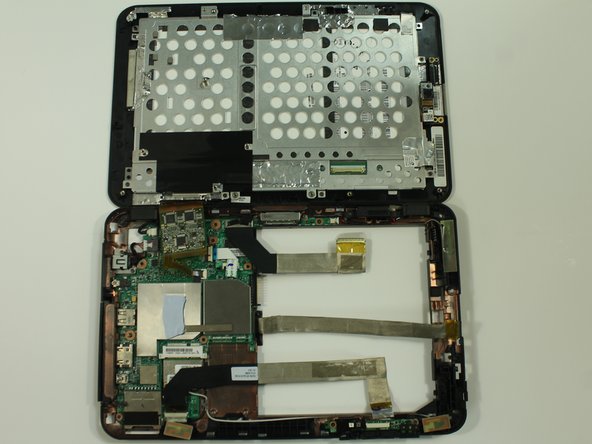
    • Start by using a screwdriver to remove the 12 screws holding on the back cover. The screws are 5mm in length and require a PH0 screwdriver.

    • All of these screws are identical so don't worry about getting them mixed up.

  6. Toshiba Thrive Charging Port Replacement: passo 6, immagine 1 di 3 Toshiba Thrive Charging Port Replacement: passo 6, immagine 2 di 3 Toshiba Thrive Charging Port Replacement: passo 6, immagine 3 di 3
    • Start to gently pry the back of the device off, while leaving it loosely in place.

    • Be careful not to tear or damage the cables when removing the back.

  7. Toshiba Thrive Charging Port Replacement: passo 7, immagine 1 di 3 Toshiba Thrive Charging Port Replacement: passo 7, immagine 2 di 3 Toshiba Thrive Charging Port Replacement: passo 7, immagine 3 di 3
    • Once the back of the case is off, disconnect the wires by gently pulling on the plastic tabs as shown.

  8. Toshiba Thrive Charging Port Replacement: passo 8, immagine 1 di 2 Toshiba Thrive Charging Port Replacement: passo 8, immagine 2 di 2
    • Carefully open the device like a book and lay the two halves beside each other.

  9. Toshiba Thrive Charging Port Replacement, Charging Port: passo 9, immagine 1 di 3 Toshiba Thrive Charging Port Replacement, Charging Port: passo 9, immagine 2 di 3 Toshiba Thrive Charging Port Replacement, Charging Port: passo 9, immagine 3 di 3
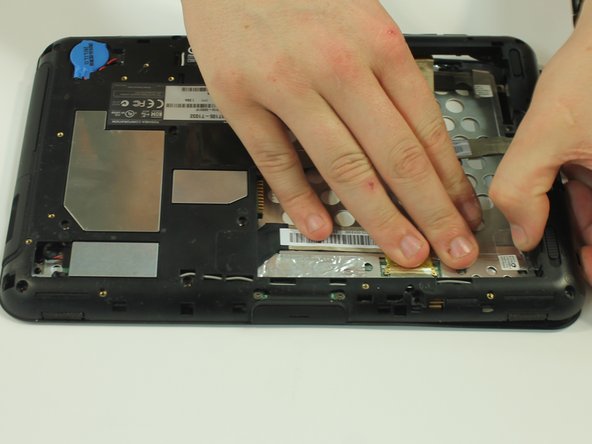
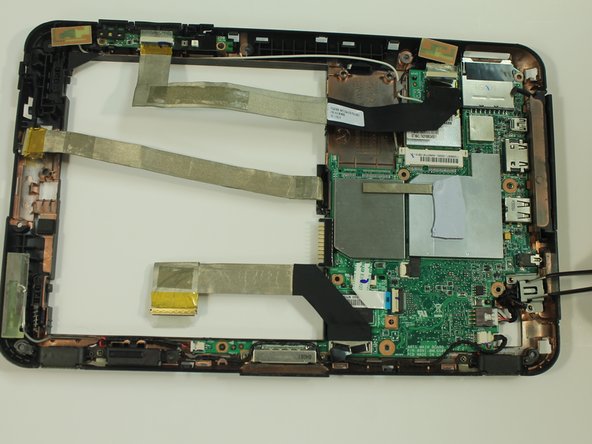
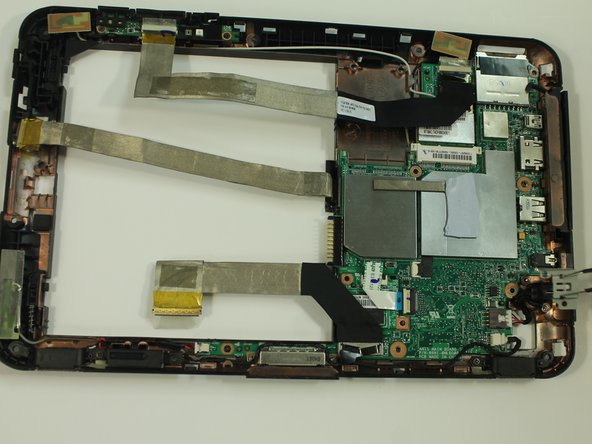
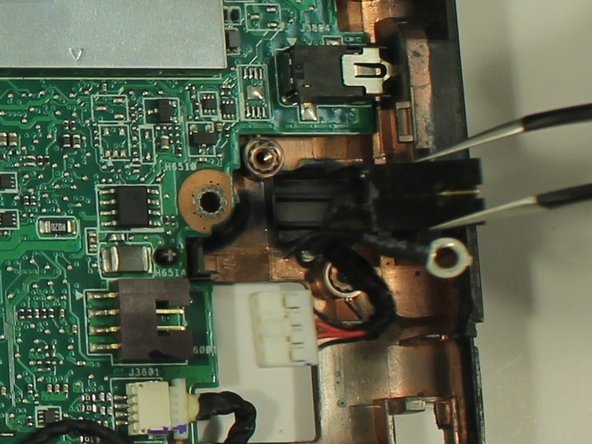
    • Remove the two screws holding the charging port in place. The screws are 3mm in length and require a PH0 screwdriver.

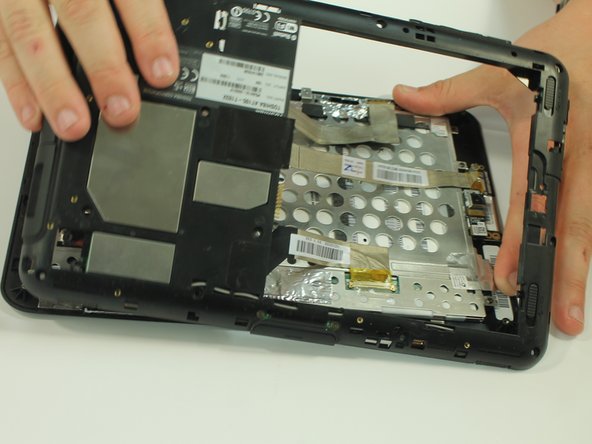
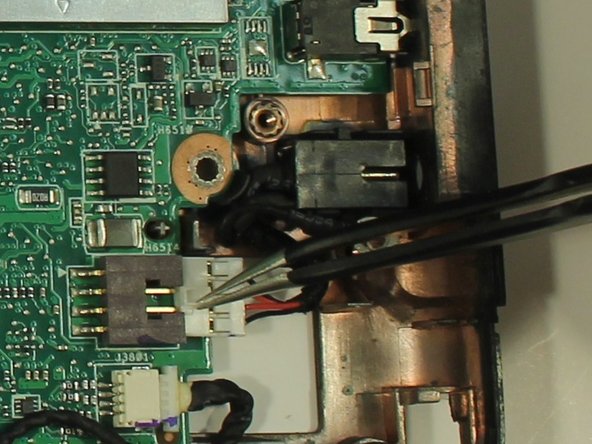
    • Using a pair of tweezers, lift up the charging port's protective covering

  10. Toshiba Thrive Charging Port Replacement: passo 10, immagine 1 di 3 Toshiba Thrive Charging Port Replacement: passo 10, immagine 2 di 3 Toshiba Thrive Charging Port Replacement: passo 10, immagine 3 di 3
    • Use the tweezers to pull out the connector connecting the charging port to the motherboard.

    • Using the tweezers again, gently lift up the charging port from your Thrive.

Conclusione

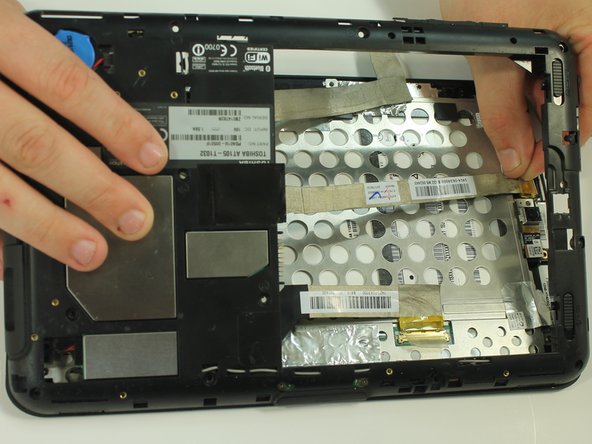
To reassemble your device, follow these instructions in reverse order.

Altre 7 persone hanno completato questa guida.

Kason

Membro da: 09/22/14

1.120 Reputazione

5 Guide realizzate

Team

USF Tampa, Team 10-1, Brown Fall 2014 Membro di USF Tampa, Team 10-1, Brown Fall 2014

USFT-BROWN-F14S10G1

3 Membri

12 Guide realizzate

Un commento

I added "better pictures" flag because i was having trouble following the last step cause i couldnt see anything.

Sun Fai Lau - Replica

Aggiungi Commento

Visualizza Statistiche:

Ultime 24 Ore: 0

Ultimi 7 Giorni: 0

Ultimi 30 Giorni: 5

Tutti i Tempi: 4,041