Salta al contenuto principale

Toshiba Satellite U925T-S2120 Heat Sink Replacement

Cosa ti serve

  1. Toshiba Satellite U925T-S2120 Heat Sink Replacement, Heat Sink: passo 1, immagine 1 di 2 Toshiba Satellite U925T-S2120 Heat Sink Replacement, Heat Sink: passo 1, immagine 2 di 2
    • Use tweezers to remove the nine rubber grip pads on the back panel of the laptop.

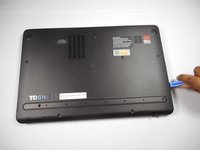
  2. Toshiba Satellite U925T-S2120 Heat Sink Replacement: passo 2, immagine 1 di 3 Toshiba Satellite U925T-S2120 Heat Sink Replacement: passo 2, immagine 2 di 3 Toshiba Satellite U925T-S2120 Heat Sink Replacement: passo 2, immagine 3 di 3
    • Unscrew the nine 5.8 mm screws using a PH1 screwdriver.

    • Unscrew the two 6.8 mm screws. Set all screws aside.

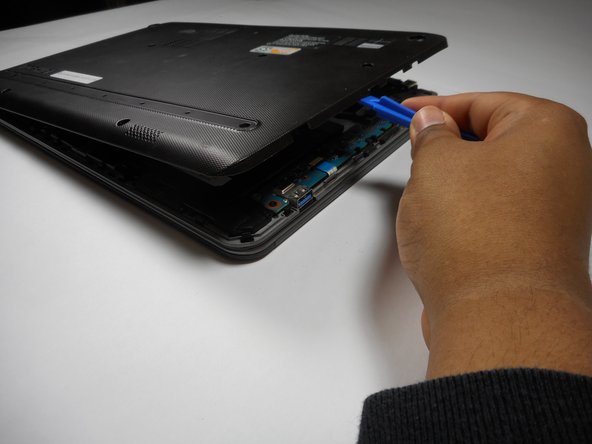
  3. Toshiba Satellite U925T-S2120 Heat Sink Replacement: passo 3, immagine 1 di 2 Toshiba Satellite U925T-S2120 Heat Sink Replacement: passo 3, immagine 2 di 2
    • Remove the back panel by inserting the plastic opening tool into the seam of the laptop and pushing the opening tool downwards.

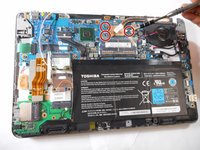
  4. Toshiba Satellite U925T-S2120 Heat Sink Replacement: passo 4, immagine 1 di 2 Toshiba Satellite U925T-S2120 Heat Sink Replacement: passo 4, immagine 2 di 2
    • Unscrew the three 3.4 mm screws using a PH1 screwdriver.

  5. Toshiba Satellite U925T-S2120 Heat Sink Replacement: passo 5, immagine 1 di 1
    • Gently pinch the heat sink with fingers to lift and remove it.

Conclusione

To reassemble your device, follow these instructions in reverse order.

Un'altra persona ha completato questa guida.

Team

Baylor, Team S5-G5, Williams Spring 2017 Membro di Baylor, Team S5-G5, Williams Spring 2017

BU-WILLIAMS-S17S5G5

3 Membri

5 Guide realizzate

0 Commenti

Aggiungi Commento

Visualizza Statistiche:

Ultime 24 Ore: 0

Ultimi 7 Giorni: 0

Ultimi 30 Giorni: 0

Tutti i Tempi: 393