Introduzione
To replace the Satellite L755 motherboard you will need a Phillips (PH0) screwdriver. The motherboard is fragile and should not be bent or pried away from other parts or forced into place since it may break.
Cosa ti serve
-
-
Begin by unscrewing the screw located underneath the battery.
-
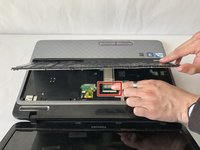
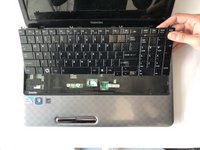
Then, unsnap and remove the bar above the keyboard.
-
-
-
-
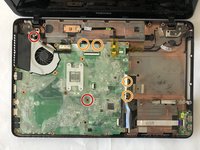
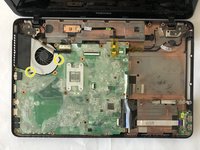
Remove the 5mm Phillips #0 screw in the middle of the motherboard, and the 4mm Phillips #0 screw on the upper left near the fan.
-
Remove the four 4mm Phillips #0 screws under the edge covering flaps.
-
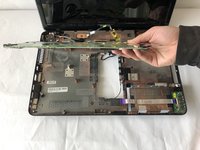
Carefully lift out the motherboard and fan.
-
To detach the fan, remove the two 2mm Phillips #0 screws.
-


To reassemble your device, follow these instructions in reverse order.
To reassemble your device, follow these instructions in reverse order.
Annulla: non ho completato questa guida.
Un'altra persona ha completato questa guida.
Team

Oregon Institute of Technology, Team S1-G5, Lancaster Spring 2019 Membro di Oregon Institute of Technology, Team S1-G5, Lancaster Spring 2019
OIT-LANCASTER-S19S1G5
4 Membri
6 Guide realizzate